Crafting Radiant Bioplastic Suncatchers: A Joyful DIY Journey
Hello, fellow crafters! I'm thrilled to share one of my all-time favorite projects with you today: making bioplastic suncatchers. These delightful creations not only bring a splash of color into our homes but also do so in an eco-friendly way. It’s a relatively simple project that transforms the ordinary into the extraordinary and gives us a chance to express our creativity while embracing sustainability.
What Are Bioplastic Suncatchers?
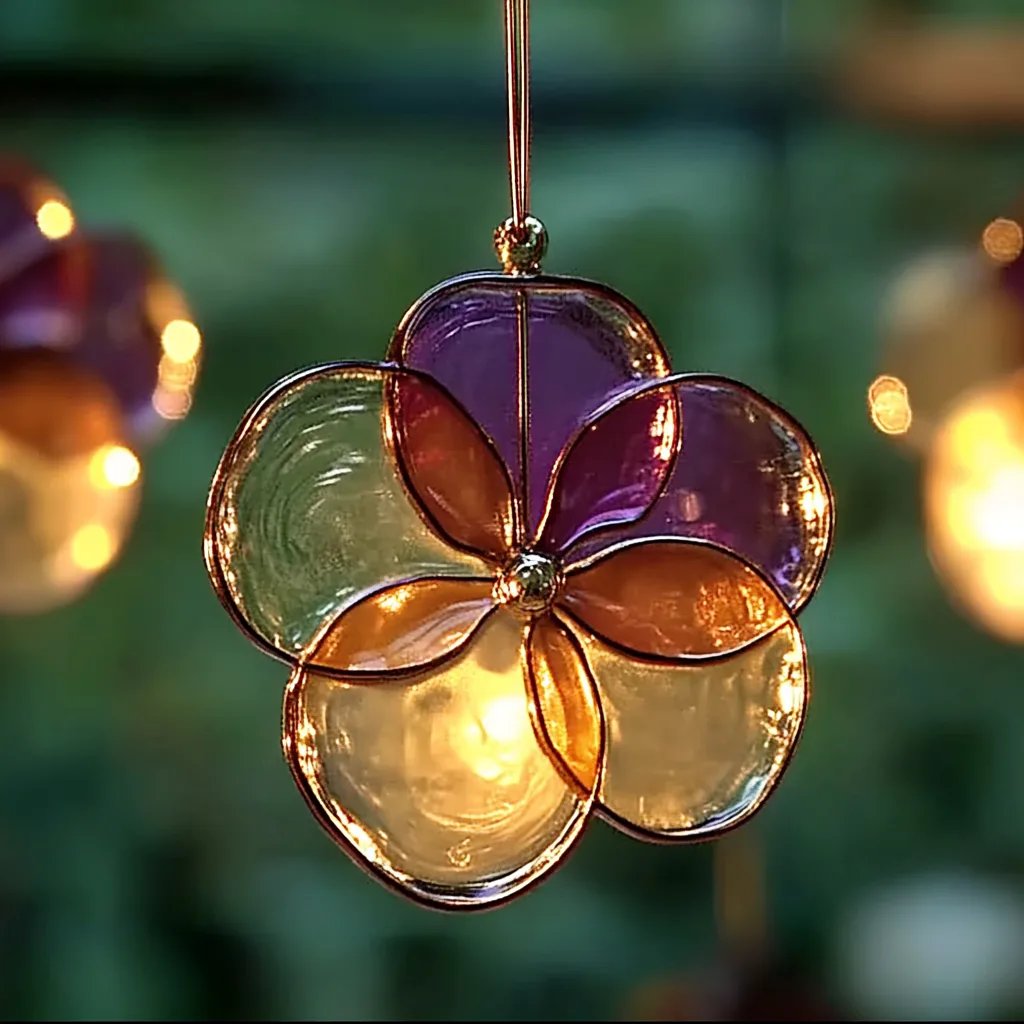
Bioplastic suncatchers are vibrant, translucent decorations made using environmentally friendly materials. They catch sunlight, casting beautiful, colorful reflections onto your walls—perfect for brightening up your space. I love to hang them in windows, where sunlight dances through them, but they're also wonderful to use for special occasions, such as weddings, parties, or even as handmade gifts for loved ones. Plus, they're a fantastic way to engage kids in creative crafting while teaching them about the importance of sustainable materials.
Why Choose Bioplastics?
In our current world, where plastic pollution is a rising concern, choosing bioplastics is a small yet impactful way to contribute to a healthier planet. Bioplastics are made from renewable resources and often biodegrade more effectively than traditional plastics. By making suncatchers from these materials, I feel good about what I’m creating and can share my love for crafting with a conscience.
Now, let’s roll up our sleeves and get crafting!
Gathering Your Materials
To kick off this project, you'll need a handful of accessible materials. Here's a simple list:
Materials:
- Cornstarch: 1 cup (the base of our bioplastic)
- Water: 4 tablespoons (for mixing)
- Glycerin: 1 tablespoon (a natural humectant to keep the bioplastic flexible)
- Food coloring: Various colors (for that brilliant color)
- Plastic wrap or wax paper: For spreading the mixture
- Epoxy or acrylic gloss finish (optional): To add a glossy touch when finished
Tools:
- Small saucepan
- Stirring spoon
- Measuring cups and spoons
- Cookie cutters or templates
- Parchment paper (for drying)
- Sharp scissors or craft knife (for cutting)
- Paintbrush (if using a gloss finish)
Step-by-Step Tutorial
Step 1: Prepare Your Workspace
First, make sure your crafting space is clean and organized. Lay down some old newspapers or a craft mat to catch any spills—trust me, it helps! Ensure all your materials are within reach so you can flow through the project seamlessly.
Step 2: Combine Ingredients
In a small saucepan, mix together the cornstarch, water, and glycerin. Stir until there are no lumps. This part is crucial because the mixture will determine the quality of your bioplastic. If you notice lumps, they can cause uneven suncatchers. If this happens, simply keep stirring or use a whisk to integrate everything smoothly.
Step 3: Heat the Mixture
Place your saucepan over low heat. Stir continuously as the mixture starts to thicken—around 5 minutes should do it. As it heats, it will transform from a liquid to a gel-like consistency. It's important to keep stirring to prevent burning or sticking, which can ruin your project. When it reaches a thick, pudding-like texture, you’re good to go!
Step 4: Add Color
Once you’ve achieved the right consistency, remove the mixture from heat. Now comes the fun part—adding color! Divide the warm bioplastic into small bowls and introduce a few drops of food coloring to each. Mix until you achieve your desired shades. This is a perfect opportunity to experiment with color combinations—think ombré effects or layered hues!
Step 5: Shape Your Suncatchers
Now, grab your plastic wrap or wax paper and pour your colored bioplastic onto it in small puddles or use cookie cutters to create shapes. Make sure they are thin enough to dry quickly but thick enough to hold their shape. Aim for a thickness of about 1/8 inch to balance durability and light transmission.
Step 6: Drying Time
Allow your suncatchers to dry for 24 hours. If you find they’re still feeling tacky after that time, don’t worry—just give them a little more time. It’s essential they completely dry before you peel them off the surface, or they may stick. If your suncatchers do end up a little too thick and lose flexibility, you can always cut them out and layer clear plastic over the top.
Step 7: Finishing Touches
Once dried, carefully peel them off of the plastic wrap or wax paper. If you want to go the extra mile, you can brush on a layer of acrylic gloss to give them a shiny finish. This will be especially eye-catching when the sun shines through them!
Step 8: Hang and Enjoy
Using a gentle suction cup or string, hang your bioplastic suncatchers in a sunny window. Stand back and watch as sunlight transforms your space into a rainbow of colors!
Troubleshooting and Tips
- Sticking: If your bioplastic is sticking to the surface or the wax paper, it likely needs a bit more time to dry. Be patient!
- Color Bleeding: To avoid any color blending unintentionally, allow each layer to dry before adding another.
- Texture Issues: If your suncatchers feel too rubbery, they might need more cornstarch. If too stiff, perhaps reduce cornstarch next time.
Creative Variations
Once you've mastered the basics, you can start exploring variations. Consider adding glitter, dried flowers, or leaves to your suncatchers before they dry to create unique textures and designs. You can also try using natural dyes from fruits or veggies for a different color palette.
Safety First
While the materials used in this project are generally safe, ensure you’re working in a well-ventilated area, especially when using food coloring, to avoid any allergic reactions. Keep your workstation tidy to prevent slips or spills.
Final Thoughts
Crafting bioplastic suncatchers is not only a beautiful way to add art to your space but also an exciting journey into eco-friendly crafting. As you embark on this project, I hope you feel the joy of creating something unique. Remember, crafting is all about exploration and self-expression.
Don’t hesitate to let your creativity run wild—experiment, make mistakes, and most importantly, have fun! If you have any questions or want to share your beautiful creations, please leave a comment below. Happy crafting!