Crafting Peanut Shell Giraffes: A Fun and Creative DIY Project
Welcome to my crafting corner! Today, I’m thrilled to share with you one of my favorite and most enchanting crafts—creating Peanut Shell Giraffes. These charming little creatures are not only adorable but also a fantastic way to recycle and have fun with simple materials. Whether you’re looking to spend a creative afternoon with your kids, seeking a unique decoration for your home, or even wanting a delightful gift idea, Peanut Shell Giraffes can deliver on all fronts.
What are Peanut Shell Giraffes?
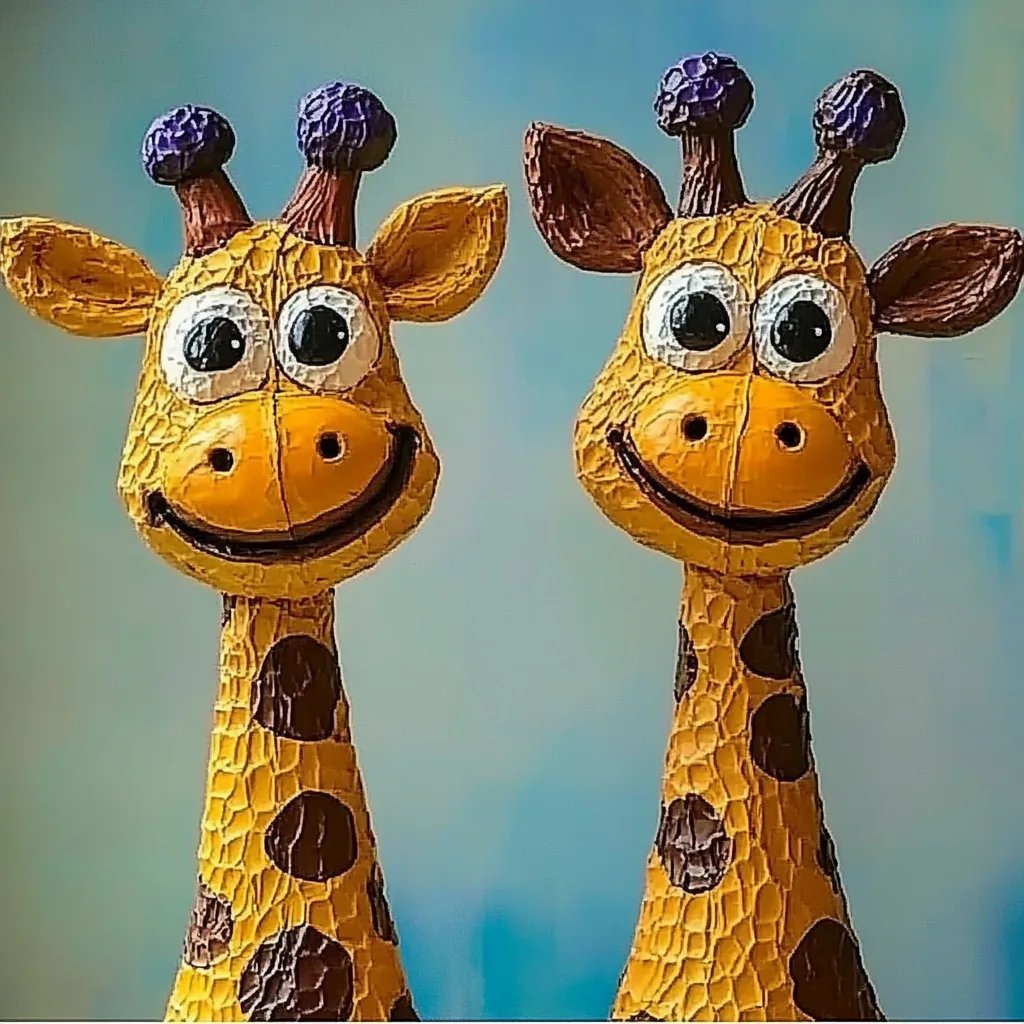
Peanut Shell Giraffes are whimsical figures crafted from the shells of peanuts. With a little creativity and some basic supplies, these giraffes come to life in a way that delights crafters of all ages. The best part? They're popular for their recycled nature, making them not only eco-friendly but also a fantastic way to teach children about repurposing materials.
You can use them as decorations for a safari-themed party, presents for young animal lovers, or even as playful additions to your home decor. They’re a great conversation piece and an endearing touch to any craft collection.
Why are Peanut Shell Giraffes Loved?
Crafting Peanut Shell Giraffes has gained popularity due to their unique aesthetic and the use of materials that we commonly overlook. It reinforces the value of recycling and instills a sense of accomplishment when you transform simple shells into something magical. Plus, the sheer joy of bringing these cute critters to life is simply unbeatable!
Step-by-Step Tutorial for Making Peanut Shell Giraffes
Now, let’s roll up our sleeves and get started! Here’s a comprehensive, step-by-step guide to creating your very own Peanut Shell Giraffes.
Materials Needed:
- Peanut Shells (with peanuts, of course!)
- Acrylic Paint (golden yellow, brown, black, and optional colors for creativity)
- Paintbrush (one flat for larger areas and a smaller one for details)
- Craft Glue or Hot Glue Gun (safety reminder: if using a hot glue gun, be careful as it gets very hot)
- Googly Eyes or small beads for eyes
- Pipe Cleaners (for the neck and antennae)
- Permanent Markers (for details)
- Foam or Cardboard (for the base if desired)
- Scissors
- Optional: Embellishments like glitter or fabric for decoration
Step 1: Preparing the Peanut Shells
Why It Matters: The peanut shells are our primary material and will set the foundation for your giraffe.
How-To:
- First, carefully open the peanuts and remove the peanuts themselves. Enjoy a tasty snack while you craft! Rinse the shells briefly under water and let them dry completely. This can take a few hours, but it’s a necessary step to ensure they’re clean and manageable.
Things to Watch Out For: Sometimes, the shells might break while cleaning or handling. To avoid this, gently handle them, and don't apply too much pressure. If you break a shell, you can always use a strong piece of cardboard as a base to glue the Giraffes onto.
Step 2: Painting the Shells
Why It Matters: Colors bring our giraffes to life!
How-To:
- Once the shells are dry, take your golden yellow paint and give each shell a good coat. This is where your artistic side can really shine! You can also create shades and patterns reminiscent of a real giraffe by adding spots with brown paint afterward.
Pro Tip: Always use a top-quality paint to reduce flaking as it dries. If you’re doing this with kids, it can be a great bonding experience to let them practice their painting skills.
Step 3: Assembling the Giraffe
Why It Matters: This is where your giraffe starts to take shape!
How-To:
- Take one painted peanut shell for the body and let it dry completely.
- Use pipe cleaners to create the legs and neck of the giraffe. Straighten them out for the legs and twist for texture.
- Attach the legs to the bottom of the body using craft glue or hot glue. The legs ensure your giraffe can stand, so prioritize a solid attachment.
- Cut a smaller piece of pipe cleaner for the neck and attach it to the top of the body, then secure a peanut shell head to the end.
Things Could Go Wrong: If the giraffe doesn’t stand up, check the placement and length of the legs. You might need to add a bit of weight at the bottom with extra shells or clay.
Step 4: Adding Details
Why It Matters: Details make our crafts unique!
How-To:
- Now we’re moving on to adding eyes! Attach googly eyes or beads with glue. Then, for ears and horns, you can cut small shapes from the foam or use leftover shells. Attach those using glue.
- With the permanent markers, add additional features like nostrils, mouth, or extra spots on the body. Each small detail elevates your giraffe.
Step 5: Finishing Touches
Why It Matters: A little flair takes your giraffe to the next level!
How-To: Feel free to adorn your giraffe with glitter, fabric scraps, or anything else you think suits your style. This is where your creativity can truly shine!
Creative Variations: Instead of a traditional giraffe look, you can paint them in more whimsical or vibrant colors to match a theme or personal style.
Safety Warnings and Final Tips
- Hot Glue Gun Safety: I can’t stress this enough! Always be cautious when using hot glue guns, especially around children.
- Material Safety: While crafting, if small items like beads or googly eyes go missing, make sure they’re not within reach of young ones.
- Mess Management: Prepare a crafting area with newspapers or old tablecloths to make cleanup easier.
Conclusion: Celebrate Your Creation!
Congratulations! You’ve successfully crafted your very own Peanut Shell Giraffe! Not only have you recycled materials, but you’ve also created a unique piece of art. I absolutely love making these little guys, as each one comes out uniquely individual.
These adorable creatures also make fantastic personalized gifts or decor for various occasions. You can even have fun creating a whole herd!
I hope this guide inspires you as much as it does me every time I craft. Remember, the most important part is to have fun, be creative, and enjoy the process. Your Peanut Shell Giraffe is just the beginning of this crafting adventure! Happy crafting!