Crafting Magic: How to Make Northern Lights Candy Glow
When it comes to candy crafting, there's something utterly enchanting about creating treats that visually dazzle as much as they delight the taste buds. One of my absolute favorite projects is making Northern Lights Candy Glow, a vibrant and whimsical confection that mimics the mesmerizing colors of the auroras. Perfect for celebrations, parties, or as a delightful surprise for family, these candies not only look stunning but also taste incredible! Whether you’re planning a special event or just want to try something new in the kitchen, I can assure you that this project is both fun and fulfilling.
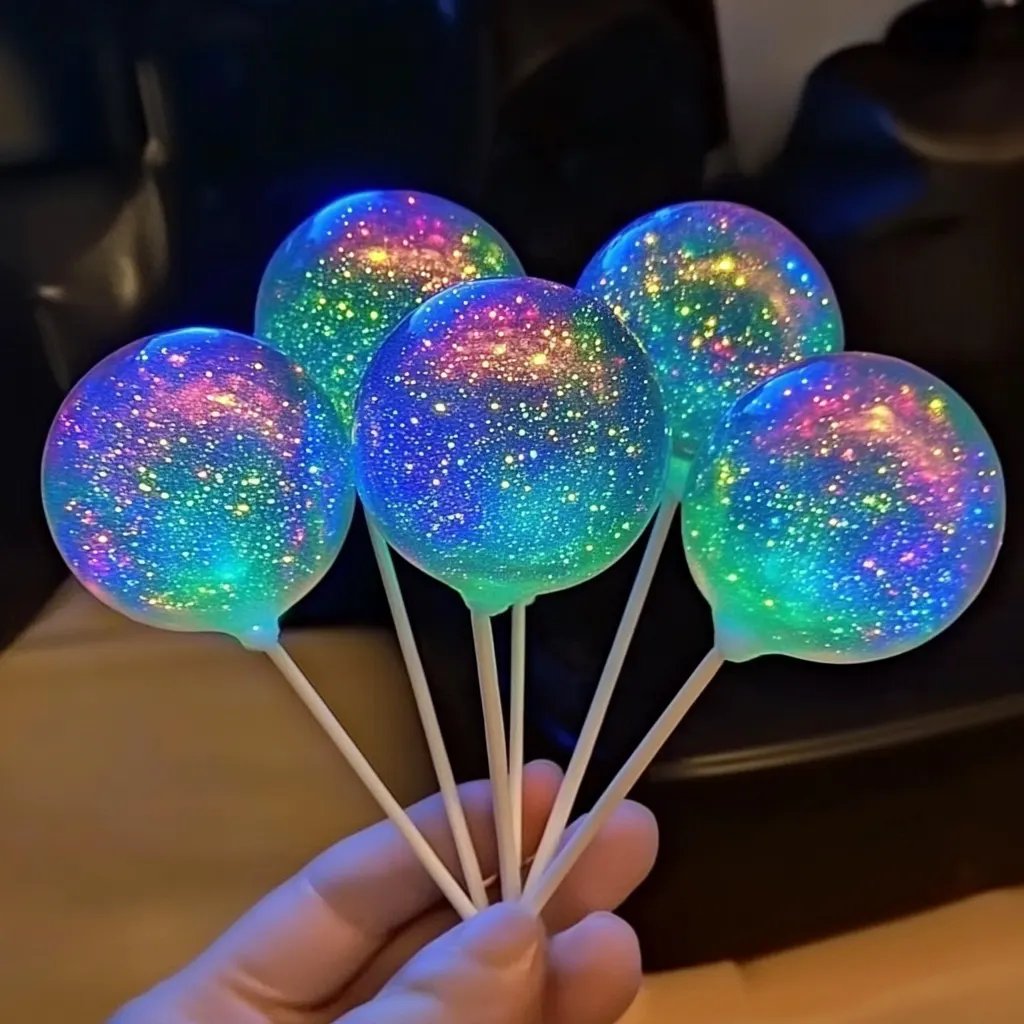
What is Northern Lights Candy Glow?
The Northern Lights Candy Glow is a candy that captures the beautiful swirls of colors reminiscent of the northern lights phenomenon. Typically made using sugar, flavored extracts, and vibrant food colorings, these candies are not only visually stimulating but can also be customized with various flavors to cater to all your guests. Additionally, they can be used for multiple occasions, from birthday parties to holiday gatherings, or simply as a fun treat to enjoy at home.
Why is it Popular?
This candy is beckoning because it is visually striking and lends itself well to customization. You can turn a simple treat into an artistic expression that sparks conversations and inspires creativity! Plus, making your own candy can be therapeutic, allowing you to immerse yourself fully in the process while savouring delightful aromas rising from your kitchen.
When and How Can You Use Northern Lights Candy Glow?
Perfect for a variety of occasions, Northern Lights Candy can be the centerpiece of a dessert table or party favors. They can add a splash of color to a children's party, serve as whimsical gifts during the holiday season or can be an extraordinary way to say “thank you” to friends or family. The possibilities are endless!
What You’ll Need
Before diving into the fun, gather your materials to ensure a smooth crafting experience:
Ingredients:
- Granulated Sugar: 2 cups
- Corn Syrup: 2/3 cup
- Water: 1/2 cup
- Food Coloring: Gel or liquid in shades of green, purple, and blue
- Flavoring Extract (e.g., mint, lemon, or berry): 1 teaspoon
- Powdered Sugar: For dusting
- Cornstarch: For dusting
Tools:
- Heavy-Bottomed Saucepan: For cooking the candy
- Candy Thermometer: Essential for achieving the right temperature
- Stirring Spoon: Preferably a wooden one
- Baking Sheet: To cool the candy
- Parchment Paper: To line the baking sheet
- Greased Rolling Pin: For rolling out the candy
- Cookie Cutters or Knife: For cutting the candy shapes
- Air-tight Container: For storing your finished candies
Step-by-Step Tutorial
Step 1: Prepare Your Workspace
Before starting, ensure your workspace is clean and all your tools are within reach. Preparing everything in advance means you'll stay organized, and you're less likely to make mistakes or get stuck halfway through the process.
Step 2: Combine the Ingredients
In your heavy-bottomed saucepan, combine the sugar, corn syrup, and water. The combination of these three ingredients is the backbone of your candy base. Cook them on medium heat, stirring gently until the sugar dissolves—this usually takes about 5 minutes. Make sure not to let it boil at this stage; we want everything to blend smoothly.
Step 3: Bring It to a Boil
Once the sugar is dissolved, stop stirring and bring the mixture to a boil. Attach the candy thermometer to the side of the pot and keep a close eye on it. You're aiming for a temperature of 300°F (hard crack stage). This step is crucial because reaching the right temperature ensures that your candy will harden properly once cooled.
What Could Go Wrong?
If you don't reach the right temperature, the candy may turn out chewy instead of hard. If it exceeds 300°F, it could burn, making it taste bitter. If you do find that you've gone too far, you can add a splash of water and retry, but this method can be unpredictable.
Step 4: Add Flavor and Color
Once you reach 300°F, promptly remove the saucepan from the heat. Allow it to cool slightly for about a minute before adding your chosen flavoring extract. Stir it in thoroughly—it’s best to do this while the mixture is very hot to ensure even distribution of flavor. Then, divide the mixture into separate bowls for color.
Step 5: Infusing Color Varieties
In each bowl, add drops of gel or liquid food coloring. Start with a couple of drops and feel free to play with different combinations. Experimenting with the colors is one of the most fun parts! Mix until you achieve the vibrant hues that remind you of the ethereal northern lights.
Step 6: Pour and Swirl
Next, pour the colored mixtures onto a parchment-lined baking sheet in swirls. Use a toothpick to create beautiful patterns—don’t be afraid to let your creativity flow. The more swirls and colors, the more vibrant your Northern Lights Candy Glow will be!
Step 7: Let It Set
Allow the candy to cool completely, probably 30 minutes to an hour. The cooling process is essential for the texture, as it'll harden into a delightful candy that snaps when bitten.
Step 8: Cut Into Shapes
Once the candy is set, dust a clean surface with powdered sugar mixed with cornstarch to prevent sticking. Roll out the candy with your greased rolling pin and cut it into the desired shapes with cookie cutters or a knife.
Tips for Success:
- Work quickly when pouring and swirling colors; the candy sets fast.
- Dust the candy pieces lightly with the sugar-cornstarch mix to keep them from sticking together.
- If the candy is too hard, you can briefly warm it slightly to reshape it.
Step 9: Store the Candy
Place your beautiful Northern Lights Candy in an airtight container, separating layers with parchment paper to prevent sticking. They can last for several weeks, but let’s face it—they probably won’t stick around that long!
Creative Variations:
You can customize your Northern Lights Candy in numerous ways. Consider trying different flavor extracts, such as coconut or ginger, to surprise your taste buds. Additionally, opt for varying shades of blue, deep teal, or even splashes of pink or yellow for even more vivid presentations.
Safety Warnings:
- Working with hot sugar can be dangerous; be careful not to touch the mixture directly or let children handle it.
- Always use a reliable candy thermometer to avoid inaccuracies in temperature.
Final Thoughts
Creating Northern Lights Candy Glow has been one of my most cherished crafting experiences, allowing me to experiment with flavors and colors while sharing something beautiful with others. So why not dive in and try it for yourself? You never know—the end result might just inspire you to create a whole candy-making series! Happy crafting, and remember, the most important ingredient is to have fun!