Crafting Magic: How to Make Glow-in-the-Dark Bubbles
As an avid crafter and lover of all things whimsical, I often find myself on the hunt for fun and eye-catching projects that add a bit of magic to my everyday life. One of my absolute favorite creations is Glow-in-the-Dark Bubbles. Not only do they delight kids at birthday parties, but they also make for enchanting backyard gatherings on warm summer nights. Imagine the joy on your loved ones’ faces as they chase after glowing bubbles, illuminated against the pitch-black sky!
In this article, I’ll unveil my personal method for making these mesmerizing bubbles, sharing my tricks, tips, and insider insights every step of the way. Whether you’re planning a kids' party, a romantic evening, or just a unique way to enjoy your garden, making glow-in-the-dark bubbles is sure to leave a lasting impression.
Why Glow-in-the-Dark Bubbles?
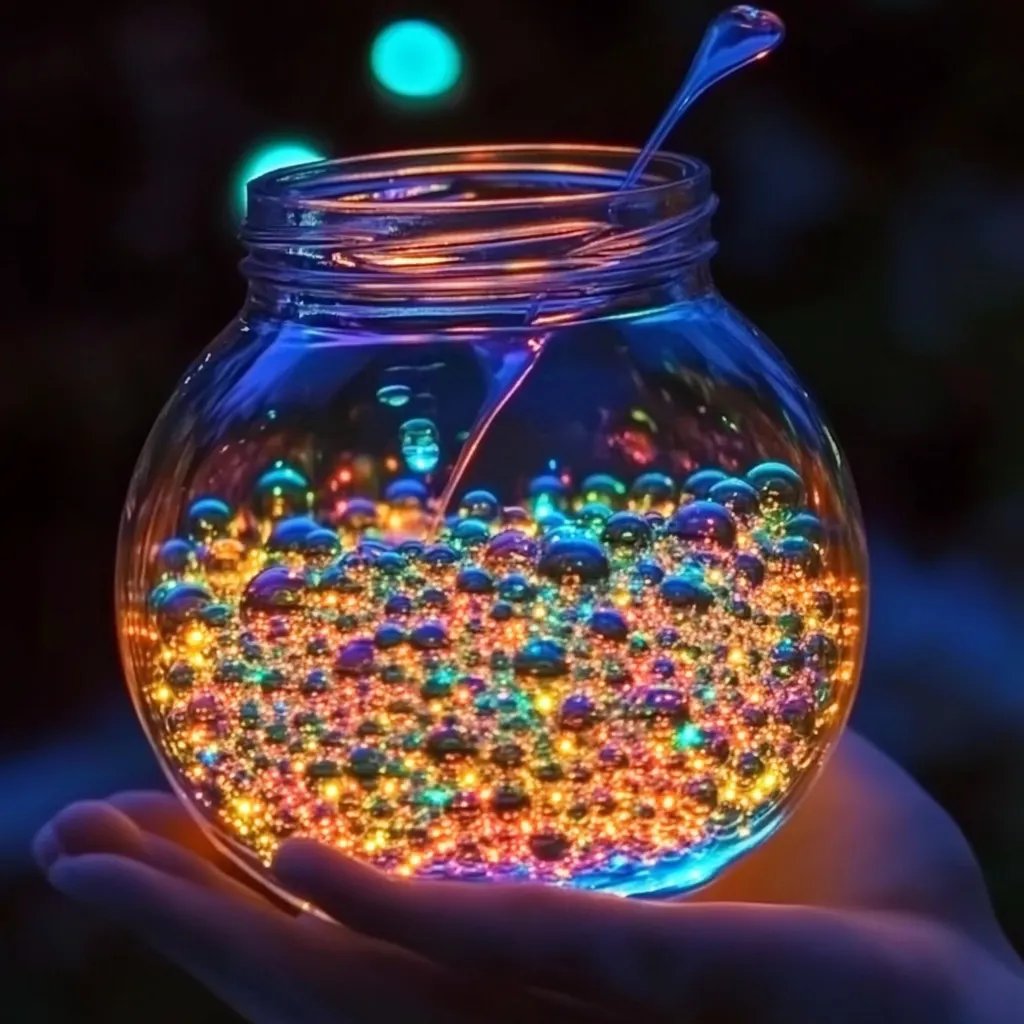
Glow-in-the-dark bubbles blend childhood wonder with a bit of scientific enchantment. They sparkle with soft phosphorescent light as they float and hover. Their glow can last for hours, especially if you follow my tips for enhancing visibility. Plus, they’re incredibly easy to make with readily available materials. They bring spontaneous joy to any occasion—whether you’re hosting a family barbecue or simply enjoying a quiet evening under the stars.
What You’ll Need
Before we dive into the process, gather these materials so that everything is at your fingertips:
- Dish soap (preferably a clear, concentrated brand)
- Water (distilled water works best to minimize impurities)
- Glow-in-the-dark powder (non-toxic; look for “phosphorescent powder” or “glow powder” online or at craft stores)
- Glycerin (optional, but enhances bubble longevity)
- A mixing bowl
- A whisk or a spoon
- Bubble wands (you can buy them or craft your own from pipe cleaners or straws)
- A dark space (for optimal glowing effect)
Step-by-Step Tutorial
Step 1: Mix the Bubble Solution
Why this matters: The right mixture of ingredients will determine the bubbles' strength and longevity.
- In a mixing bowl, combine 1 cup of distilled water with 2 tablespoons of dish soap. This ratio helps create a strong bubble structure.
- If you’re using glycerin, add 1 tablespoon of it to your mixture. Glycerin makes the bubbles last longer by reducing evaporation.
Tip: Always mix gently to avoid creating too many suds, which can make your solution unstable.
Step 2: Add the Glow-in-the-Dark Powder
Why this matters: The glow powder is what transforms ordinary bubbles into enchanting orbs of light.
- Gradually add 1-2 teaspoons of glow-in-the-dark powder to the mixture. The amount you add may depend on the brand; start small and test the glow effect. You can always add more!
Potential Pitfall:
- If the powder is too coarse, it may affect bubble formation. A fine powder works best for seamless bubble creation.
Step 3: Stir and Let it Rest
- Gently stir the mixture until the powder is fully dissolved. Let the solution rest for at least 30 minutes. This resting period allows the ingredients to combine fully, improving bubble strength.
Step 4: Create Bubbles!
- Dip your bubble wand into the mixture, ensuring it’s coated well.
- Blow gently or wave the wand to create bubbles.
Why this matters: Gently blowing ensures that you create larger bubbles that float gracefully rather than bursting immediately.
Fixing Common Issues:
- If your bubbles burst too quickly, your mixture might be too weak; add a bit more glycerin.
- If bubbles aren’t forming well, reduce the airflow when blowing—too much pressure can cause them to pop before they take shape.
Step 5: Prepare Your Glow-Up Atmosphere
- To get the best glow, expose the bubbles to natural or artificial light for at least 10 minutes before releasing them into the dark.
- Find a spot outdoors or in a dark room where your glowing creations can shine.
Creative Variations
- Experiments with Color: Add a few drops of food coloring to your bubble solution for a colorful burst! Just know that this may affect the glow. Aim for lighter colors for the best results.
- Scented Bubbles: You can add a few drops of essential oils or flavor extracts to make your bubble-making experience multi-sensory! Lavender, mint, or lemon will add a delightful scent as you blow your bubbles.
Safety Precautions
While all the ingredients I’ve listed are non-toxic, it’s always wise to follow safety guidelines, especially when crafting with children.
- Glow Powder Safety: Ensure that the glow powder is labeled as non-toxic and safe if ingested. Even though it’s generally safe, preventing kids from putting their hands or wands in their mouths is a smart practice.
- Soap Caution: Don’t let kids consume dish soap. Part of crafting safely is leading by example and reminding young ones to keep their hands clean after crafting.
Final Thoughts
Glow-in-the-dark bubbles have become a staple in my crafting repertoire, and I hope they bring as much joy to your world as they have mine. Making this whimsical treat can be an afternoon of laughs and a fantastic excuse to engage creativity. Remember, crafting is all about experimentation!
If you run into challenges or have a novel twist to add to this recipe, I’d love to hear your experiences. Happy crafting, and may your bubbly creations bring you endless delight! Enjoy illuminating your nights with a little splash of magic! ✨