Crafting Magic: How to Make a Mermaid Sparkle Sensory Bottle
Hello, fellow crafters! Today, I’m excited to share with you a delightful project that not only sparks joy but also serves as a calming tool—welcome to the world of making a Mermaid Sparkle Sensory Bottle. These enchanting bottles are becoming increasingly popular for their mesmerizing aesthetics and therapeutic benefits, making them perfect for both kids and adults alike.
What Is a Mermaid Sparkle Sensory Bottle?
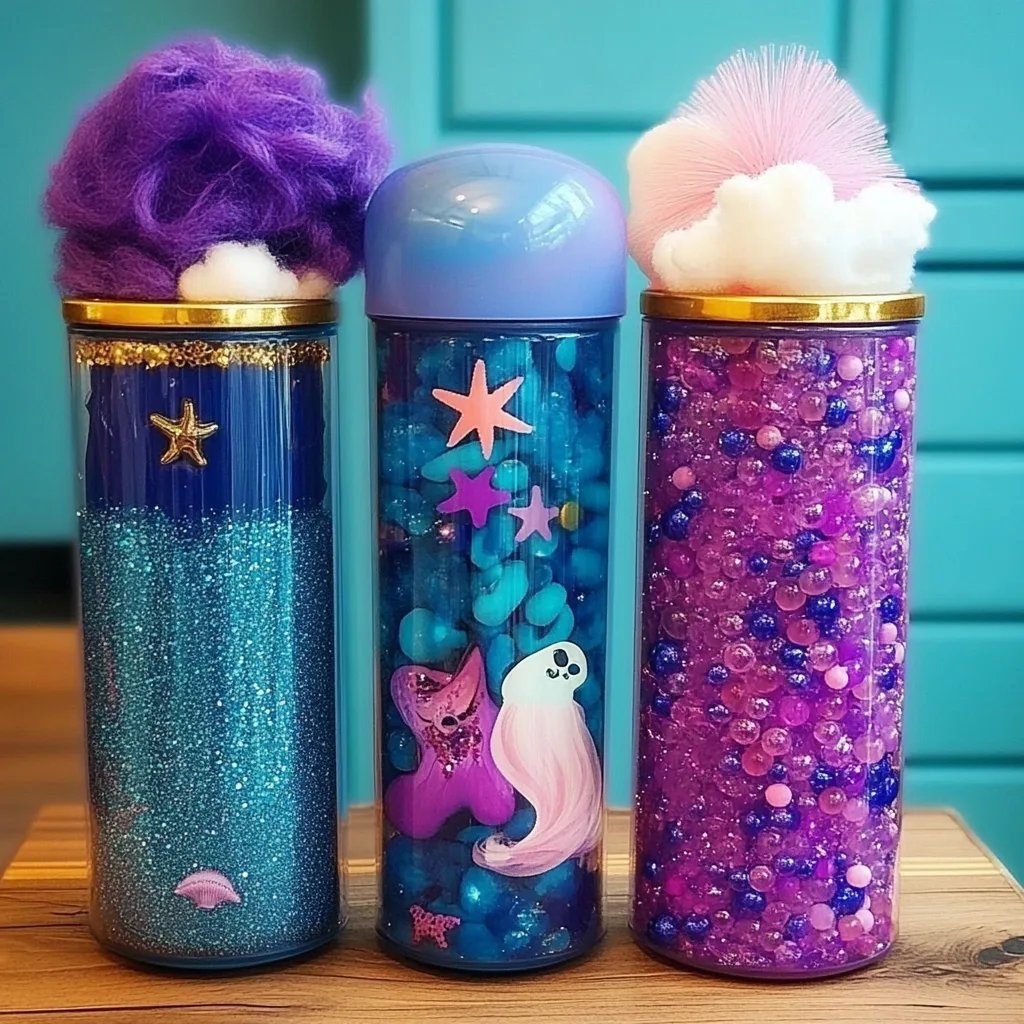
You might be wondering, “What is a sensory bottle?” In simple terms, a sensory bottle is a clear container filled with captivating materials that can be shaken, swirled, or viewed to encourage relaxation and focus. My absolute favorite is the Mermaid Sparkle Sensory Bottle! It is adorned with vibrant blues and shimmering glitter reminiscent of ocean waves and fairy tales.
These bottles are fantastic during quiet-time moments at home, in classrooms, or during stressful times when you need a moment of calm. They can also inspire imaginative play as little ones transport themselves into a magical underwater world.
Why Choose a Mermaid Theme?
Mermaids are whimsical creatures that capture the imagination, and combining them with the calming effects of a sensory bottle makes this craft perfect for all ages. Plus, creating something enchanting together can foster a unique bonding experience!
Gathering Your Materials
Before diving in, let’s assemble all the needed materials. Here’s your comprehensive list:
- A clean, empty plastic bottle: Preferably a clear water bottle or soda bottle. Make sure it’s not too small; you’ll want enough room to work with.
- Water: Fill your bottle about three-quarters of the way full with room temperature water.
- Corn syrup or clear glue: This helps create a slow and mesmerizing movement effect for the glitter and other materials.
- Fine glitter: Opt for various shades of blue, purple, and silver to mimic the ocean's depth. Iridescent glitter can also add a magical touch!
- Small seashells, starfish, or marine-themed decorations: Think fish, mermaids, or any other small trinkets you have on hand!
- Food coloring: A few drops of blue, green, or purple can intensify the color of the water. (Feel free to experiment!)
- Super glue or hot glue: We’ll use this to seal the lid once we're finished.
- Optional extras: If you’d like to add scents, a few drops of essential oils like lavender or eucalyptus can be soothing.
Step-by-Step Tutorial
Now, let’s get crafting! Follow these steps, and I’ll guide you through the process.
Step 1: Prepare Your Bottle
Start by thoroughly cleaning and drying your plastic bottle. Remove any labels to ensure a pristine view of your enchanting creation. If your bottle has a narrow mouth, be patient during the filling process– it can be a bit tricky.
Tip: If you don’t have a clean bottle handy, you could use a mason jar or any clear glass container.
Step 2: Fill with Water
Pour water into the bottle, filling it about three-quarters full. This is the base of your sensory bottle, and using room temperature water will help the glitter and other materials move smoothly.
What Could Go Wrong: Filling the bottle too full will leave no room for the ingredients to mix, potentially causing overflow. Be careful and measure your water!
Step 3: Add Your Thickening Agent
Now, pour in about 1-2 tablespoons of corn syrup or clear glue. This addition creates a beautiful fluid motion for the glitter and any decorative items, simulating the feel of underwater currents.
Pro Tip: If you’re using glue, shake the bottle a little to mix it. If it’s too thick, add a little more water.
Step 4: Add the Glitter and Decorations
Time to infuse your bottle with that sparkly magic! Sprinkle in your colored glitter, mixing shades as you see fit for the perfect mermaid sparkle. Next, add your seashells and marine-themed decorations.
Personal Anecdote: I remember the first time I added small pearlescent beads—I couldn't believe how they caught the light! It turned out even better than I imagined.
Warning: Make sure everything you add is safe and appropriate for the age of the user if they’re little ones.
Step 5: Food Coloring
Drop just a few drops of food coloring into the bottle. You can test a color first in a small cup of water; remember, it can get quite dark! Stir gently if you can, to mix it up.
Step 6: Fill to the Brim
Once your magical components are added, top off the bottle with more water until it's almost full, leaving just a little space for air.
What Could Go Wrong: If you notice bubbles rising, give it a gentle swirl and allow those to dissipate before sealing.
Step 7: Seal Your Bottle
Now it’s time to secure your bottle! Carefully screw on or replace the lid, being sure it’s tight. I highly recommend using super glue or hot glue around the lid for a stronger hold—this step ensures that little hands won’t be able to easily open it.
Creative Variation: For added decoration, you could add a label or decorate the outside of the bottle with washi tape or stickers to give it that personal touch.
Tips for Success
- Testing Movement: After sealing, give your bottle a gentle shake to see how the contents move. Feel free to add more glitter or change the water-to-corn-syrup ratio to get the movement just right.
- Color Mixing: If you’re aiming for specific hues, remember that colors mix! Don’t hesitate to create unique blends.
- Storage: Keep your sensory bottles out of direct sunlight to avoid colors fading over time.
Final Thoughts
Creating a Mermaid Sparkle Sensory Bottle is not just a hands-on activity but a wonderful adventure into creativity. It’s a beautiful way to explore our imaginations and a lovely calming tool for moments of stress.
As an experienced crafter, I've seen the joy these bottles can bring, and I hope you'll take the plunge and create your own magical masterpiece! Don’t forget to share your unique designs and variations; I’d love to see what you come up with!
Happy crafting, everyone! 🌊🐚✨