Crafting Magic: How to Make a Floral Resin Night Light
Introduction
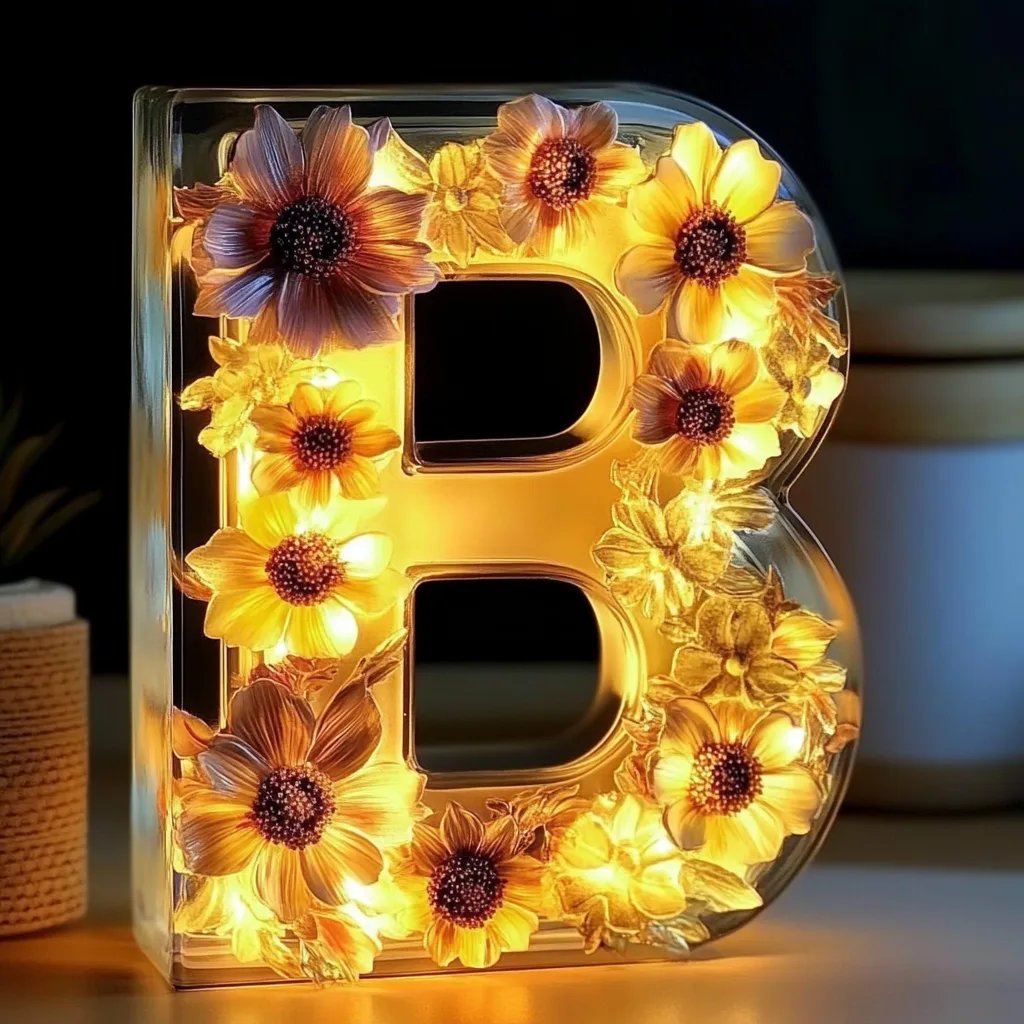
As a seasoned crafter, I often find myself enchanted by the beauty of nature. One of the most delightful ways to capture that magic and bring it into your home is by creating a floral resin night light. These captivating little pieces not only illuminate a room with a soft, warm glow but also serve as stunning decorative elements that showcase your personal style and creativity.
Why is this project so popular, you may wonder? Well, floral resin night lights are versatile, functional, and downright delightful. They are perfect for creating a serene bedtime atmosphere, adding a touch of whimsy to a child's room, or even providing a cozy ambiance to your living space during intimate gatherings. Plus, they make heartfelt gifts for birthdays, housewarmings, or special occasions.
In this comprehensive guide, I’ll walk you through the entire process—sharing personal insights, tips, and alternatives—to ensure you create a unique floral resin night light that you'll be proud to showcase. So, let’s dive in!
Materials You'll Need
Before we begin, gather the following supplies:
- Epoxy Resin Kit – Choose a high-quality, clear casting resin that’s easy to use. My go-to is a 1:1 ratio resin kit, which allows for simpler mixing.
- Silicone Mold – Opt for an easy-to-use silicone mold designed for lights. You can find these online or in craft stores.
- Dried Flowers and/or Leaves – Select vibrant, preserved flowers that will retain their beauty in resin. My favorites include pressed pansies, lavender, and small rose buds.
- LED Light Kit – LED strip lights or a simple LED night light base work beautifully.
- Mixing Cups and Sticks – Use disposable cups and wooden sticks for mixing the resin and hardener.
- Protective Gear – Safety gloves, a mask, and goggles are essential as you will be working with chemicals.
- Isopropyl Alcohol – For cleaning up any spills and de-gassing bubbles.
- Optional: Glitter or Pigment – If you want to add a little extra sparkle to your night light.
Step-By-Step Tutorial
Step 1: Preparing Your Workspace
Creating a floral resin night light can be messy, so it’s essential to prepare your workspace properly. I recommend laying down a plastic drop cloth or newspaper. Make sure the area is well-ventilated, as you'll be working with resin.
Step 2: Choosing and Preparing Your Flowers
Before starting, take some time to arrange your dried flowers and leaves. Arrange them in the mold to visualize how they will look. It’s crucial to ensure that the flowers are entirely dry since moisture can lead to complications during the curing process.
Tip: If you’re unsure how your arrangement will look, make a small test piece first!
Step 3: Mixing the Epoxy Resin
Now, let’s get mixing! Follow the instructions on your epoxy resin kit carefully.
- Pour equal parts of resin and hardener into a mixing cup.
- Stir gently for about 3-5 minutes, scraping the sides and bottom of the cup to ensure thorough mixing without introducing too many bubbles.
Common Mistake: Not mixing adequately can cause uneven curing. If you’re uncertain, continue mixing until you achieve a homogenous mixture with no streaks.
Step 4: Pouring the Resin and Placing the Flowers
Once your resin is mixed, pour a small layer into the mold—enough to just cover the bottom. This will act as a base for your flowers. Let it sit for a few minutes to allow any bubbles to rise to the surface.
Now, gently place your flowers into the resin. The positioning is key; you want each flower to be visible but also secure. Pour more resin on top until the flowers are fully submerged.
Step 5: Curing the Resin
Cover your mold with a dust-proof container or a box to protect it from dust and debris while it cures. Follow the curing time specified on the resin package, typically 24 to 72 hours.
Tip: Avoid moving your mold during this time, as shifting can cause the flowers to float or distort.
Step 6: Demolding
Once the resin is fully cured, carefully remove the piece from the silicone mold. Sometimes, the edges may be rough. A fine sanding sponge can come in handy here to smooth out any imperfections.
Caution: Exercise care during this step. If the resin feels too bendy, it may not be fully cured.
Step 7: Assembling the Night Light
Insert your LED light kit into the base of your resin piece. If you've used a clear epoxy resin, the light will beautifully illuminate the flowers, creating a stunning effect.
For a more dynamic look, secure some fairy lights within your mold before applying the final layer of resin.
Fix-It Tip: If the light doesn’t fit perfectly, you can use a craft knife to trim the resin edges or make adjustments as needed.
Step 8: Finishing Touches
You can add a layer of UV resin on top to give it a high-gloss finish, creating an aesthetic similarity to glass.
Tips and Alternatives
- Flower Alternatives: If you can’t find dried flowers, consider using artificial flowers or even items like sandy shells for a beach-themed project.
- Layering Colors: Adding colored pigments can create an enchanting, layered effect within your night light. Just remember to verify that the colors you choose will mix well.
- Candle Substitute: If resin isn’t your thing, consider using wax in a traditional candle mold, paired with flowers nestled throughout the wax.
Safety Warnings
Always wear gloves and a mask when handling resin. Make sure your workspace is well-ventilated, and clean up any spills immediately using isopropyl alcohol. Never dispose of uncured resin down the sink; check with your local waste disposal guidelines.
Conclusion
And there you have it: a gorgeous floral resin night light that adds beauty and warmth to any space! I hope this guide inspires you to create your own unique designs. Crafting is a wonderful way to express creativity, and I encourage you to experiment and find your personal touch. Whether you decide to gift it to a loved one or keep it for yourself, this project is sure to bring joy for years to come.
As you embark on your crafting journey, remember that practice makes perfect. Don’t be disheartened if things don’t turn out exactly as you envisioned at first. Each piece is a reflection of your creativity, and there’s beauty in that process. Happy crafting!