Crafting Magic at Home: How to Make Your Own DIY Suncatchers
Hello fellow crafters! Today, I’m excited to bring you into my creative world as I share my love for DIY suncatchers—a delightful craft project that can transform your space into a vibrant oasis of color and light. Not only are suncatchers lovely decorative pieces, but they also serve as beautiful reminders of creativity and joy every time sunlight dances through them.
Why Suncatchers?
Suncatchers have become a popular choice among crafters of all ages, and for good reason. These stunning creations catch sunlight and refract it into beautiful patterns around your space, making them perfect for windows, porches, or even as gifts. They’re fantastic for brightening up the dreary days of winter or simply celebrating the warm hues of summer. Additionally, making suncatchers can be a fun, calming activity, a wonderful way to express your creativity, and a chance to spend quality time with family or friends.
Materials You’ll Need
Before we dive into the crafting process, let’s gather the necessary materials. Don’t worry; you don’t need to be an expert crafter to do this!
- Clear Plastic or Acrylic Sheets – These will serve as your base. You can find them at craft stores. I often repurpose old plastic containers if I’m feeling eco-friendly.
- Permanent Markers – Any color you like, but vibrant ones work best for maximum effect.
- Scissors – For cutting your plastic sheets to the desired shape.
- Glue – Mod Podge or any craft glue will work, but I recommend using something that dries clear.
- String or Fishing Line – To hang your suncatcher.
- Optional Decorations – Glitter, beads, or other small embellishments can add extra flair.
- Paintbrush – If you’re using glue or Mod Podge, a paintbrush will help you apply it evenly.
Step-by-Step Guide to Creating Your DIY Suncatcher
Step 1: Prepare Your Workspace
Start by finding a clean, flat workspace to set up your project. I like to lay down a drop cloth to protect my table, as crafting can get a little messy—trust me! Arrange all your materials within easy reach so you can flow through the process without interruptions.
Step 2: Choose Your Design
Before you begin, I suggest brainstorming a design. Traditional shapes like hearts, stars, or circles work beautifully, but don’t hesitate to explore abstract patterns or nature-inspired designs. Sketch your idea on paper first; this will serve as a template when you start creating on the plastic sheets.
Step 3: Cut Out the Base
Using your scissors, carefully cut your plastic sheets into the shape you’ve chosen. Here, take your time. If you rush, your edges may not be as clean or might even crack. If you’re working with an irregular shape, a craft knife works wonders for precision. Remember to cut slightly larger than your intended size—there’s always time to tweak it later.
Step 4: Color Your Design
Now comes the fun part! Grab your permanent markers and bring your designs to life. Don’t be afraid to experiment with layering different colors and patterns. One of my favorite techniques is to create gradients by blending colors together. Just remember that darker colors might limit the light that shines through them.
Personal Anecdote
I once made a suncatcher with my niece, who decided to create a rainbow. Little did I know that she’d use every color, layering them thickly. The result? Spectacular! The colors were bold and vibrant, catching light in a way I had never seen before.
Step 5: Adding Extra Details
If you want to enhance your suncatcher, this is the time to incorporate any optional decorations. Now, I usually recommend using glue sparingly because too much can create a cloudy effect. If you want to add glitter or beads, sprinkle them lightly and let them stick to the designed area. This step allows for personal expression—every suncatcher tells a story!
Step 6: Protect Your Art
Once you’re satisfied with your design, apply a thin layer of clear glue or Mod Podge over your artwork. This not only protects your masterpiece from fading due to sunlight exposure but also gives it a polished look. I like to use a paintbrush for this process to ensure an even coating. Let it dry completely, usually about an hour, depending on the size and thickness of the layer.
Step 7: Create a Hanging Mechanism
While your suncatcher is drying, it's time to create a way to hang it. Using a hole punch, create a hole at the top of your suncatcher. Thread a piece of fishing line or string through it, and tie a knot. If you’re making a larger suncatcher, you might want to reinforce the area around the hole with a little extra glue.
Tips and Common Issues
- Don’t Rush – Crafting is about the journey, not just the final product!
- Color Mixing – If you mix colors and create mud, don’t worry. Just experiment with lighter shades on top for vibrancy.
- Easily Clean Mistakes – If you accidentally make a line where it shouldn’t be, rubbing alcohol can help erase unwanted marks before the ink dries.
- Weak Structure – If your suncatcher bows or feels flimsy, consider doubling your plastic for added sturdiness.
- Lighting – Play around with where you hang your suncatcher until you find the spot where it shines best!
Alternative Methods
If you’re looking for alternatives, consider these variations:
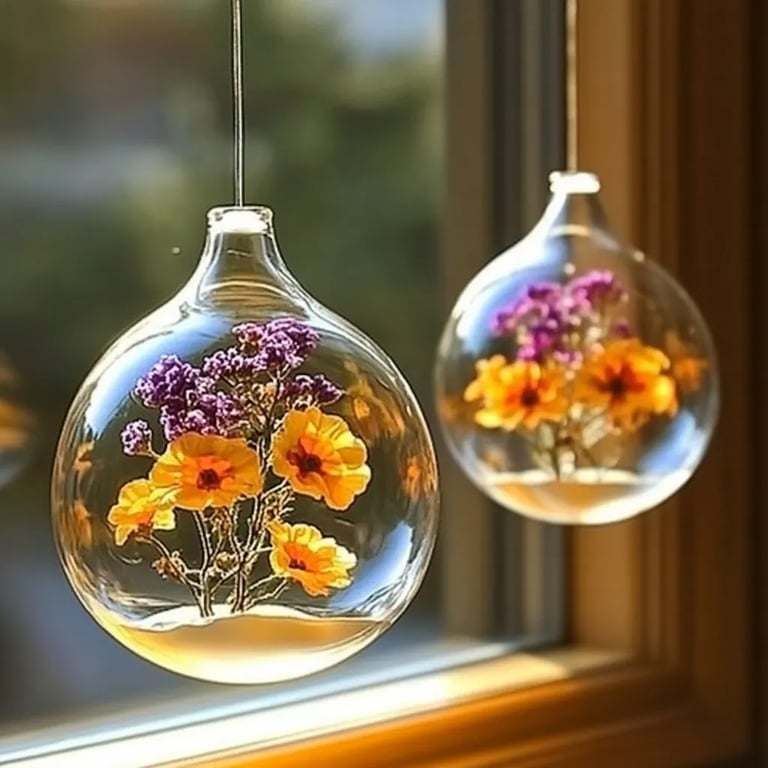
- Suncatcher with Natural Elements: Use pressed flowers or leaves between two sheets of clear plastic for a nature-inspired look.
- Melted Crayon Suncatchers: Instead of markers, you can use crayon shavings. Place the shavings between two pieces of wax paper and iron them using a low setting (with a damp cloth in between) for a mesmerizing effect.
Final Thoughts
And voila! You’ve now created a stunning DIY suncatcher! I hope you find this craft as enjoyable and fulfilling as I do. Don’t forget to showcase your new artwork in a sunny spot to soak in all its vibrant glory.
Sharing this process brings me so much joy, and I encourage you to take it a step further by inviting friends or family into your crafting journey. Trust me; the smiles you’ll create together will twinkle just as beautifully as your new suncatcher!
Happy crafting! 🌞