Crafting Joy: How to Make DIY Flowers Salt Painting for Kids
Hello, fellow crafters! Today, I’m thrilled to share one of my all-time favorite activities to do with kids: making DIY flowers salt painting! Not only is this project a fun and creative way to spend an afternoon, but it also fosters artistic expression and sensory play for children. As a seasoned crafter, I believe in the power of hands-on experiences, and salt painting is both accessible and magical, making it perfect for kids of all ages.
What is DIY Flowers Salt Painting?
Salt painting is an intriguing art technique that involves using salt to create textured, colorful designs. The salt absorbs liquid watercolor paints, creating vibrant, flowing patterns. This method not only mesmerizes children but also introduces them to color theory, mixing, and the basic principles of art.
Creating DIY flowers salt painting can be done at home, in classrooms, or during summer camps. It’s a perfect weekend project or an inspiring indoor activity during rainy days. The skills gained through this activity can bolster creativity and fine motor skills, so let’s dive into how to make this delightful craft!
Materials You’ll Need
Before we jump into the process, let’s gather the materials. Here’s a comprehensive list of what you’ll need:
- Cardstock or Thick Watercolor Paper (for better absorption)
- White School Glue
- Table Salt (coarse salt works best)
- Liquid Watercolors (or food coloring mixed with water)
- Small Bowls or Containers (for watercolors)
- Paintbrushes (various sizes)
- Cookie Sheet or Tray (to catch excess salt)
- Crafting Tray (optional) (to contain mess)
- Paper Towels (for cleanup)
Safety Note:
While the materials listed are generally safe, it’s important to supervise younger children during the crafting process, particularly with paint and glue, to avoid ingestion or mess-related accidents.
Step-by-Step Guide to Making DIY Flowers Salt Painting
Now comes the exciting part! Follow these steps to create your very own flowers salt painting masterpiece.
Step 1: Plan Your Design
Before we dive into the messy fun, I find it helpful to sketch out our flower designs on paper. This gives kids a chance to think about shapes and sizes. Encourage them to let their imaginations bloom! Simple flower outlines with petals, leaves, and maybe even a sun will keep them focused.
Step 2: Create the Glue Design
Once your sketch is ready, it’s time to bring it to life. Using white school glue, trace the outline of your flowers directly onto the cardstock. It’s important to apply a generous amount, as this ensures a good texture when we apply salt.
Tip:
Make sure the layers of glue are smooth and even. Uneven glue can lead to clumpy or poorly formed designs.
Step 3: Add the Salt
While the glue is still wet, carefully sprinkle salt over your flower designs. This step is crucial since the salt needs to absorb the glue to create the magical effect later. You want to cover every bit of glue, so don’t be shy!
What Could Go Wrong:
If you wait too long for the glue to dry, the salt won’t stick effectively. If this happens, gently shake the salt off and reapply the glue in the areas where it missed.
Step 4: Shake Off Excess Salt
After covering the glue with salt, hold the paper above a cookie sheet and gently shake off any excess salt. You want to keep the salt that directly touches the glue. This is a vital step in getting that perfect crystal effect.
Step 5: Drying Time
Now, let your glued design dry completely. This might take a couple of hours up to overnight. I often use this time to chat and play with the kids about colors or even the science behind why salt behaves the way it does with moisture.
Step 6: Paint Your Masterpiece
Once the glue is dry, it’s time to bring color to our flowers! Prepare your liquid watercolors by pouring them into small bowls. Using paintbrushes, carefully paint over the salt-covered glue. The colors will spread beautifully across the salt, energizing the design!
Tip:
Remind kids to use watercolors in moderation. Less is more! They can slowly build up color rather than piling it on, helping them understand saturation.
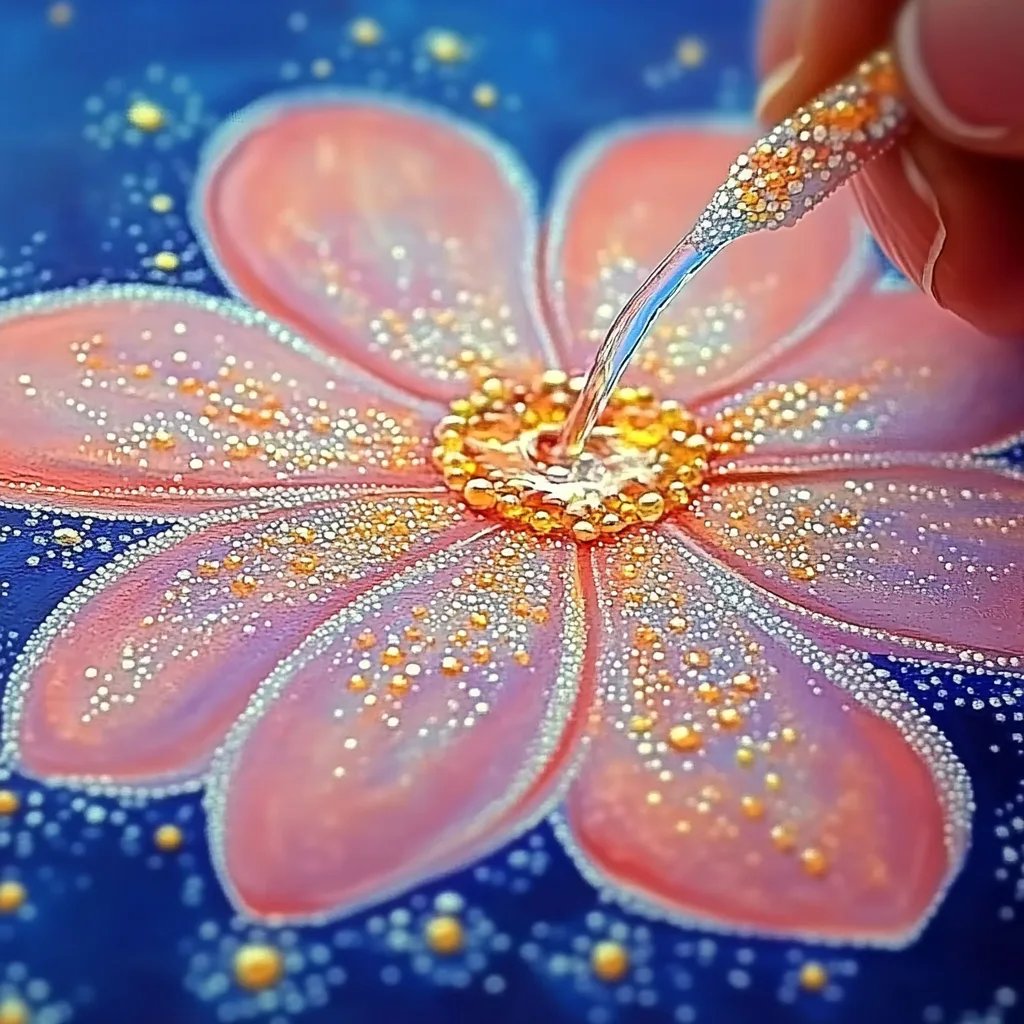
Step 7: Watch the Magic Happen
As the watercolors hit the salt, watch as they spread and blend! If a section doesn’t soak in as expected, encourage kids to sprinkle a tiny bit more salt or paint over the area.
Alternative Method:
If you don’t have watercolors, you can use diluted food coloring mixed with water, achieving a similar effect! It’s a creative way to save on materials while still delivering a vibrant track.
Step 8: Final Touches
Once the painting is complete, set the artwork aside to dry completely. I love showcasing these beauties on windowsills or hanging them on the fridge to admire their creativity.
Step 9: Cleanup
Finally, don’t forget to tidy up! Remember to gently wipe off any leftover salt and paint from the table. Encourage kids to take part in the cleanup process, making it a teachable moment about responsibility.
Troubleshooting Common Issues
- Salt Doesn't Stick: As mentioned, if salt doesn’t stick, it might be dry already. Be sure to work quickly!
- Colors Bleeding: For unexpected bleeding or blending, don't panic. This can lead to unique designs. Celebrate those happy accidents!
Creative Variations
Once you’ve mastered the basic flower salt painting technique, consider these fun variations:
- Themed Designs: Greetings cards for holidays like Mother’s Day, or birthday cards can enhance your crafting experience.
- Texture Play: Use a variety of salts (like Epsom salt) for different textures and effects.
- Layered Art: Have kids create multiple layers of designs by painting and adding more glue and salt after the first layer dries.
Final Thoughts
I cherish the time spent creating DIY flowers salt painting projects with kids. Each step allows for creativity to flow while also learning about art and science! This captivating process encourages the use of our senses, ignites imagination, and creates lasting keepsakes.
I hope you find this guide helpful and feel encouraged to dive into your crafting journey. Remember, the beauty of art lies within the journey, not the destination. Happy crafting!