Crafting Joy: How to Make Adorable Popsicle Stick Love Bugs
Hello, fellow crafters! Today, I'm excited to take you through the process of creating some wonderfully whimsical Popsicle Stick Love Bugs. These charming little creatures are not only delightful to look at, but they also serve as the perfect project for heartfelt occasions like Valentine’s Day, birthday parties, or even as a fun craft to do with kids during a rainy afternoon. With a blend of imagination and some simple materials, you’ll be able to bring these adorable bugs to life—and trust me, they’ll become instant favorites in your crafting repertoire!
What Are Popsicle Stick Love Bugs?
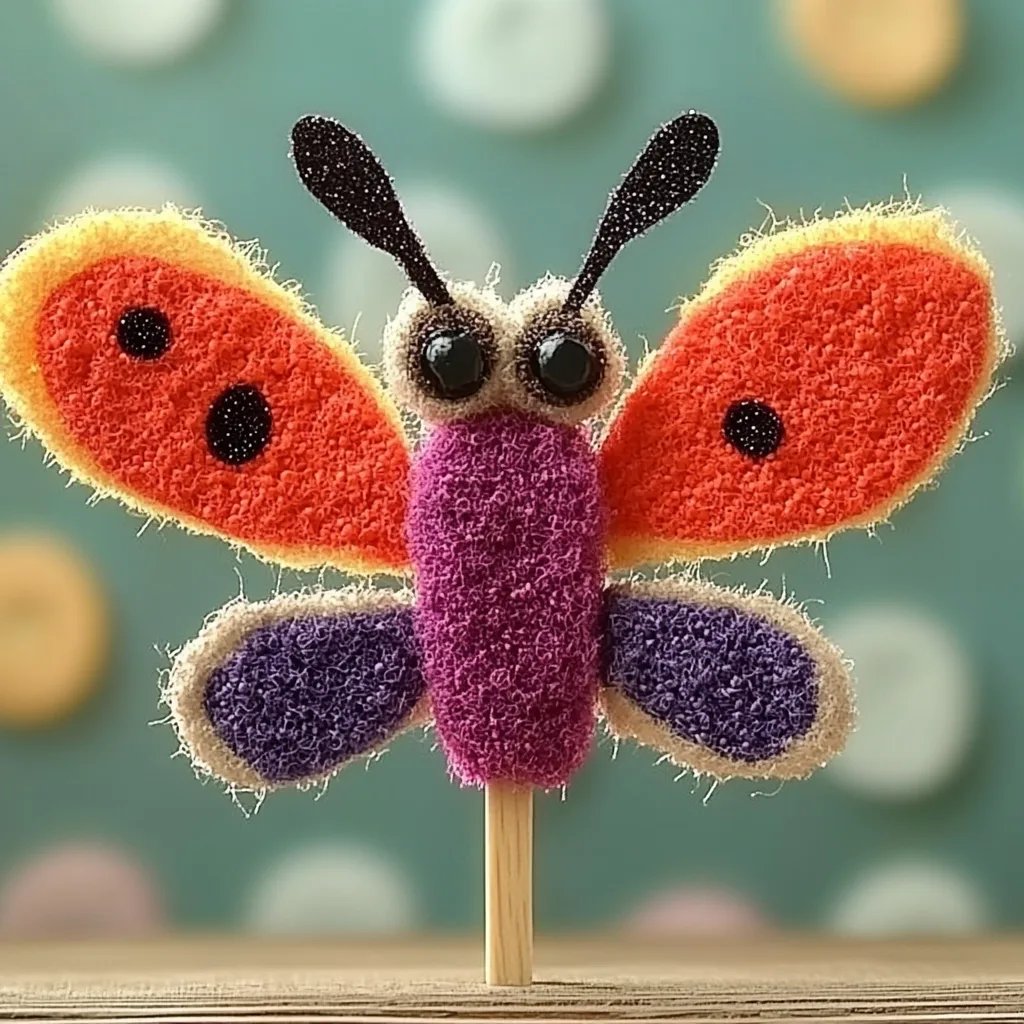
Popsicle Stick Love Bugs are colorful, cheerful little decorations made from craft sticks—typically the classic wooden popsicle sticks. They are often designed to resemble cute insects, complete with big googly eyes, colorful wings, and charming antennae. Not only do they spark creativity, but making these love bugs also offers a wonderful opportunity for kids and adults alike to bond and express their artistic flair. Whether you want to craft them as a loving gift or as a classroom decoration, these bugs are versatile enough to fit any occasion that celebrates love and creativity!
Why Make Popsicle Stick Love Bugs?
- Engagement: This craft is a fantastic hands-on activity that can keep both children and adults engaged.
- Learning: Kids can learn fine motor skills, color recognition, and even a bit of insect anatomy!
- Customization: You can personalize each bug to represent different personalities or themes, making them unique.
- Ease: The materials required are super accessible and usually found around the home.
Now, let me guide you through the process step-by-step!
What You'll Need
Before we dive in, gather the following materials to set the stage for your crafting adventure:
- Popsicle sticks (at least 4-6 for each bug)
- Acrylic paint (red, yellow, green, blue, or your favorite colors)
- Paintbrush (or a foam brush for easy application)
- Googly eyes (big or small, depending on your preference)
- Construction paper or cardstock (for wings and antennas; any colors you like)
- Craft glue (or a hot glue gun, keeping in mind safety if using hot glue)
- Scissors
- Markers or colored pencils (for added decoration)
- Optional: Glitter, sequins, or stickers for embellishment!
Step-by-Step Tutorial: Making Your Love Bugs
Step 1: Prepare Your Workspace
A clean, organized workspace is essential. Lay down some newspaper or a plastic covering to protect from any splatters. This is where the fun begins! I always make sure to keep my essential tools within arm's reach: Glue, scissors, and paint.
Step 2: Painting the Popsicle Sticks
- Why This Step is Important: The paint will be the foundation of your love bug's personality, so feel free to experiment with colors.
- Here’s How to Do It:
- Take your popsicle sticks and paint them in your desired base color. I usually choose vibrant colors like red or blue for that classic love bug look.
- Use even strokes, and let each coat dry before applying a second coat if necessary.
- Tip: If you accidentally spill some paint, don't fret! Just grab a damp cloth to wipe it off right away, and keep some soapy water nearby for cleanup.
Step 3: Creating the Wings
- Alternative Methods: You could use old gift wrap or magazines for unique patterns.
- Steps:
- While the popsicle sticks dry, cut out wing shapes from the construction paper. Think about the type of insect you want to mimic—beetles, butterflies, or ladybugs all have different wing shapes.
- For a more dynamic look, you can layer the wings by cutting two pieces in different sizes or colors.
Step 4: Assembling the Bugs
- Why It Matters: Proper assembly creates a sturdy final product.
- Assembly Steps:
- Once your sticks are dry, lay them out to form the body. You can use two sticks for the body and two for the legs or go for a single stick with detailed wing attachments.
- Attach the wings using craft glue or a glue gun, securing them at the top. Remember, patience is key—let it dry firmly!
- After the wings, stick on the googly eyes with glue. Sometimes, I like to get creative and use a marker to draw on additional features like a smile or whiskers!
Step 5: Adding Antennae and Extra Details
- Creative Variations: Experimenting with different materials can yield fun surprises!
- Antennae Instructions:
- Cut thin strips of construction paper or use pipe cleaners to create antennae. Bend them to give a cute, curvy effect.
- Secure them to the top of the love bug’s head with glue.
Adding details like glitter, stickers, or patterned designs on the wings can elevate your love bug from ordinary to extraordinary. Don’t be shy—get creative and enjoy the embellishing process!
Common Issues & Solutions
- Paint smudging: If you accidentally touch a wet area, simply wait for it to dry, then touch up that part.
- Glitter fallout: To avoid excessive glitter mess, consider applying glitter glue instead of loose glitter.
- Heavy wings: If your bug’s wings are too heavy, simply transfer to lighter material or reinforce with additional glue.
Safety Warnings
- When using scissors, always supervise younger crafters. The same goes for the hot glue gun—clear instruction and caution are vital.
- Make sure to read labels on all products to ensure they are non-toxic, especially if involving children.
Final Thoughts & Creative Variations
Crafting Popsicle Stick Love Bugs opens a world of creativity. You can explore themes like seasonal colors for different holidays, or create a whole family of bugs to symbolize those you love. Perhaps make them as bookmarks or even gifts for friends!
Regardless of the end product, I believe the joy is in the process of creation. Remember, there are no mistakes in crafting—only opportunities for deliciously creative detours.
As you embark on this crafty journey, don’t hesitate to share your creations with the world! Happy crafting, and may your love bugs bring smiles to everyone who sees them!