Crafting Frozen Fractal Ice Sculptures: A Whimsical Winter Adventure
Welcome, fellow crafters! I'm thrilled to share my journey into the enchanting world of frozen fractal ice sculptures. These exquisite creations not only captivate the eye but also serve as delightful decorations for winter celebrations, themed parties, or even just as a personal touch to brighten the home during the chilly months. If you’ve ever admired delicate ice patterns formed by nature and wished to replicate their beauty, you’re in the right place!
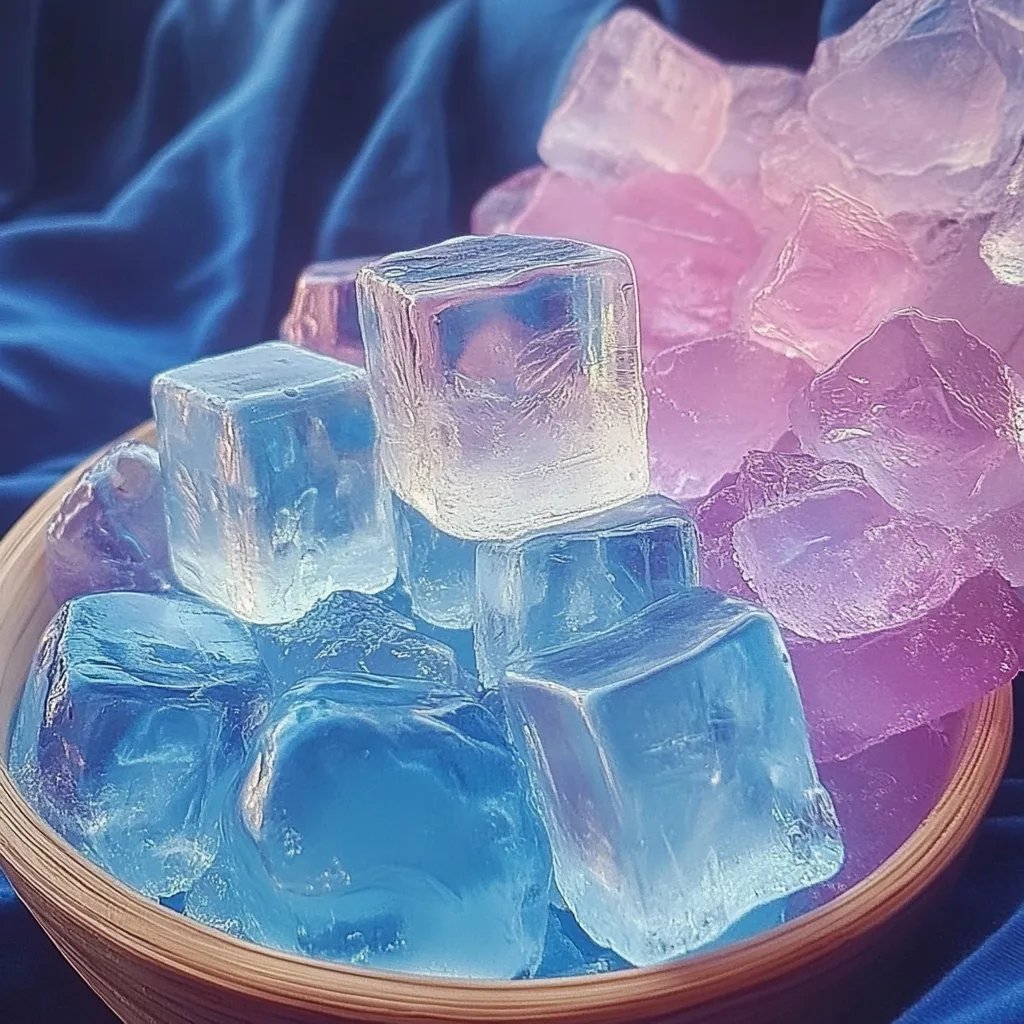
With their intricate designs and ephemeral beauty, frozen fractal ice sculptures have become increasingly popular for events like winter weddings, holiday gatherings, and even artistic display pieces. They encapsulate the fragile essence of winter—transitory yet breathtaking—making them a perfect focal point to evoke the magic of the snowy season.
Why Frozen Fractal Ice Sculptures?
These sculptures are not just captivating; they also enhance the atmosphere of any event with their ethereal glow when illuminated and their shimmering surfaces reflecting light. They create a stunning visual experience, often sparking conversations and admiration from guests. Plus, they offer a fantastic opportunity for crafters to engage creatively with winter elements.
Essential Materials
Before we dive into the crafting process, let’s gather our materials. You likely have most of these at home, but don’t worry if you need to pick a few up:
- Water (preferably distilled for clarity)
- Large container or mold (like a silicone mold or a large bowl)
- Natural items for decoration (like leaves, berries, or pine needles)
- Food coloring (optional, for colored ice)
- String lights or LED tea lights (optional, for illumination)
- Wooden sticks or skewer sticks (for mixing and supporting decorations)
- Freezer (an ample space to accommodate your creation)
Step-by-Step Tutorial
Now that we’ve gathered everything, let’s craft our stunning frozen fractal ice sculpture!
Step 1: Design Your Sculpture
Before any physical work begins, I like to sketch a rough idea of what I want my sculpture to look like. Think of the elements you want to incorporate, such as twigs, leaves, or berries. This planning stage is crucial; it sets the creative direction and helps keep you organized.
Step 2: Prepare Your Mold
Select a suitable container or mold for your sculpture. If you’re using a large bowl, ensure it’s freezer-safe. I find that silicone molds work wonders, as they are flexible and allow for easy removal of your sculpture.
Step 3: Layering Elements
- Fill Your Mold: Pour a layer of distilled water—about an inch deep. This initial layer will create a base for your natural decorations.
- Add Natural Items: Place your chosen leaves, berries, or pine needles into the water. This is where you can get creative! Arrange them attractively in your mold.
- Add More Water: Pour another layer of water over your items. The key here is to ensure that each layer freezes solid before adding the next. If you skip this step, your decorations may just float to the top and not be encapsulated in the ice.
Step 4: Freezing Process
Now, put your mold in the freezer. I typically let it freeze overnight to ensure it's solid. Keep in mind that factors like the thickness of your mold and the temperature of your freezer may affect freezing time.
Step 5: Unmolding Your Ice Sculpture
When you're ready to reveal your masterpiece, remove the mold from the freezer. If you're using plastic or silicone, gently pull at the sides or use warm water on the outside of the mold for easier release. If your ice sculpture does not come out easily, it may need a little more thawing time or a bit of gentle pressure.
Step 6: Adding Final Touches
Once you’ve unmolded your sculpture, you can further embellish it. If you want to add string lights, gently press them into the ice, creating a beautiful glow. If you desire a pop of color, try adding colored water during the layering for mesmerizing effects.
Troubleshooting Common Issues
Problem: Decorations floated to the top.
Solution: Make sure each layer is fully frozen before adding the next. If it happens again, try using heavier items or securing lighter items to a skewer stick that goes deeper into the water, anchoring them.
Problem: The sculpture broke during unmolding.
Solution: This can happen if the ice wasn’t frozen solid enough or was unmolded too quickly. Patiently allowing it to thaw slightly will help lessen the chance of breakage.
Safety Warnings
While crafting is fun, I must emphasize the importance of safety. When handling hot water for thawing molds or using sharp objects like skewer sticks, make sure to keep safety in mind to avoid any accidental injuries.
Creative Variations
- Colored Ice: To create vivid colors, mix a few drops of food coloring into your water before freezing. Layering different colors can result in stunning multi-colored sculptures.
- Personal Touch: Incorporate personal mementos like small photographs or toy figures into the ice to add a heartfelt touch for special occasions.
Conclusion
Crafting frozen fractal ice sculptures is not only a delightful winter activity but also a mesmerizing showcase of your creativity. With simple materials and straightforward steps, you’ll create your winter wonderland in no time. I encourage you to experiment, share your designs, and make it a family affair!
The beauty of these sculptures lies in their temporary nature, capturing a single moment of winter magic that, while fleeting, can inspire joy and wonder in those who see it. So grab your supplies and let your imagination run wild—your frozen fantasy awaits! Happy crafting!