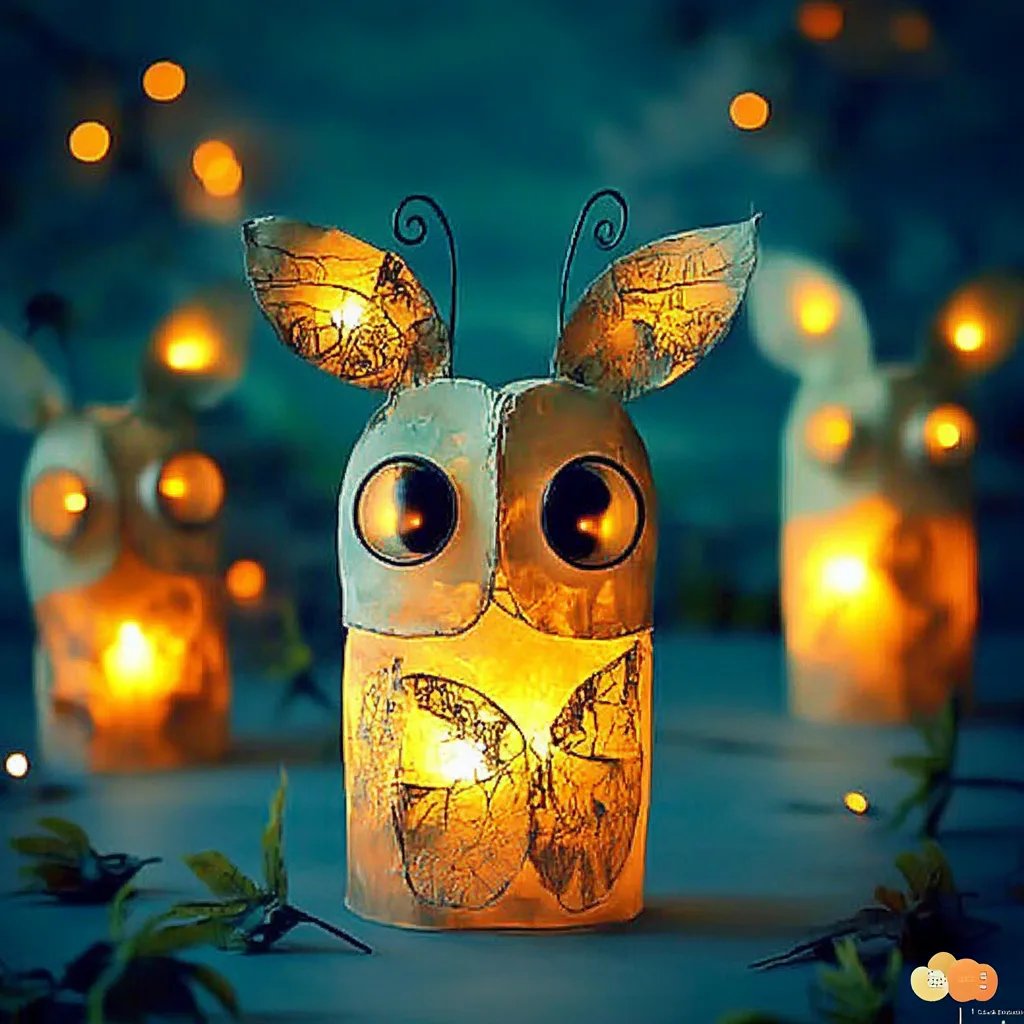
Crafting Enchantment: How to Create DIY Fireflies
As the warm breezes of summer weave through our backyards and early evenings invite us into the sparkling twilight, the gentle glow of fireflies comes alive, transforming our surroundings into a scene from a fairytale. These twinkling wonders have always fascinated me—not only for their beauty but also for the soft, nostalgic charm they bring to an evening’s gathering or a serene moment spent outdoors. But what if I told you that you could recreate this magical experience right in your own home? Today, I’m excited to share the process of making DIY fireflies that will not only illuminate your space but also bring joy and creativity into your crafting routine!
These DIY fireflies are perfect for various occasions: summer parties, romantic evenings, kids’ craft activities, or even cozy home decor. The best part? You don’t need to be an expert crafter to make these; with easy-to-find materials and a bit of creativity, you can transform simple items into shimmering delights.
What are DIY Fireflies?
In essence, DIY fireflies are glowing lanterns that mimic the enchanting look of real fireflies, using materials such as LED tea lights, glass jars, tissue paper, and more. They can serve as decorative pieces indoors or outdoors, creating a whimsical atmosphere and igniting the imagination of both kids and adults.
Why They’re Popular
Over the years, I’ve seen these charming creations take off in popularity for several reasons:
- Versatility: They can be customized for any theme or party.
- Safe and Eco-friendly: Unlike real fireflies, these LED creations are safe for children and pets, plus they promote sustainability by repurposing materials.
- Creative Outlet: This project allows crafters to express their creativity and make something beautiful.
- Engaging for Kids: The glowing effect captures children’s attention, making it a fun and educational craft that they can participate in.
Materials Needed
Before we dive into the steps, let’s gather the materials you’ll need. Don’t worry if you don't have everything on this list—I'll suggest some alternative options as we go along!
Basic Materials:
- Clear glass jars (mason jars, old candle holders, or even recycled jars)
- LED tea lights (battery-operated for safety)
- Tissue paper (green, yellow, or any other vibrant colors you prefer)
- Scissors
- White school glue or Mod Podge
- Paintbrush (for applying glue)
- Wire, twine, or ribbon (for hanging if desired)
Optional Decorative Items:
- Glitter or glow-in-the-dark paint (for added flair)
- Small pebbles or sand (to give your jars some weight)
- Stickers, beads, or any embellishments you have at home
Step-by-Step Tutorial
Now that we have our materials ready, let’s bring these enchanting fireflies to life with a hands-on crafting experience.
Step 1: Preparing the Jars
Why this matters: The first step sets the foundation for your project. Clear jars will effectively allow the light to shine through, creating that glowing effect.
- Clean the jars thoroughly to remove any labels or residue. You want a smooth surface for the glue to adhere to.
- Dry them completely to avoid any water that could interfere with the adhesive.
Tip: If your jar has a distinctive label, use warm soapy water or soak it in vinegar to help remove the sticky residue.
Step 2: Designing the Firefly Bodies
Why this matters: The design will reflect the glowing ambiance you want to achieve. Brightly colored tissue paper adds vibrancy and whimsy to your creation.
- Cut the tissue paper into squares or shapes—about 2-3 inches in size. I recommend mixing colors for a lively effect!
- Using your paintbrush, apply a layer of glue on the surface of the jar where you want to place the tissue paper.
- Gently place the tissue paper onto the glued area, smoothing out any wrinkles and ensuring it adheres well.
- Layer different colors if you desire, applying more glue over the top of each piece as you go along.
Warning: Be mindful of how much glue you use. Too much can cause the colors to bleed, while too little will lead to pieces peeling off.
Step 3: Adding the LED Lights
Why this matters: The key to your firefly effect lies in strategically placing the lights.
- Once the tissue-covered jars are dry (approximately 30 minutes), take your LED tea lights and insert them into the jars.
- For a dynamic look, I typically like to place the lights at different depths within the jar. This creates a layered glow.
Trouble-shooting: If you find that the light isn’t as bright as you'd like, check to make sure the LED tea light is functioning properly or consider using higher wattage lights, if available.
Step 4: Finishing Touches
Why this matters: Adding extra details will enhance the overall aesthetics of your fireflies and add character.
- If you'd like to secure the tea light in place, add some marbles or sand at the bottom of the jar for weight.
- Use twine to wrap around the top of the jar or create a handle if you wish to hang your fireflies. This step is entirely optional but adds a decorative touch.
- For an extra dash of magic, sprinkle some glitter inside the jar before sealing it with the lid.
Creative Variations
Feeling adventurous? Here are some fun variations to consider:
- Fairy Jars: Paint the outside of the jars with glow-in-the-dark paint or use a spray version for a more intricate design.
- Theme-Based Decor: Target specific holidays or parties by using themed colors or shapes for your fireflies. Think orange and black for Halloween, or red and green for Christmas.
- Outdoor Displays: Use larger jars and incorporate small LED string lights or battery-operated fairy lights to up the sparkle factor when used outdoors.
Personal Anecdotes
I remember the first time I made these DIY fireflies with my children. Inhaling their laughter and watching them excitedly choose colors was a heartwarming experience. We placed the finished jars in our backyard, and as the sun set, their faces lit up with delight when they noticed the jars glowing. It rekindled my love for crafting, reminding me of the magic that creativity can inspire.
Safety Warnings
While crafting, ensure you:
- Use scissors carefully, especially if children are involved.
- Ensure LED lights are properly functioning to avoid any electrical mishaps.
- Supervise youngsters, particularly when working with small items.
Conclusion
Creating DIY fireflies not only beautifies your space but also fosters creativity, brings families together, and cultivates fond memories. With just a few simple materials, you can conjure up a sense of magic in your home. I hope this detailed guide serves as an encouraging companion as you embark on your crafting journey. Remember, there’s no right or wrong way to create—let your imagination lead the way, and enjoy the whimsical glow that your handmade fireflies will bring! Happy crafting!