Crafting Eco-Friendly Bioplastic Suncatchers: A Sustainable DIY Adventure
Hello, fellow crafters! Today, I'm excited to share my journey into the colorful world of *eco-friendly bioplastic suncatchers*. Not only are these delightful pieces a feast for the eyes as they catch and refract sunlight, but they also represent a step towards sustainability. With Earth Day celebrations on the horizon or the everyday quest to reduce plastic waste, this craft is perfect for all ages and occasions. Whether you want to brighten up a window or create an engaging activity for kids, bioplastic suncatchers are an inspiring project.
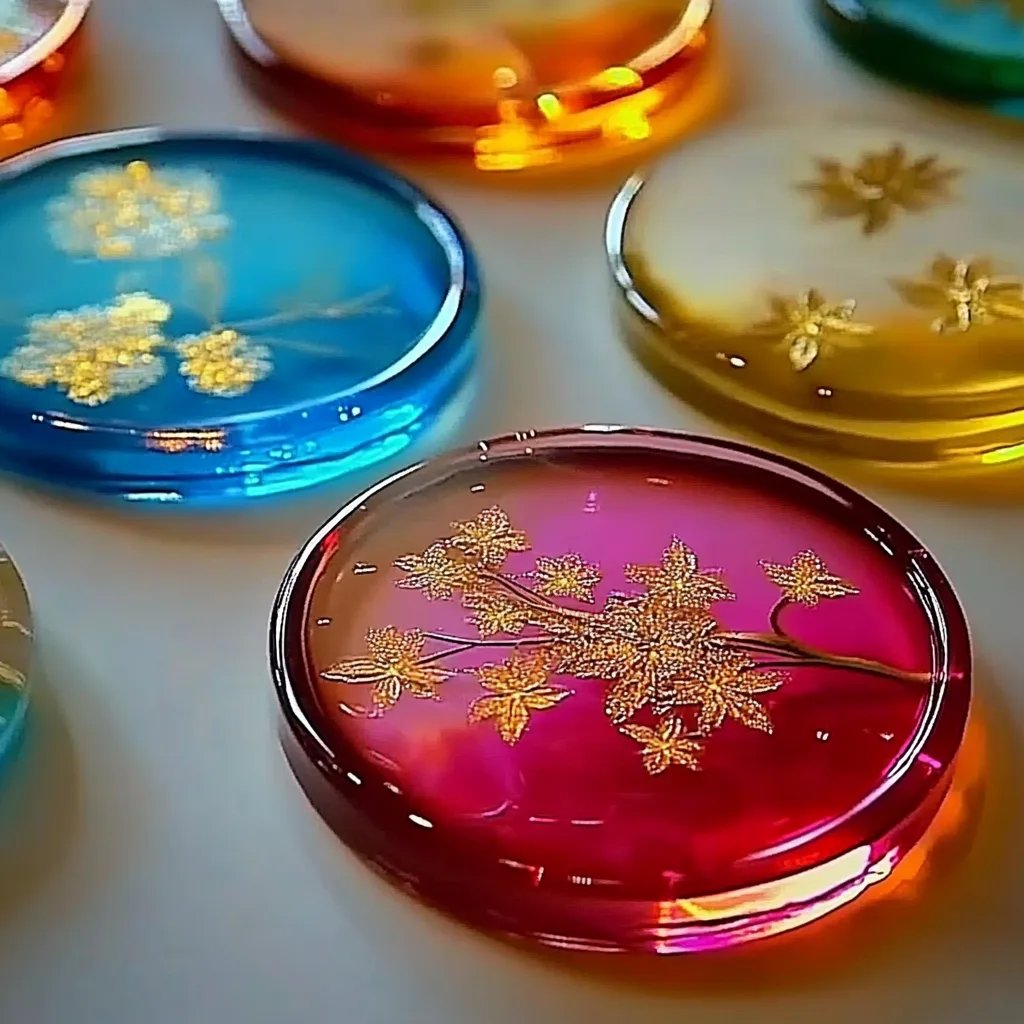
What Are Bioplastic Suncatchers?
Bioplastic suncatchers are transparent crafts made from plant-based materials, making them biodegradable and far more environmentally friendly than traditional plastic crafts. These artistic creations not only help you embrace sustainability in your everyday life but also ignite creativity and provide a sensory-rich experience through color and light.
I've always loved how simple crafts can transform a space, and these suncatchers are no exception. They shimmer with enchanting colors and come in various shapes, making them perfect for home decor, gifts, or even educational projects about sustainability! Now, let’s embark on this crafting adventure!
Materials You'll Need
Before we dive into the fun part—I can't stress enough how crucial it is to have everything ready before you start. Here’s what you'll need:
- 1 cup of cornstarch – This acts as the base for our bioplastic.
- 3 tablespoons of glycerin – A natural sweetener that also helps make our suncatchers flexible.
- 1 cup of water – For hydration and mixing.
- Food coloring – Get creative! Choose colors that delight you.
- Wax paper or parchment paper – A surface to pour your mixture onto.
- Baking sheet – For an easy transfer of your suncatchers into the oven.
- Cookie cutters (optional) – To cut out fun shapes if you’re feeling adventurous.
- Paintbrush (optional) – For spreading the colored mixture.
- Scissors – For trimming edges, if needed.
- Straw (optional) – For making a hanging hole.
Step-by-Step Tutorial on Making Bioplastic Suncatchers
Step 1: Prepare Your Work Area
The first step in crafting anything is to set the stage. Find a large, flat surface to work on—and cover it with newspaper for easy cleanup.
Why this step matters: A clean and organized workspace helps you focus on your craft without distractions.
Step 2: Combine Your Ingredients
In a medium saucepan, combine the cornstarch, glycerin, and water. Whisk them together over medium heat until the mixture starts to thicken—around 5-7 minutes. You'll know it's ready when you can pull a spoon through it and leave a clear trail.
What could go wrong: If the mixture becomes too lumpy, remove it from the heat immediately and whisk vigorously.
Tip: Consistent stirring prevents clumps from forming and ensures a smooth texture.
Step 3: Add Colors
Once your mix has thickened, divide it into small bowls if you’d like to create various colors. Add the food coloring to each portion, mixing well until you achieve your desired shades.
Creative variation: For a marbled effect, pour blobs of different colors onto the wax paper and use a paintbrush or toothpick to swirl them together before they set.
Step 4: Pour onto Wax Paper
Spoon the colored mixture onto the wax paper or parchment, spreading it with the back of a spoon or a paintbrush to your desired thickness (about 1/4 inch thick).
Why this step matters: The thickness affects both the look and durability of suncatchers—the thicker they are, the more resilient, but too thick could lead to longer drying times and potential cracking.
Step 5: Shape Your Suncatchers (Optional)
If you want specific shapes, use cookie cutters to outline your designs gently. If you’re not using cookie cutters, you can still create abstract shapes using your spoon.
Tip: If you decide to create holes for hanging, use a straw to punch a small hole in the top of each suncatcher while the mixture is still wet.
Step 6: Dry Your Suncatchers
Preheat your oven to the lowest setting (around 150-170°F) and place the baking sheet with your suncatchers inside. Let them dry for about 30 minutes—keep an eye on them to prevent burning.
What could go wrong: If you leave them too long or increase the temperature, they might turn brown and lose their vibrant colors.
Fix it: If that happens, don’t worry! Use more food coloring to paint over the tops once they cool.
Step 7: Remove and Trim
Once your suncatchers have cooled and hardened, carefully peel them off the wax paper. If necessary, trim any rough edges with scissors to achieve a smooth finish.
Tips for Success
- Safety first! If you’re so excited to start that you forget to measure properly and accidentally add too much water, just add a bit more cornstarch to bring your mixture back to the desired consistency.
- Cooking time will vary, so check them frequently to avoid burning.
Personal Anecdotes
I remember my first attempt at making these suncatchers. I got a bit overly ambitious and tried to make a rainbow! While the final piece turned out a bit rustic, it really ignited the spark for me to explore different shapes and colors in my following attempts. Every time I hang them up in my window, they remind me of that colorful journey!
Alternative Methods and Ingredient Substitutions
- Using Natural Dyes: Instead of food coloring, consider using natural dyes like beet juice or turmeric for beautiful, earthy tones.
- Flavored Gelatin: You can create a similar effect using flavored gelatin instead of cornstarch for a sweet twist on bioplastic.
- Essential Oils: For added sensory appeal, a couple of drops of your favorite essential oil can turn your suncatchers into aromatic delights.
Conclusion
Crafting eco-friendly bioplastic suncatchers is not just about creating something beautiful—it's an act of sustainability that connects us to our environment. I hope you find joy in every color and shape you create and feel empowered to share them with friends and family. Remember, crafting is a journey, so embrace the imperfections and let your creativity shine bright! Enjoy making your suncatchers, and let the sun bring them to life in your home. Happy crafting!