Crafting DIY Kinetic Sand: A Step-by-Step Guide
Hello, fellow crafters! Today, I am thrilled to take you on an exciting journey into the wonderful world of DIY kinetic sand. As someone who loves to create and experiment with various crafts, I can't tell you how satisfying it is to watch the imaginative potential of this versatile material unfold. Whether you have kids who love sensory play, want to create a calming adult stress-relief activity, or are simply looking for a unique craft to embrace, making your own kinetic sand is a rewarding project that anyone can accomplish.
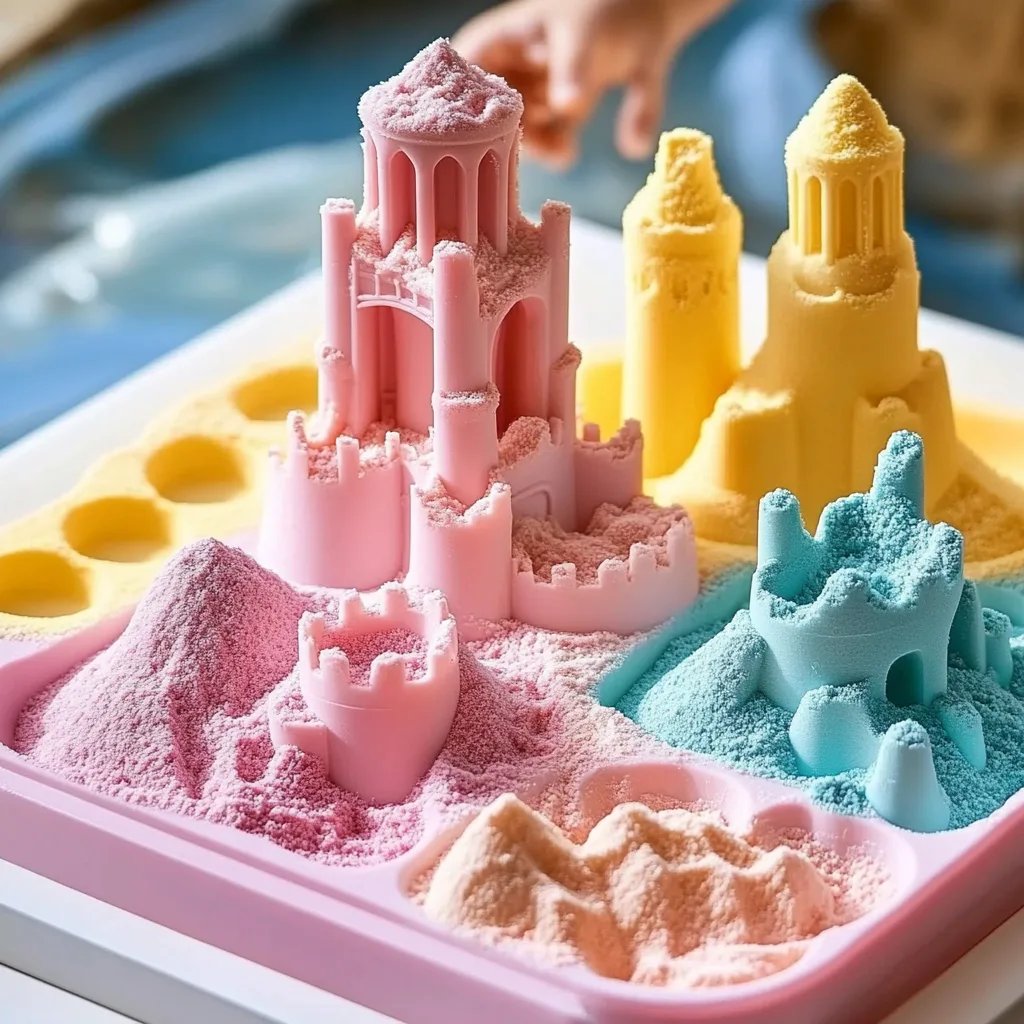
Kinetic sand has been all the rage over the last few years, capturing hearts and minds with its unique texture and almost magical ability to mold and flow. It’s a blend of sand and a special polymer that gives it an incredible ability to hold shape while remaining remarkably easy to manipulate. You'll often find it used in sensory bins for kids, art therapy settings, or even as a display piece. The best part? It’s incredibly simple to make at home using just a few basic ingredients.
Why DIY Kinetic Sand?
The popularity of kinetic sand stems largely from its multifunctional nature. It encourages creativity, fine motor skill development in children, and can be a mindful activity for adults looking to unwind. And let's face it, there’s something deeply soothing about squeezing and molding this fascinating material between your fingers. By making your own kinetic sand, you can customize the colors, scents (think essential oils!), and even textures to suit your preferences or themes. Plus, it's a fantastic way to save money compared to buying pre-made options!
What You Will Need:
Before we dive into the process, let me share the materials you’ll need. Fortunately, these are everyday items that you likely already have at home:
Ingredients:
- Play Sand: 5 cups (fine sand works best)
- Cornstarch: 1½ cups (for the perfect texture)
- Water: 1 cup (adjustable if needed)
- Dish Soap: 2 tablespoons (for added binding)
- Vegetable Oil: 1 tablespoon (helps keep the sand moist and enhances texture)
- Mixing Bowl
- Wooden Spoon or Sifter: For stirring
- Optional: Food Coloring or Liquid Watercolors: To add a fun twist!
Safety Reminder:
Make sure to wash your hands after crafting, especially if you’ve used food coloring. While all the materials are non-toxic, the coloring may stain surfaces or fabrics, so it's a good idea to work on a surface you don’t mind getting a little messy.
Step-by-Step Tutorial to Making DIY Kinetic Sand
Step 1: Prepare Your Working Space
Begin by setting up your working area. I recommend covering your table with newspaper or a plastic sheet to make cleanup easier. This is a sensory project, so expect some potential spills or sand trails!
Step 2: Combine the Sand and Cornstarch
In your mixing bowl, combine the 5 cups of play sand and 1½ cups of cornstarch. This combination is essential because the cornstarch binds the sand together while giving it that silky feel. Mix the two dry ingredients thoroughly to ensure even distribution.
Pro Tip: If you find clumps of cornstarch, use a sifter or break them apart with your hands before mixing to achieve a smoother texture.
Step 3: Add the Wet Ingredients
Now it’s time to stir in your wet ingredients. In a separate cup or bowl, mix the 1 cup of water, 2 tablespoons of dish soap, and 1 tablespoon of vegetable oil. The dish soap acts as a binding agent, while the oil keeps the sand supple. Gradually add this mixture to your dry ingredients while mixing with the wooden spoon.
Important Note: Add the mixture slowly. If you pour in too much at once, you risk making your kinetic sand too wet, which can lead to a pasty mess.
Step 4: Knead it Together
Once the wet mixture is combined with the dry mix, it’s time to get your hands in there! This is where the magic truly happens. Knead the mixture with your hands until it forms a soft, moldable dough-like consistency. If it’s too dry, add a little more water (just a teaspoon at a time!). If it’s too wet, sprinkle in a bit more sand or cornstarch.
Common Problem: If your kinetic sand is crumbling, it might not have enough moisture. The solution is simple: add a few more drops of water, knead, and check again.
Step 5: Color It Up!
If you'd like to add some flair to your kinetic sand, this is the perfect time! Drizzle in food coloring or liquid watercolors while kneading. You can mix to achieve unique hues or even create different colors by separating the sand into smaller portions.
Experiment Alert: For fun, try mixing in essential oils like lavender or citrus for a delightful sensory experience!
Step 6: Store Your Kinetic Sand
Once you’re pleased with the texture and color of your kinetic sand, it’s time to store it correctly. Use an airtight container to maintain its freshness and prevent it from drying out. Properly stored, it can last for weeks—even months!
Creative Variations
As an experienced crafter, I encourage you to unleash your creativity! Here are a few variations you can consider:
- Glitter Kinetic Sand: Add fine glitter for a sparkling effect.
- Scented Sand: Top it off with a few drops of essential oils like peppermint or vanilla for added sensory delight.
- Textured Sand: Mix in small beads, shells, or even spices (like cinnamon) for a unique tactile experience.
Conclusion
And voilà! You’ve created your very own DIY kinetic sand. It’s a wonderful craft that opens up countless possibilities for play and creativity. Whether you're creating with children, experimenting with different textures and colors, or simply enjoying the satisfaction of your creation, the benefits of kinetic sand extend beyond its simple composition.
Remember, crafting is all about the journey, not just the destination! I hope this guide inspires you to experiment with your kinetic sand, explore its creative uses, and find joy in the crafting process. If you have any questions or want to share your own experiences, please leave a comment! Happy crafting!