#Crafting DIY Essential Oil Stones: A Step-by-Step Guide to Infused Aromatherapy
Hello fellow crafters! If you’re anything like me, you cherish the little joys in life—like the soothing scent of lavender or the invigorating kiss of peppermint wafting through the air. Today, I'm excited to share my experience making DIY essential oil stones, which are not only incredibly versatile but also easy to customize to suit your personal preferences. These scented stones are perfect for adding a delightful fragrance to your home, car, or even as thoughtful gifts for loved ones.
What Are DIY Essential Oil Stones?
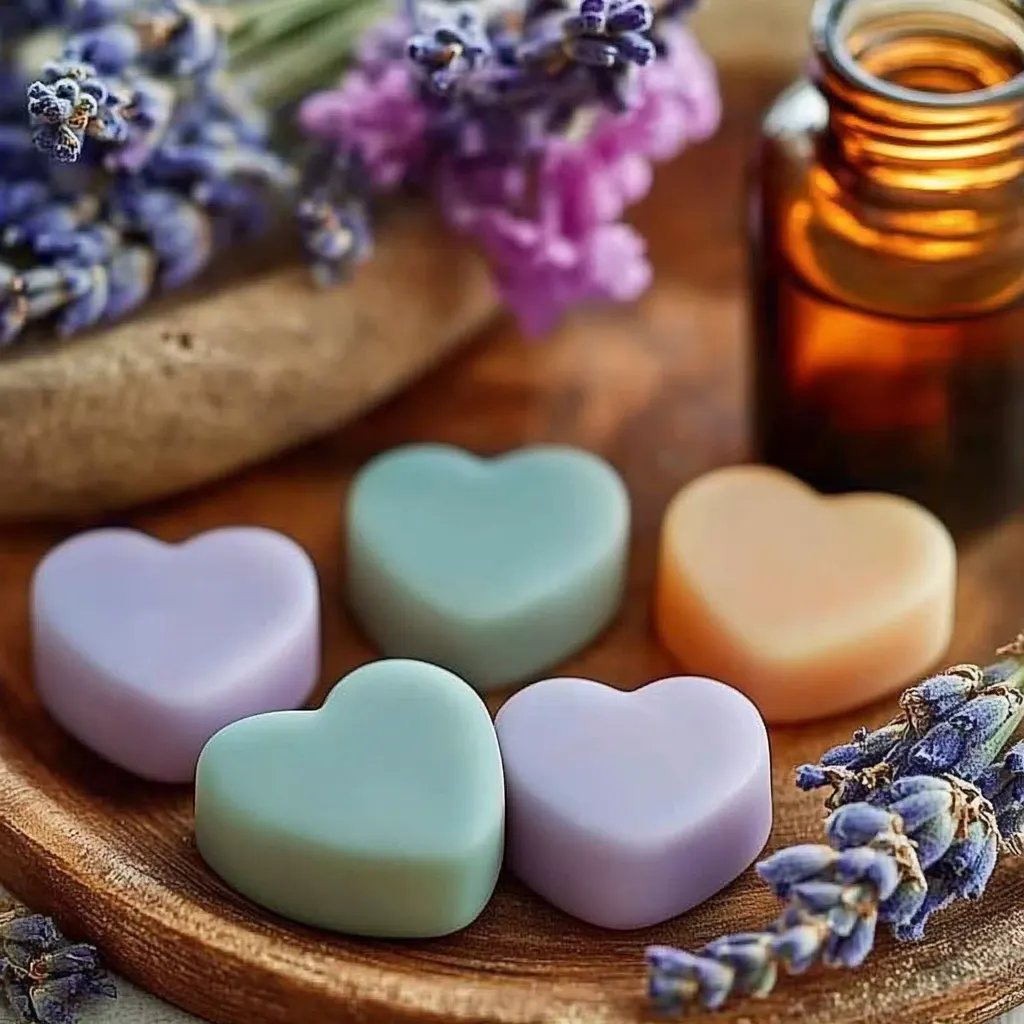
Essential oil stones are small, decorative pieces designed to absorb and release the aroma of your favorite essential oils. They provide a natural and effective way to enjoy therapeutic scents without the use of artificial air fresheners. Plus, the stones can be shaped into various forms, such as hearts, stars, or even more elaborate designs, making them not just aromatic but also beautiful home decor.
Why They're Popular
In today’s world, many of us are navigating high-stress environments and looking for ways to cultivate tranquility and wellness in our spaces. The popularity of essential oils has surged, and for good reason! Various scents can uplift your mood, increase focus, or promote relaxation. DIY essential oil stones are a fantastic way to incorporate aromatherapy into your daily routine while indulging in some enjoyable crafting.
When and How to Use Essential Oil Stones
These stones can be used anytime you need a little aromatherapy boost:
- Home Decor: Place them around the house in bowls or trays for visual appeal and fragrant freshness.
- Car Air Freshener: Toss a few in your car for a pleasant driving experience.
- Gifts: Wrap them up beautifully for neighbors or friends—they're perfect for any occasion.
- Meditation: Use them during your meditation or yoga sessions to enhance your mindfulness practice and calm your mind.
Materials You’ll Need
Essential Materials:
- Sodium bicarbonate (baking soda): 1 cup (acts as the main ingredient for the stones)
- Cornstarch: 1/2 cup (helps bind the ingredients)
- Water: 1/2 cup (to activate the mixture)
- Essential oils: 20-40 drops (choose your favorite scents like lavender, eucalyptus, or citrus)
- Silicone molds: for shaping the stones
- Mixing bowl: for combining your ingredients
Optional Materials:
- Food coloring: for adding a pop of color
- Glitter: for a sparkly effect
- Dried flowers or herbs: for natural embellishment
Step-by-Step Tutorial
Step 1: Gather Your Supplies
Before you start, gather all your ingredients and tools in one spot. This makes the crafting process smoother and more enjoyable! I always recommend a clean, clutter-free workspace.
Tip: Set up a small table or surface where you can create without interruptions.
Step 2: Mix Dry Ingredients
In a mixing bowl, combine the baking soda and cornstarch. Stir them together until they are well-blended. This step is essential as it ensures an even consistency throughout your stones.
What Could Go Wrong: If you skip this step and add oils immediately, you may end up with clumps that won't bind into stones.
Step 3: Add Water and Oils
Gradually add water to the dry mixture while stirring continuously to avoid lumps. Once you have a thick paste, it’s time to add your essential oils. The beauty of this step is the ability to create custom blends.
I typically use a combination of lavender (calming) and lemon (energizing) for a refreshing balance.
Tip: Start with 20 drops of essential oil, and if you desire a stronger scent, add up to 40 drops.
Step 4: Incorporate Color and Texture
If you wish to add color, now’s the time! A few drops of food coloring can transform your stones into vibrant pieces of art. You can also incorporate dried flowers for added visual interest. I love using lavender buds or rose petals.
Optional Step: If you're feeling extra creative, sprinkle in some glitter. It adds a touch of charm, especially for gifts!
Step 5: Mold Your Stones
Now, here comes the fun part: packing your mixture into silicone molds. Make sure you press the mixture firmly into the molds to eliminate air pockets.
What Could Go Wrong: If the mixture is too dry, it may crumble when you try to remove it from the mold. If that happens, add a tiny bit of water to the mixture and stir until combined.
Step 6: Drying Time
Place your filled molds in a cool, dry area. Allow them to dry for at least 24 hours. The stones need to harden completely. Patience is key here—resist the urge to check on them every hour!
Tip: If you live in a humid climate, consider placing your molds in a low-temperature oven (around 170°F or 77°C) to expedite the drying process. Just keep an eye on them!
Step 7: Remove and Cure
Once the stones feel firm and dry to the touch, gently pop them out of the molds. Allow them to cure for another 2-3 days before use. This step enhances their durability and fragrance release.
Troubleshooting and Tips
- Mix Too Dry? If your mixture feels crumbly, you likely need more moisture. Add water slowly until the right texture is achieved.
- Scent Fading? Over time, the scent may fade. Refresh your stones by adding a few drops of essential oil directly onto them.
- Mold Stuck? If your stones stick to the mold, try gently twisting or flexing the silicone to release them.
Creative Variations
- Seasonal Scents: Create themed stones for each season—think pumpkin spice for fall or fresh peppermint for winter.
- Festive Shapes: Use holiday-themed molds like snowflakes for winter gifts or flowers for spring celebrations.
- Layered Stones: For a more sophisticated look, consider layering different colors or scents in your molds.
Safety Warnings
- Essential Oils: Some essential oils can cause skin irritation or allergic reactions. Always perform a patch test before use.
- Clean Up: Clean your workspace immediately after crafting to avoid any accidental spills, especially with colored ingredients.
A Final Note
Creating DIY essential oil stones has become one of my favorite crafts because of how therapeutic the process is. Not only do you get to engage with lovely scents, but you also have a wonderful home accessory that’s entirely crafted by your hands. I hope this guide encourages you to dive into this aromatic journey!
Happy crafting, and I can’t wait to see your beautiful creations! If you have any questions or stories to share about your own experiences, I would love to hear from you in the comments!