Crafting Colorful Magic Treasure Rocks: A Step-by-Step Guide
Hello, fellow crafters! Today, I’m excited to share with you a delightful project that’s become a staple in my crafting repertoire — Colorful Magic Treasure Rocks! Not only are these vibrant creations visually stunning, but they also ignite the imagination, making them perfect for parties, gifts, or even just a fun afternoon project with the kids. As an avid crafter, I’ve found that there’s something truly special about transforming plain materials into enchanting treasures. So, let’s dive into this creative journey together!
What Are Colorful Magic Treasure Rocks?
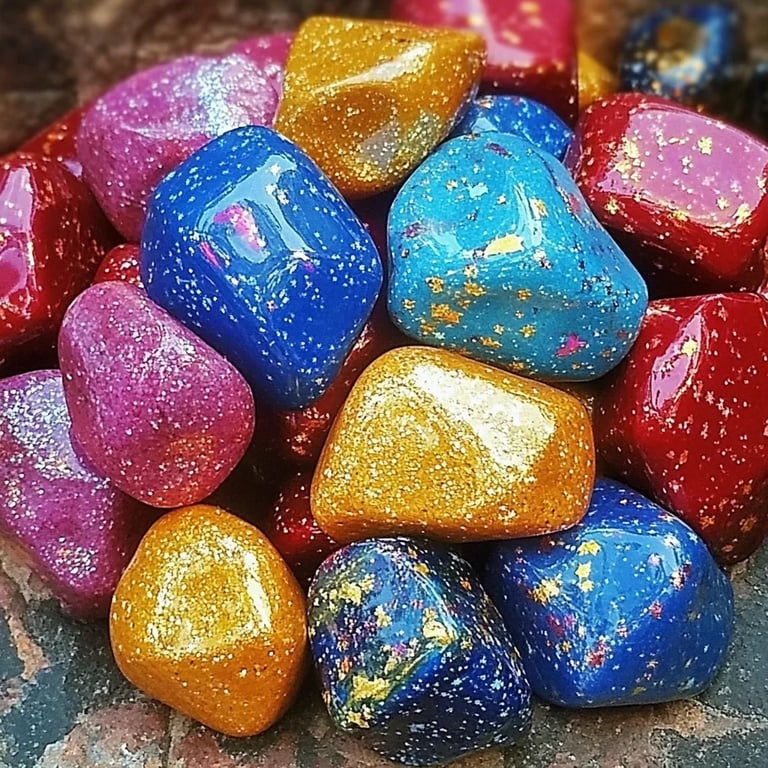
Colorful Magic Treasure Rocks are decorative stones painted in vivid colors, often sparkling with glitter or adorned with designs. These eye-catching rocks can be used in various ways — as garden decor, party favors, or unique gifts for loved ones. Their popularity has skyrocketed due to social media trends and the growing appreciation for eco-friendly crafts. Let’s face it, who doesn’t love a little splash of color and magic in their life?
When to Use Colorful Magic Treasure Rocks
- Home Decor: Brighten up your garden or living room with a splash of color.
- Gifts: Homemade treasures are heartfelt gifts for any occasion.
- Party Favors: They make for charming, personalized party favors that guests will love.
- Crafting Together: A great project for kids or as a family bonding activity.
The versatility of these colorful rocks makes them suitable for any occasion, and they provide an excellent opportunity to express your creativity.
—
Materials Needed
Before we get started, gather the following materials:
- Smooth river or beach stones (various sizes)
- Acrylic paints (in your favorite colors)
- Paintbrushes and sponges
- Glitter or sequins (optional, for added sparkle)
- Sealant spray or Mod Podge (to protect your finished rocks)
- Palette or paper plates (for mixing paint)
- Apron and newspapers (to protect your workspace)
Optional Materials:
- Paint pens or markers for detailed designs.
- Stickers for added decoration.
Step-by-Step Tutorial
Step 1: Prepare Your Workspace
First things first, it's crucial to set up your crafting space properly. Lay down newspapers or a plastic tablecloth to avoid any paint spills. Put on your apron, and if you’re crafting with kids, ensure they have one on too. Safety is key, and it’s always a good idea to work in a well-ventilated area when using paints and sealants.
Step 2: Clean Your Stones
Take a moment to wash your stones thoroughly to remove any dirt or debris. I usually soak mine in warm, soapy water for a few minutes and then scrub with a bristle brush. Rinse them well and let them dry completely.
Tip: Cleaning your stones is essential as it ensures that the paint adheres properly. A common mistake is skipping this step, resulting in peeling paint.
Step 3: Base Coat
Once your stones are dry, it's time for the fun part — painting! Start by applying a base coat of acrylic paint. Choose a bright color that will serve as the backdrop for your rock.
- Application Tip: Using a paintbrush can give you more control, but sponges can create a gorgeous textured effect. Experiment to see what you like best!
Allow the base coat to dry completely. This might take about 15-30 minutes, depending on the paint thickness and environmental conditions.
Step 4: Add Details and Patterns
Now comes the opportunity to unleash your creativity! Use different colors, paints, and even new tools to create intricate designs. Consider adding swirls, dots, stripes, or thematic designs.
What Could Go Wrong: If you overlay a wet paint color on a dry one, it might run instead of layering. To avoid this, wait for each layer to dry completely before moving on to the next.
Personal Anecdote: I remember the first time I tried to layer colors. I rushed it, thinking I could speed up the process, but ended up with a muddy mess! Now, I always ensure patience is part of my crafting routine.
Step 5: Optional Touches
At this stage, you can sprinkle glitter or add sequins to give your rocks an enchanting sparkle! Apply a dab of Mod Podge or a clear-drying glue in areas where you want to place the embellishments.
Safety Warning: Always be cautious with glitter — it can create a mess that’s hard to clean. Consider working on a tray or in a box to keep your space tidy!
Step 6: Seal Your Rocks
To protect your hard work, it’s imperative to seal your rocks. Once everything has dried completely, spray the rocks with a clear sealant or brush on a layer of Mod Podge. This will not only protect the paint but also give your rocks a lovely glossy finish.
Step 7: Display or Gift
Let your rocks dry completely before displaying them in your garden, home, or packaging them as gifts! Presenting them in a lovely bag or basket adds a personal touch.
Creative Variations
Feeling adventurous? Here are some creative variations to explore:
- Theme-Based Rocks: Create a set that matches a holiday (e.g., pumpkins for Halloween, snowflakes for winter).
- Incorporating Nature: Embed small flowers or leaves in the rocks before sealing them.
- Glow-in-the-Dark Paint: Use glow-in-the-dark acrylic paint for a fun surprise at night!
Troubleshooting Common Issues
- Paint Peeling: Ensure rocks are clean and let each coat dry fully before applying the next.
- Smudged Designs: Work on a flat, stable surface to prevent rocks from rolling around.
- Uneven Color: Thin layers are better than thick; if you notice patchiness, simply apply another layer.
Conclusion
Creating Colorful Magic Treasure Rocks is not just a craft; it’s a journey that encourages creativity and offers immense satisfaction. With just a little time and basic materials, you can transform ordinary stones into extraordinary treasures. I hope you feel inspired to gather your supplies and give this project a try. Don’t hesitate to personalize your rocks and let your imagination run wild!
I’d love to see your creations and hear about your experiences. Happy crafting, and may your colorful treasures bring joy to you and those around you!