Crafting Colorful Crystals: My Journey and Expert Guide
As a passionate crafter, I’ve always been fascinated by the beauty and allure of crystals. With their shimmering colors and intricate shapes, colorful crystals have become a popular project for crafters of all ages. Whether for decoration, educational purposes, or simply as a mindful crafting experience, the vibrant hues and unique forms of these gems captivate our creativity. I've enjoyed turning my home into a vibrant crystal gallery, sharing the joy of crafting with friends and family. Today, I’ll guide you through crafting your very own colorful crystals using simple and accessible materials while sharing personal tips, insights, and potential pitfalls along the way.
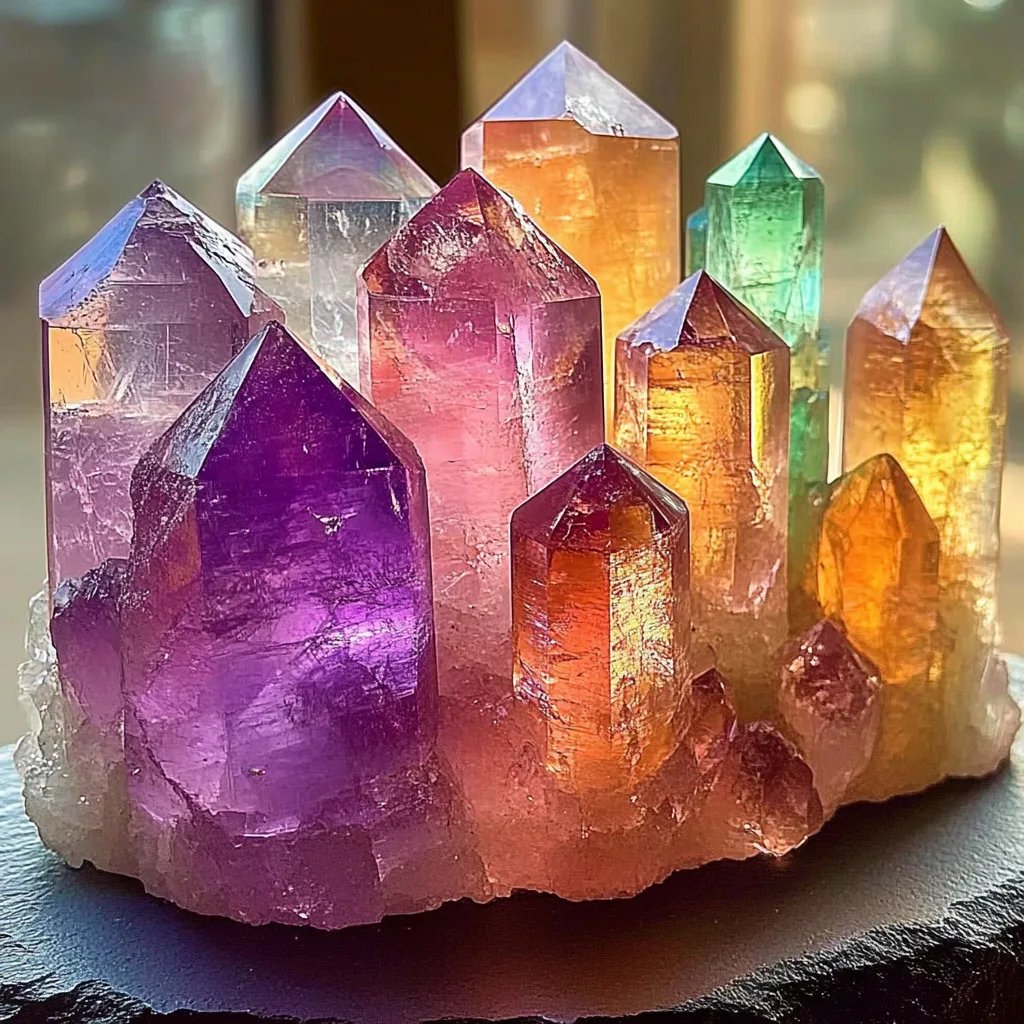
Why Colorful Crystals Are All the Rage
Crystals hold a magical charm that transcends their physical beauty. They're often associated with healing, meditation, and positive energy. In the crafting community, colorful crystals are celebrated for:
- Decorative Art: They add a touch of elegance and color to any space.
- Educational Value: A fantastic hands-on experience to understand crystal formation and science.
- Mindfulness: The process of making them can be therapeutic, promoting patience and focus.
Now, let’s dive into how we can create these stunning crystals in just a few simple steps!
What You'll Need
Before you roll up your sleeves, gather these materials:
- Boric Acid or Sugar: Boric acid will create sharper crystals, while sugar is easier for beginners.
- Water: Ideally distilled, to prevent impurities.
- Heat Source: A stove or microwave.
- Glass Jar or Bowl: To grow your crystals in.
- Stirring Stick: A wooden stick or spoon will work.
- Food Coloring (optional): To personalize your crystals.
- String and Pencil (optional): If you want to hang your crystals.
Safety First!
Before we start, safety is paramount. If you're using boric acid, ensure it's labeled as safe for crafting. Wear gloves if you’re sensitive, and always work in a well-ventilated space. When using heat, be cautious of burns – believe me, I’ve learned the hard way!
Step-by-Step Tutorial
Step 1: Prepare Your Solution
First, you’ll want to create a saturated solution. This is where the magic begins!
- Measure about 1 cup of water and pour it into your pot or microwave-safe bowl. If using sugar, add 2-3 cups of sugar to the water for a more saturated solution. If you’re going for boric acid, aim for 1 cup boric acid to 2 cups boiling water.
- Heat gently until it reaches a simmer (if using a stove), or for about 2 minutes in the microwave. This helps dissolve the solute effectively. Stir every so often.
Common Pitfall: Not Enough Solute
If your solution doesn’t fully dissolve, the crystals won’t form properly. If you see undissolved particles, add a little more solute and heat again!
Step 2: Add Color
In this step, I love to let my creativity shine! If you want colorful crystals, add a few drops of food coloring to your solution. The amount can vary based on how vibrant you want your final product to be.
Tip: Test It
To see how the color will turn out, dip a toothpick into the solution and place it on a white plate. This gives you a preview before committing.
Step 3: Pour and Cool
I typically like to pour the solution into a clear glass jar or bowl for visual aesthetic. You might want to place a string tied to a pencil above the solution if you’re aiming for hanging crystals. Just ensure it’s not touching the bottom.
As the solution cools, tiny crystals will begin to form. You may want to leave the jar undisturbed in a cool, dry place for several days.
Step 4: Harvesting Your Crystals
Patience truly pays off! After about 3-7 days, you should see your colorful crystals forming. Carefully remove your crystals by pouring out the remaining solution.
Handling Tips:
- Gently rinse the crystals under cold water to remove any residue.
- Pat them dry with a soft cloth to avoid any scratches.
Step 5: Display Your Masterpieces
Now that you have your beautiful creations, think of creative ways to display them! You could:
- Create a crystal garden in a glass terrarium.
- Use them in jewelry-making projects.
- Gift them in a small decorative box.
Troubleshooting Common Issues
- Crystals Stuck Together: This happens if there's too much solution. Carefully pull them apart, but if they’re really stuck, let them soak briefly in warm water to soften the bond.
- No Crystals Formed: If after a week you see no crystals, your solution likely wasn’t saturated enough. You can try again with a stronger solution.
- Crystals discolored or cloudy: This could occur from impurities in your water or container. Make sure to use distilled water and a clean container next time!
Creative Variations
Let your imagination run wild! Here are some alternatives to consider:
- Rock Candy Crystals: Substitute regular sugar for granulated sugar to create edible candy crystals.
- Epsom Salt Crystals: Swapping regular salt with Epsom salt allows for a different texture and look to your crystals.
- Geode Crystals: Use your first batch of crystals to create geode rock-like appearances by using molds.
Final Thoughts and Encouragement
Creating colorful crystals has brought so much joy into my crafting world, and I sincerely hope you feel inspired to start your own journey! As you embark on this project, remember that the beauty of crafting lies not just in the end product but also in the process. Embrace every moment, learn from any hiccups along the way, and celebrate your unique creations.
Happy crafting! If you have tips or variations you’d like to share, please feel free to comment below – I would love to connect with fellow crystal enthusiasts!