Crafting Color Changing Crystal Treasure Stones: A Step-by-Step Guide
As an avid crafter, I am always looking for projects that add a dash of magic to our everyday lives. One of my recent obsessions has been creating Color Changing Crystal Treasure Stones. These mesmerizing gems not only catch the eye with their vibrant hues, but they also shift colors in different light, making them truly captivating. Their popularity continues to soar, especially among those who enjoy DIY projects, as they can be used for home decor, as gifts, or even as unique party favors. So, if you’re ready to tap into your creative side and want to learn how to make your very own color-changing crystals, you've come to the right place!
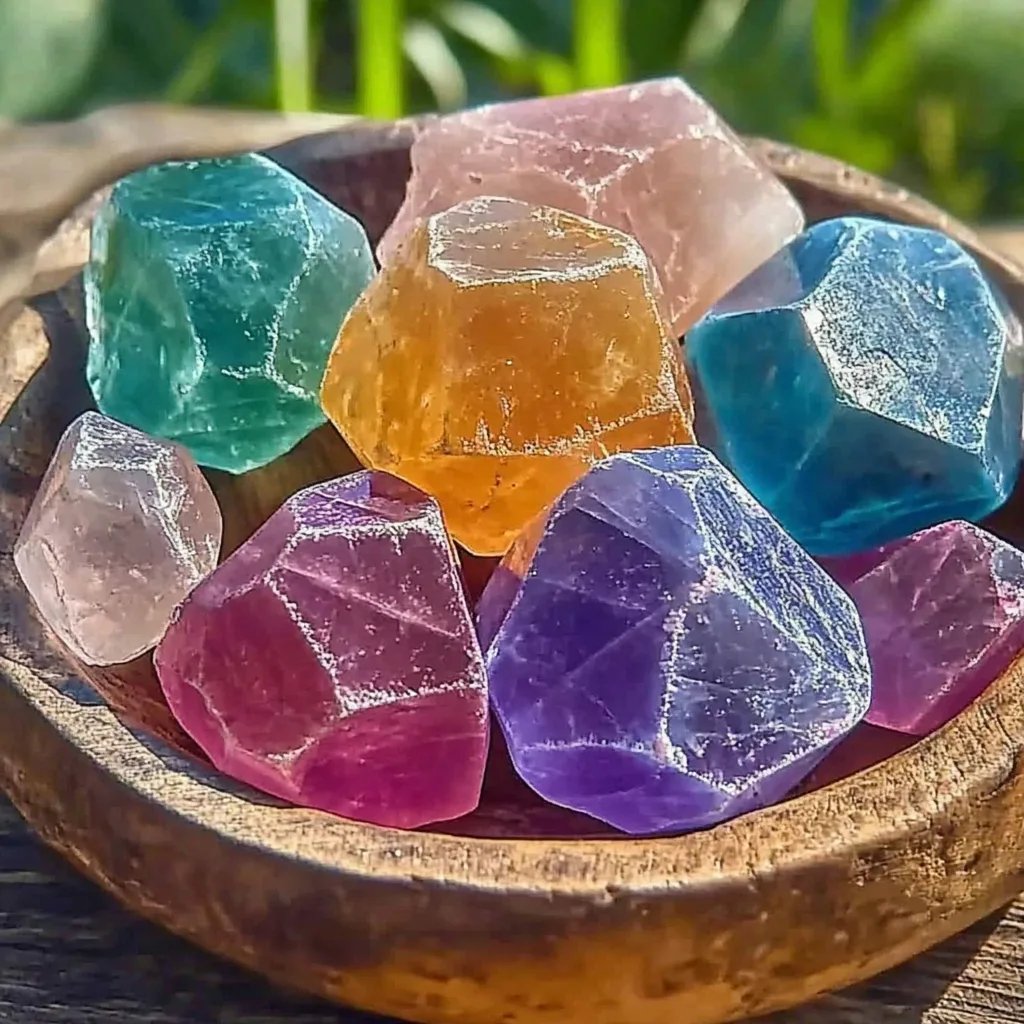
What Are Color Changing Crystal Treasure Stones?
Color changing crystal treasure stones are essentially resin creations infused with special pigments that react to different lighting or temperature changes. This dynamic dance of colors creates a stunning visual effect, turning a simple craft project into something truly special. Whether you're placing these stones in a sunlit garden or using them as table centerpieces, they add a delightful element to any environment. I often use them as conversation starters during gatherings, and they're always a hit!
When and How Can You Use Them?
These stones are versatile; you can use them for:
- Home Decor: Scatter them in a bowl or on a shelf for a burst of color and sparkle.
- Gardening: Add them to your potted plants or rock gardens for an enchanting touch.
- Gift Giving: They make wonderful handmade gifts for friends and family, especially for those who appreciate unique, personal touches.
- Party Decorations: Use them to embellish tables at celebrations, such as weddings or birthday parties.
Now that you understand the magic and potential of these treasures, let’s dive into the crafting process!
Materials You'll Need:
- Clear Epoxy Resin Kit (Choose one that sets hard and has UV resistance)
- Color Changing Pigments (Specialty pigment powders or liquid dyes)
- Mixing Cups (Clear, to see the resin)
- Stirrers (Wooden or plastic)
- Mold (Silicone molds of your preferred shape)
- Protective Gear (Gloves, masks, and eye protection)
- Isopropyl Alcohol (For cleaning)
- Food Coloring (Optional; for additional color variations)
- Glitter or Metallic Powder (Optional; to add sparkle)
- Heat Gun or Torch (For removing bubbles)
Step-by-Step Tutorial
Step 1: Prepare Your Workspace
Before you start, it's essential to make sure your workspace is clean, organized, and well-ventilated. Epoxy resin can emit strong fumes, so I always set up near an open window or in an outside area. Protect surfaces with plastic sheets or newspapers to catch any spills. Lay out all your materials so that they are easily accessible.
Why this matters: A clean workspace not only helps in avoiding accidents but also allows for a smoother crafting process.
Step 2: Mixing the Resin
Following the instructions of your epoxy resin kit, measure equal parts of resin and hardener into your mixing cup.
Tip: Use a level surface to avoid discrepancies in measurement and ensure proper curing.
Start mixing thoroughly with your stirrer for about 3-5 minutes until it’s a consistent blend and you don't see any swirls.
Common issue: Not mixing adequately can lead to a sticky finish or incomplete curing. If you notice any sticky spots after it’s set, you’ll need to sand them down and apply a second coat.
Step 3: Adding Color Changing Pigments
Next, it's time to mix in the color-changing pigments. Start with small increments—about 1-2 teaspoons—then stir well. I always use a separate cup to mix pigments into a small amount of resin first before adding to the larger mix.
Why this is important: Mixing pigments separately helps avoid clumping and ensures an even distribution of color.
Creative Variation: You can add glitter or metallic powder at this stage to enhance the glam factor.
Step 4: Pouring into Molds
Carefully pour the resin mixture into your silicone molds, filling them to your desired thickness. Leave a bit of space at the top to prevent overflowing.
Tip for success: Tap the mold gently on the table to release any bubbles trapped in the mixture.
Step 5: Debubbling
Using a heat gun or torch, slowly pass it over the surface of the poured resin to eliminate any remaining bubbles. Keep the torch moving to avoid burning the resin.
Caution: Always wear protective gear while doing this, as the fumes can be harmful.
What could go wrong: Using too high heat can scorch the resin’s surface. If that happens, you may need to sand the uneven areas and apply a second layer.
Step 6: Curing Process
Now, let your stones cure according to the manufacturer's instructions—typically around 24 hours. During this time, ensure they are left undisturbed in a dust-free area.
Pro Tip: If you're impatient like me, you can cook your stones in an oven on a very low temperature (about 150°F) for faster curing, but this is strictly optional.
Step 7: Demolding
Once fully hardened, gently peel the silicone molds away from your color-changing treasure stones. They should pop out easily!
What to be wary of: If the stones feel tacky or don’t pop out easily, they might need more curing time.
Step 8: Finishing Touches
Inspect your stones for sharp edges and use sandpaper to smooth any rough spots. You can also add a layer of clear acrylic sealer to enhance their shine and durability.
Safety Warnings
- Always wear gloves, goggles, and a mask while handling epoxy resin to protect yourself from fumes and skin irritation.
- Work in a well-ventilated area to minimize exposure to potentially harmful chemicals.
Personal Anecdotes
I vividly remember the first time I made these stones. I was hosting a small gathering and decided to gift my friends their very own color-changing crystals. Witnessing their delight as they realized the stones changed hues in different lights was exhilarating and reaffirmed my love for this craft.
Alternative Methods or Ingredient Substitutions
If epoxy resin isn't your thing, you can experiment with other materials like polymer clay or air-dry clay mixed with paint that has color-shifting properties. This approach offers a bit of a different texture, but it can be just as fun.
Wrapping Up
Creating Color Changing Crystal Treasure Stones is an enjoyable DIY project that can transform your creative space and spark joy for yourself and those around you. Whether you're looking to beautify your home, find a unique gift, or ignite conversations at your next gathering, these stones are sure to shine.
With a little patience and creativity, your crafting journey will yield stunning results. So gather your materials, roll up your sleeves, and embark on this rewarding crafting adventure! I can't wait to hear about your creations, so share your experience in the comments below! Happy crafting!