Crafting Color-Changing Crystal Treasure Stones: A Detailed Guide from an Experienced Crafter
When it comes to DIY crafts that marry creativity with a hint of science, color-changing crystal treasure stones rank high on my list of favorites. These enchanting creations not only serve as stunning decor but also captivate the imagination with their dynamic color transformations. From glistening in natural light to changing hues with temperature shifts, they embody a magical quality that's hard to resist.
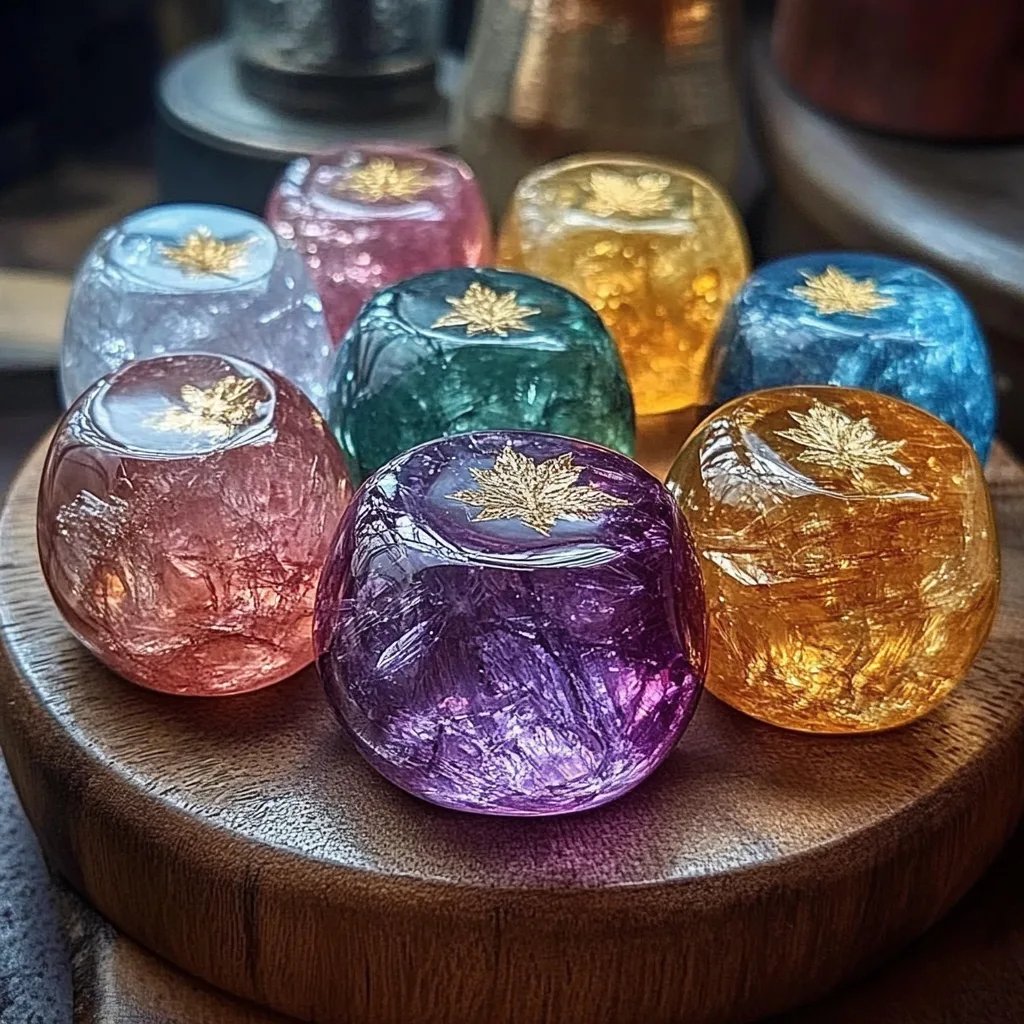
But what exactly are color-changing crystal treasure stones? In essence, they are DIY crystals that shift colors based on heat and light. Thanks to thermochromic pigments and simple molding techniques, these stones can be crafted at home with minimal effort. They're a hit at parties, perfect for decorating your living space, or even for gifting. I first stumbled upon this project during a chilly winter night, and I was immediately enamored with both the process and the vibrant results. Today, I'm excited to share every detail of how you too can create your own stunning color-changing crystal treasure stones.
Why Color-Changing Crystal Treasure Stones?
The increasing popularity of DIY projects largely stems from a desire for personalized, handmade treasures. But what makes color-changing crystal treasure stones so special?
- Color Dynamics: The awe-inspiring transformation of colors mesmerizes both children and adults alike. They make a striking visual accent in any room, creating a conversation starter and a magical ambiance.
- Customizable: You hold the reins of creativity here! Choose your colors, shapes, and even how you want them to react to temperature.
- Simple and Fun: This project is beginner-friendly, drawing from accessible materials that won’t break the bank.
Get Ready: Materials You’ll Need
Let’s gather our supplies before diving into the crafting process. Here’s a comprehensive list of what you’ll need:
Essential Materials:
- Thermochromic Pigment Powder (color-changing)
- Clear Epoxy Resin (100% solid)
- Silicone Mold (crystal-shaped)
- Mixing Cups (preferably disposable)
- Stirring Stick or spoon
- Gloves (for safety)
- Masking Tape (if necessary)
- Scale (for accurate measurements)
- Isopropyl Alcohol (for cleanup)
Optional Materials:
- Foil or Glitter (for added sparkle)
- Micas or Other Color Inks (for visual contrast)
Step-by-Step Guide to Making Color-Changing Crystal Treasure Stones
1. Prepare Your Workspace
Before anything else, ensure that your workspace is clean and clutter-free. I recommend covering the surface with newspaper or an old cloth for easy cleanup.
2. Measure Your Materials Accurately
Resin mixing is a science that requires precision. Use your scale to measure your epoxy resin and hardener according to the manufacturer's instructions. Typically, a 1:1 ratio works best. Remember that improper ratios can lead to sticky, improperly cured crystals.
Pro Tip:
Always read the label on your resin and hardener as they may have peculiar mixing ratios.
3. Mixing the Epoxy Resin
Pour the measured resin into one of the mixing cups and the hardener into another. Combine them in a larger cup and gently stir for about 3-5 minutes until well combined. Be sure to scrape the sides and bottom to avoid pockets of unmixed components.
What Could Go Wrong:
If you don’t mix it thoroughly, your resin may not cure properly, resulting in cloudy or tacky stones.
4. Add the Thermochromic Pigments
Once your resin is thoroughly mixed, add in the thermochromic pigments. Start with small amounts and adjust to achieve your desired vibrancy. Remember, the more pigment you add, the deeper the color—but ensure it’s not too opaque!
A Note About Colors:
Different colors might create different dramatic effects; do some experimenting. I typically enjoy a radiant blue-to-purple shift for my stones!
5. Pouring Into the Molds
Carefully pour the mixture into the silicone molds until they are about ¾ full. Leave room for any additional effects, like glitter or reflective foil.
Tip:
Tap the mold gently on the table to help release any trapped bubbles.
6. Curing Time
Once the molds are filled, it’s time to let the gemstones cure. Place them in a room-temperature, dust-free area. Depending on the resin, curing can take anywhere from 24 to 48 hours. Avoid touching the stones during this period.
Safety Warning:
Always follow safety precautions mentioned on the resin package, including ventilation and glove use, as some resins can emit harmful fumes until fully cured.
7. Demolding Your Treasures
Once fully cured, carefully peel the silicone mold away. Take your time – rushing can lead to breaking the delicate shapes.
What Could Go Wrong:
If you find sections sticking, consider placing the mold in the freezer briefly to help it release—just don’t leave it too long!
8. Finishing Touches
Once your stones are demolded, you can polish them with a plastic smoothing paper or buff them with a soft cloth to enhance their shine. You can also layer the hues with additional pieces of resin if you desire three-dimensional colors.
Personal Anecdote: Finding My Flow
I still remember the first time I attempted this project. I made a batch with my niece, an absolute bonding experience. We created vibrant pink and yellow stones to light up her room, only to find out she loved using them during her playtime as treasure markers for imaginary hunts!
Creative Variations
- Layered Stones: Pour different colors one after another to create a layered effect that changes colors as you rotate it.
- Glitter Addition: Mix in fine glitter worth a "wow" factor. Just remember to balance it out with the pigments.
- Seasonal Color Shifts: Create themes based on seasons (like cool blues for winter and vibrant greens for summer)!
What to Do if Things Go Wrong?
- Bubbles: If your cured crystals have trapped air bubbles, you can always sand and polish them down.
- Sticky Surface: This might mean improper mixing or curing; try fixing it by applying a second layer of resin.
Final Thoughts and Inspiration
Crafting color-changing crystal treasure stones has become a beloved activity of mine, allowing me to embrace my creativity while gifting joy to others. I encourage you to experiment and let your imagination run wild. There are no "right" or "wrong" ways to venture into your crafting journey—only the beauty of exploration and discovery. I hope this guide provides you with the insight and inspiration to create your own mesmerizing treasures. Happy crafting!