Crafting Coffee Filter Sea Turtles: A Step-by-Step Guide
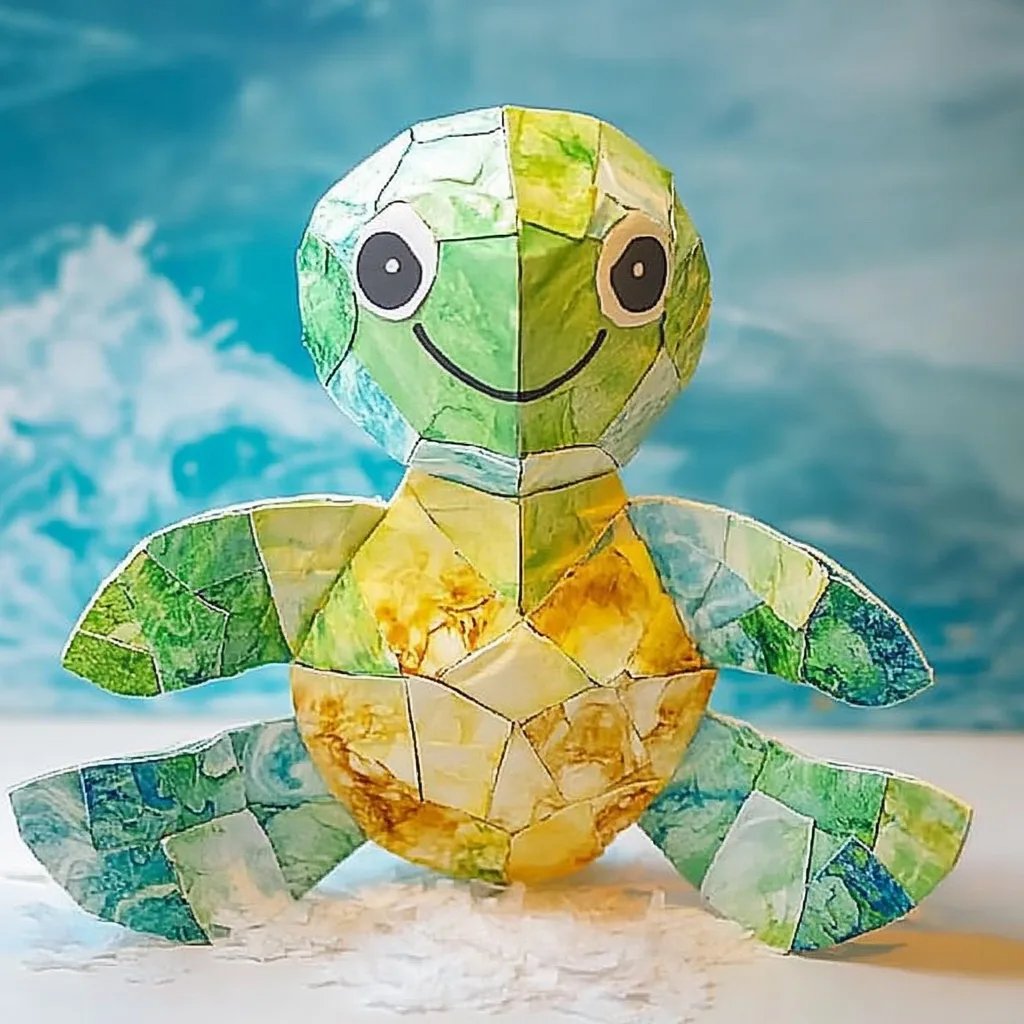
Hello, fellow crafting enthusiasts! Today, I'm excited to share a delightful project that combines creativity, fun, and an eco-friendly twist: making a Coffee Filter Sea Turtle. These charming little turtles are not only visually appealing but also perfect for various occasions, like room decor, educational projects for kids, or even as thoughtful gifts for marine life enthusiasts. As someone who has been crafting for years, I can tell you that this project is not just enjoyable but also incredibly satisfying!
Why Coffee Filter Sea Turtles?
Coffee filter crafts are gaining popularity due to their simplicity and versatility. Coffee filters are inexpensive, easily available, and most importantly, they allow for a delightful exploration of color and texture. This project not only brings out your inner artist but also helps raise awareness about marine life, making it a great educational tool for children.
When to Use Coffee Filter Sea Turtles
These adorable sea turtles can be displayed in your home, used in educational settings to teach kids about marine life, or crafted for themed parties or celebrations, especially those that focus on ocean conservation. They also make excellent decorations for a baby shower or beach-themed party!
Materials You Will Need
Here’s a comprehensive list of materials you’ll need for our Coffee Filter Sea Turtle project:
- Coffee filters (white or brown)
- Markers or liquid watercolors (blue, green, and other ocean colors)
- Spray bottle with water (or a paintbrush if you prefer)
- Scissors
- Glue (you can use white school glue or a hot glue gun)
- Small beads or googly eyes (for facial features)
- Green construction paper or cardstock (for the turtle's shell)
- Light blue or ocean-colored construction paper (for the ocean background)
- Pipe cleaners (optional, for added texture)
- Paper towels (to absorb excess water)
Step-by-Step Guide
Step 1: Prepare Your Coffee Filters
Begin by taking your coffee filters and laying them flat on a clean, dry surface. Depending on how many turtles you want to make, you can use one or several filters (I recommend using two per turtle for a fuller look).
Tip: If you want a more vibrant effect, choose white coffee filters, as they absorb colors better than brown ones.
Step 2: Color the Filters
Using your markers or liquid watercolors, color the filters. For a classic turtle look, I like to use shades of green, with a bit of brown or blue scattered throughout. You can achieve pretty designs by making swirls, dots, or even abstract patterns.
Important Note: Be careful not to saturate the filters too much. If they are too wet, they can tear or fall apart.
Step 3: Spray to Spread
Once you’re happy with your designs, take your spray bottle filled with water and lightly mist your filters. For those who prefer a more controlled application, use a paintbrush dipped in water to spread the colors and blend them beautifully.
What Could Go Wrong: If you accidentally over-spray, just use a paper towel to dab up excess liquid—this will also create fun patterns!
Step 4: Dry the Filters
Lay your colored, damp filters on a flat surface or hang them up to dry. This might take about 30 minutes. While you wait, you could use this time to cut out additional pieces from your green construction paper for the turtle’s shell and flippers.
Step 5: Cut Out the Turtle Shape
Once your filters are completely dry, take a pair of scissors and cut each filter into the shape of a turtle. You can cut a rounded shape for the shell and smaller shapes for the flippers. Don’t worry if they don’t look perfect; the charm is in the imperfections!
Step 6: Assemble Your Turtle
Now it’s time for assembly! Place the turtle's shell piece on top of another filter or construction paper. Use glue to attach the turtle's flippers, and if you're feeling extra creative, you can even add pipe cleaners to give them a fun twist!
Pro Tip: If you're using beads for eyes, place them before the glue dries, so they stick securely.
Step 7: Create the Ocean Background
Using light blue construction paper, cut a large rectangle or other shapes that resemble waves. Glue your turtle on top so it appears to be floating in the ocean.
Step 8: Add Details
For more personality, use markers to add details like scales, shells, or patterns on the flippers. You can also create additional decorations like seaweed or coral using cut paper or pipe cleaners.
Common Mistakes & Fixes
- Tears in Coffee Filters: If your filters tear, don’t panic! You can patch them up with small bits from other filters or use tape on the back.
- Colors Too Dark: If your colors are too bold, soaking the filter further with water or placing a damp paper towel over the front and pressing down can help lighten them.
- Glue Issues: If you accidentally use too much glue, it might seep out. Just let it dry, and it will form a clear finish once it hardens.
Creative Variations
- Bright Tropical Turtles: Instead of traditional colors, let your imagination run wild! Use bright pinks, yellows, or purples for a whimsical decoration.
- Turtle Mobile: Create multiple turtles in various sizes and hang them from a mobile frame to make a beautiful piece for a child’s room.
- Educational Tool: Create larger turtles and add facts about sea turtles on the back to use as an educational display.
Final Thoughts
Creating a Coffee Filter Sea Turtle is not only a fun craft but also an excellent way to learn about marine life and conservation. I hope this guide encourages you to dive into crafting with both enthusiasm and creativity. Remember, crafting is all about joy and personal expression, so don’t be afraid to make this project your own!
As you embark on this journey, know that every turtle you create is a unique masterpiece. Happy crafting, and may your home be filled with the spirit of the ocean! 🐢✨