Crafting Coffee Filter Butterflies: A Step-by-Step Guide
As an avid crafter, I've always found joy in transforming simple materials into delightful creations. One of my favorite projects is making coffee filter butterflies—a beautiful, whimsical, and incredibly easy craft perfect for kids and adults alike. Whether you're looking to brighten up your home, create unique decorations for a party, or simply seeking a fun activity to enjoy with loved ones, these charming butterflies are sure to bring some joy to your day.
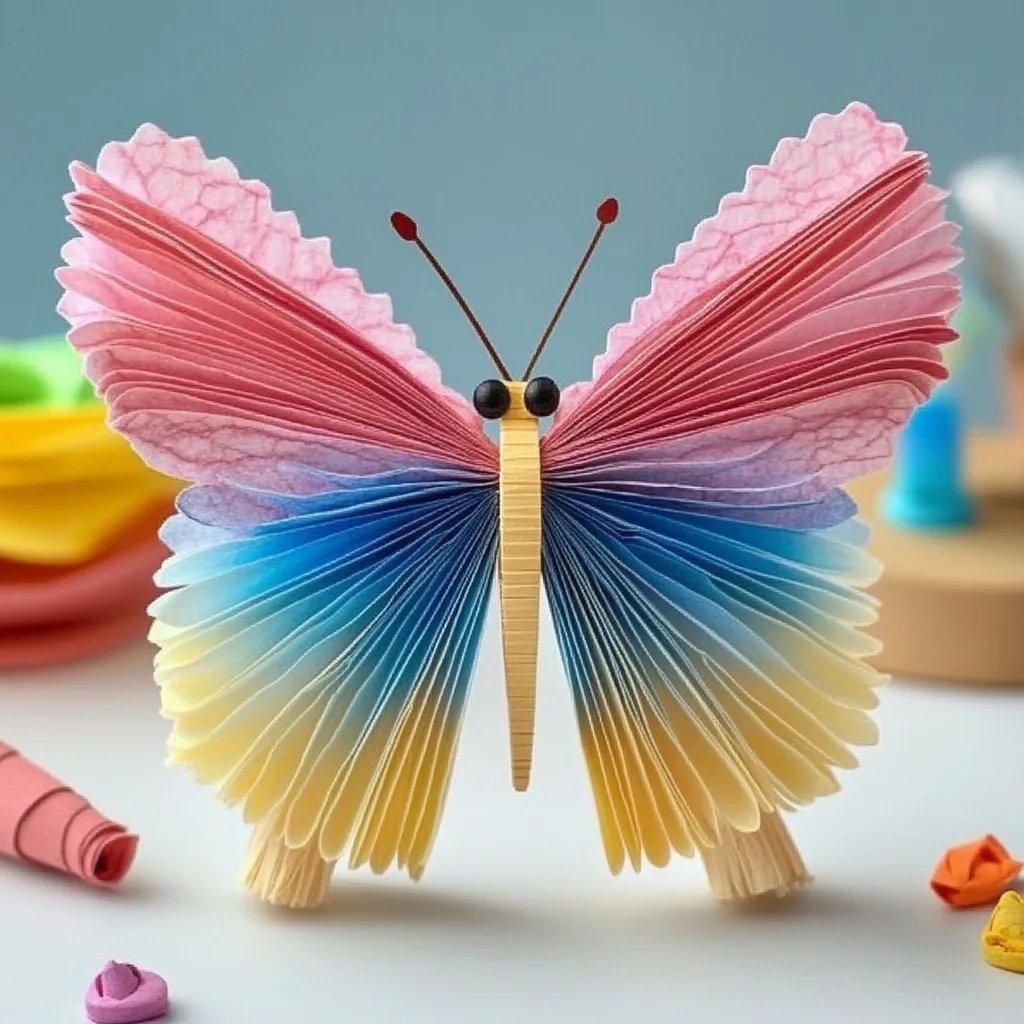
But what exactly are coffee filter butterflies? These colorful, fluttery creations are made from, unsurprisingly, coffee filters! With a little bit of color and creativity, you can turn these everyday items into stunning, decorative butterflies. Their popularity stems from their accessibility (most families already have coffee filters at home), versatility (you can hang them, gift them, or use them for scrapbooking), and the meditative process of crafting them.
In this article, I’ll walk you through the step-by-step process of making these beautiful butterflies, share tips and tricks to avoid common pitfalls, and provide ideas for creative variations to make your butterflies truly one-of-a-kind.
Why Make Coffee Filter Butterflies?
Creating coffee filter butterflies is not just about crafting; it’s an opportunity to express your creativity and taste. The process is simple enough for beginners while still being enjoyable for experienced crafters. Plus, it’s a fantastic way to engage children in a fun and educational craft that enhances their motor skills and encourages imagination.
These butterflies make excellent decorations for spring and summer, can be used in classrooms for thematic projects, or even gifted as homemade treasures. Whenever the mood strikes or the need arises, coffee filter butterflies can be made—just grab your materials and get started!
Materials You’ll Need
Before we dive into the step-by-step process, let’s gather the materials you will need:
- Coffee Filters (white or natural)
- Markers or Watercolors (in various colors)
- Spray Bottle with Water (optional)
- Pipe Cleaners (black or any color you prefer)
- Scissors
- Glue (optional)
- Paper Towels or Cardstock (for drying)
- Sturdy Surface (for drying and coloring)
- Pencil or Crayons (optional for extra designs)
- Glitter, Sequins, or Additional Decorations (optional)
Step-by-Step Tutorial to Create Your Coffee Filter Butterflies
Step 1: Preparing the Filters
Start by taking a few coffee filters—about two or three should do. Set them down on a flat, sturdy surface. You can either lay them flat or stack them; stacking will create a fuller butterfly.
*Tip*: If you want loved ones to join in on the fun, have them make their own butterflies! Each person can use different colors and patterns.
Step 2: Coloring the Coffee Filters
Using markers or watercolors, creatively color your coffee filters. Feel free to experiment with abstract designs, stripes, or dots. If using markers, consider applying more color in the center of the filter and a lighter hue toward the edges.
*Personal Insight*: I often find that layering different colors creates a beautiful blend when the filter is wet. If you prefer a more vibrant look, don't hold back on the coloring.
Step 3: Spritz with Water (Optional)
Once you're happy with the coloring, use your spray bottle to lightly mist the filters with water. This helps the colors to bleed and blend together beautifully.
*Safety Warning*: Be cautious when using water; you don't want the filters to become too soggy. Just a light mist will do. If you find they are too wet, you can gently dab them with a paper towel to absorb excess moisture.
Step 4: Drying the Filters
Place your colored filters on the paper towels or cardstock to dry. This typically takes 10-15 minutes, depending on how much water you used. Gently flipping them can help ensure they dry evenly.
*What Could Go Wrong*: If your filters are too wet, your colors may run excessively, resulting in a muddied appearance. In this case, consider re-shaping your feathers or cutting a simple butterfly shape if necessary.
Step 5: Shaping the Butterflies
Once the filters are dry, take the filters and fold them in half. This will create a crease. Gather the center of the folded filter and pinch it to give it a 'body' shape. This part is crucial as it sets the stage for your butterfly's form.
*Tip*: If you’re feeling fancy, you can fold the filter several times to create a more textured body.
Step 6: Adding the Pipe Cleaner
Next, take a pipe cleaner and twist it around the gathered portion of the filter. This will serve as the butterfly's antenna, and it can also help define the wings' shape.
*Alternative Method*: If you don’t have pipe cleaners, you can fold a piece of paper into a small ‘tail’ and use that as an antenna instead.
Step 7: Final Touches
You can glue some sequins, glitter, or additional decorations to the butterfly's wings if you desire. This is your chance to add personality to your butterflies!
*Creative Variation*: Consider using patterned paper instead of coffee filters, making larger butterflies by using large paper bags, or incorporating other natural materials like leaves to create an aesthetically pleasing mix.
Step 8: Displaying Your Butterflies
Now that your butterflies are complete, it’s time to display them! You can hang them from the ceiling, create a mobile, decorate your garden, or attach them to cards as personalized gifts.
Final Thoughts: Crafting with Heart
Creating coffee filter butterflies is a simple yet rewarding craft that can spark creativity in anyone, young or old. I encourage you to embrace the process of crafting and let your imagination run wild. Remember that every butterfly will be unique, just like you! The imperfections often add charm and character to your creations.
In conclusion, making these butterflies can be delightful and fulfilling. As you dive into this craft, consider involving family members or friends—crafting together can lead to cherished memories.
I hope this guide helps you create your own stunning coffee filter butterflies. Happy crafting!