Crafting Bliss: How to Make Bubble Bath Dough at Home
Welcome to the wonderfully vibrant world of Bubble Bath Dough! As an avid crafter and bath-loving enthusiast, I can share how creating this delightful concoction became one of my favorite projects. Not only does it elevate your bathing experience into a frothy wonderland, but it also doubles as an imaginative play material for kids. Over the years, I’ve found that bubble bath dough is incredibly popular for all the right reasons; it promotes relaxation, stimulates creativity, and easily transforms an ordinary bath into a sensory escape.
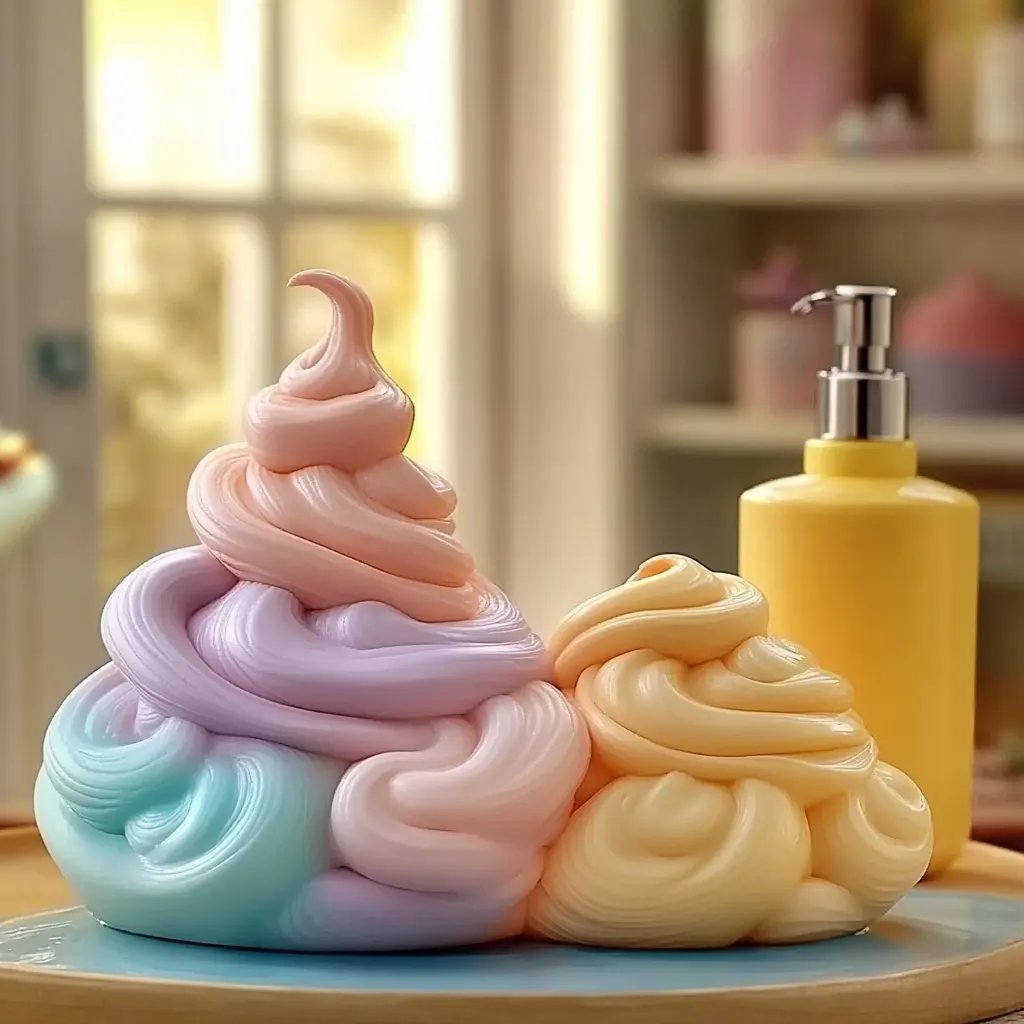
What is Bubble Bath Dough?
Bubble Bath Dough is a unique mixture that combines the delightful texture of dough with the frothiness of a bubble bath. With this soft and pliable dough, you can create lavish bubbles just by squishing it under running water. It’s versatile enough for bubble-blasting fun during bath time or playtime, making it a sensational addition to your self-care rituals or children’s activities. Whether you're wanting to unwind after a long day or entertain little ones with an interactive bath session, Bubble Bath Dough has you covered.
Why Make Bubble Bath Dough?
1. Versatility:
Whether you want to surprise yourself with a luxurious bubble bath or craft an engaging play session for your kids, this dough caters to both needs effortlessly.
2. Aromatherapy:
You can customize scents using essential oils or your favorite fragrances, creating an aromatic experience that calms the mind or invigorates the senses.
3. Fun Activities:
Besides being a bath product, it can serve as a creative tool for children—encouraging imaginative play while developing motor skills as they mold shapes and figures.
4. Gift Appeal:
Homemade Bubble Bath Dough makes a thoughtful, handcrafted gift for friends and family who appreciate a little self-care.
Now that we have a clear understanding of what Bubble Bath Dough is, let’s delve into the delightful journey of making it!
Materials You’ll Need
Let’s gather everything for this crafting adventure! Here’s a comprehensive list of materials you’ll need:
- Base Ingredients:
- ½ cup of baking soda (for fluffiness)
- ¼ cup of citric acid (for fizz and softness)
- ½ cup of Epsom salts (to soothe muscles)
- ½ cup of corn starch (for texture)
- Wet Ingredients:
- ½ cup of liquid dish soap (this is the magic that creates bubbles)
- 2 tablespoons of vegetable oil (for a moisturizing touch)
- 10 drops of food coloring (optional—choose any color you love!)
- 1 teaspoon of essential oil (for scent—pick relaxing lavender or refreshing lemon!)
- Equipment:
- Mixing bowl
- Measuring cups & spoons
- Whisk or spoon for mixing
- Airtight container for storage
Step-by-Step Tutorial
Step 1: Mixing Dry Ingredients
Why This Matters:
Mixing the dry ingredients thoroughly ensures even distribution, which is crucial for achieving the desired texture of your dough.
How to Do It:
In a mixing bowl, combine the baking soda, citric acid, Epsom salts, and corn starch. Use a whisk to break up clumps and blend everything smoothly. Make sure there are no lumps—this could lead to uneven consistency later!
Tip:
If you notice clumps, a fine-mesh sieve can help break them up.
Step 2: Combining Wet Ingredients
Why This Matters:
Adding wet ingredients gives life to the mix, allowing it to start taking shape.
How to Do It:
In a separate bowl, mix the liquid dish soap, vegetable oil, food coloring, and essential oil. Stir gently to combine, but be careful not to create too many bubbles—this step is about unity, not froth!
What Could Go Wrong:
If you whisk too vigorously, you’ll create a foamy mixture, which isn’t ideal for dough. Go slow and steady!
Step 3: Merging Wet and Dry Ingredients
Why This Matters:
This crucial step binds everything together—properly integrating the ingredients ensures a consistent, pliable dough.
How to Do It:
Gradually pour the wet mixture into the dry ingredients. Stir with a spoon until everything starts to clump together. At some point, it’s best to use your hands for mixing.
Tip:
If the mixture feels too dry, add a teaspoon of water or more oil until you achieve a moldable dough-like texture.
Step 4: Kneading the Dough
Why This Matters:
Kneading activates the components and ensures the dough reaches the right consistency and elasticity.
How to Do It:
Transfer your mixture onto a clean, flat surface and start kneading it with your hands. Gently press, fold, and turn until it feels smooth and pliable—about 2–5 minutes of kneading should do the trick.
Potential Issues:
If the dough is too sticky, dust a little corn starch over it and continue kneading. If it crumbles, add just a light drizzle of oil.
Step 5: Storing Your Bubble Bath Dough
Why This Matters:
Proper storage extends the life of your dough and keeps it fresh for use!
How to Do It:
Form your finished dough into a compact shape or separate it into manageable portions, depending on how you want to store it. Place it in an airtight container. It can be kept for about 2–4 weeks if stored correctly.
Creative Variation:
Try dividing the dough into different containers and adding various essential oils or colors to customize each batch!
Safety Warnings
- Ensure that your ingredients are skin-safe and avoid essential oils that might irritate sensitive skin (particularly for children).
- Always test a small amount on your skin first before full use to ensure there’s no adverse reaction.
Alternative Methods and Ingredient Substitutions
- For a Scent-Free Version: Just skip the essential oils.
- For Sensitive Skin: Consider using mild bath products or homemade castile soap as a base.
- Add-ins: You can incorporate dried flowers or oats for added texture and benefits.
Closing Thoughts
Personally, each batch of Bubble Bath Dough I create brings a fresh wave of joy—not just in crafting, but in the moments I get to enjoy a soothing bath or share playful experiences with my little ones. I hope this guide inspires you to explore and play with the possibilities of creating your own bubble-filled bath experiences. Remember, crafting is about experimentation. Don’t hesitate to tweak the recipe to suit your preferences!
Once you’ve created your Bubble Bath Dough, I’d love to hear about your experiences! Share your thoughts and any creative variations you might come up with.
Happy crafting, and may your baths be bubble-infused bliss!