Crafting Bioplastic Suncatchers: A Step-by-Step Guide
Hello, fellow crafters! Today, I’m thrilled to share with you one of my favorite projects that blends creativity, sustainability, and charm: making bioplastic suncatchers. These vibrant decorations are not only stunning to look at but also serve as a great conversation starter, especially for those interested in eco-friendly crafting. They are perfect for brightening up your windows, bringing joy to your space, or even serving as heartfelt gifts. Let me guide you through this experience, sharing tips, insights, and everything I've learned along the way.
What Are Bioplastic Suncatchers?
Bioplastic suncatchers are transparent, colorful decorations made from bioplastics—eco-friendly materials that can be created from natural substances like starch or gelatin. These suncatchers catch the sunlight beautifully, casting colorful patterns across your living space. They’re incredibly popular among kids and adults alike not just for their appearance but also for the gentle reminder they provide about the importance of sustainability.
When can you use these delightful creations? Try hanging them during sunny afternoons to create a magical atmosphere, brightening your home or as thoughtful homemade gifts for holidays, birthdays, or any occasion that warrants a bit of cheer!
Materials You'll Need
Before we dive into the crafting process, let’s gather our materials. Here’s what you’ll need:
- 1 cup of water
- 1 tablespoon of cornstarch (or arrowroot powder)
- 1/4 cup of corn syrup (this acts as a sealant)
- Liquid food coloring (in various colors)
- Kettle or microwave-safe container (for heating)
- Mixing spoon
- Silicone molds or cookie cutters (any shape you desire)
- Wax paper or a silicone mat (for cooling and preventing sticking)
- String or clear fishing line (for hanging)
- Scissors (for trimming)
Safety Tip:
When working with hot materials, be sure you have adult supervision if kids are involved. I always recommend using a heat-resistant glove when pouring or handling materials on the stove.
Step-by-Step Tutorial
Step 1: Prepare Your Work Area
Begin by laying out all your supplies on a clean, flat surface. This will help the process flow smoothly. I often play some upbeat music to keep the atmosphere lively—it’s all about enjoying the process! Protect your surface with newspaper or a craft mat; you don’t want any accidental spills ruining your tabletop.
Step 2: Dissolve the Cornstarch
In your kettle or microwave-safe container, mix the water and cornstarch until dissolved completely. Heat the mixture over medium heat, stirring constantly. This is where the magic of bioplastic begins! What you’re aiming for is a thick, gel-like consistency.
Common Pitfall: If your mixture becomes too thick and clumpy, it means you've cooked it for too long. Don’t panic! Simply add a little more water until it reaches the desired consistency.
Step 3: Add Corn Syrup and Coloring
Once your mixture is at the right consistency, remove it from heat. Stir in the corn syrup, and mix until fully incorporated. This step is crucial as the syrup adds flexibility and shine to your suncatchers, preventing them from becoming too brittle when dry.
Now it’s time to add your colors! This is where I personally love getting carried away. You can mix colors to create unique shades, or keep it simple with a single hue. Remember: the more food coloring you add, the more vibrant the final product will be!
Step 4: Pour into Molds
Carefully pour your freshly-mixed bioplastic into your chosen molds. If you’re using cookie cutters, place them on your wax paper or silicone mat first. Here’s a tip: to create a hole for hanging, simply use a straw to punch a hole through the top of your shape before the mixture sets!
Step 5: Cool and Dry
Allow the suncatchers to cool at room temperature. Depending on the thickness and humidity, this can take anywhere from several hours to overnight. Just be patient—great things come to those who wait!
Step 6: Remove and Hang
Once fully dry, gently peel your suncatchers from the molds. If you find any stubborn edges, using a small spatula can help release them without damage. Here’s where the real magic happens! Use your string or fishing line to hang them in your windows and watch as they transform sunlight into a beautiful display of colors.
Troubleshooting
- Mixture Too Runny: If your bioplastic seems too watery, you can return it to the heat and allow it to thicken a bit more.
- Brittle Suncatchers: If your suncatchers break easily, it might be a sign that you’re not using enough corn syrup. Consider adding more next time or experimenting with different ratios.
- Cloudiness: Sometimes, humidity can affect clarity. Make sure your workspace is dry, and consider placing your suncatchers in a supermarket bag overnight to help them set in a stable environment.
Creative Variations
Once you've mastered the basic suncatcher, consider expanding your creativity! Try adding:
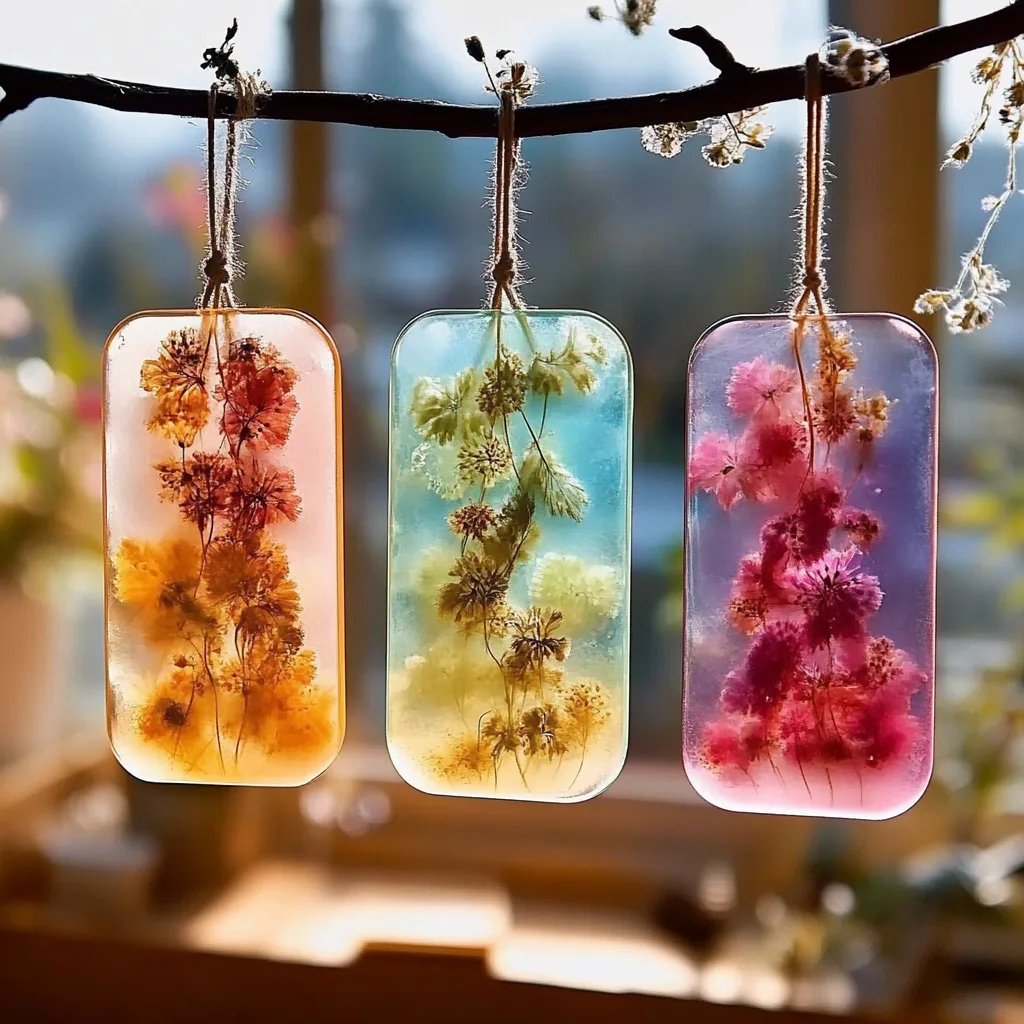
- Dried flowers or leaves: Place them into the mixture before it sets for a natural touch.
- Glitter: Add a little sparkle to your suncatcher by mixing in biodegradable glitter!
- Layering Colors: Pour in one color, let it set a bit, then pour another for a gradient effect.
Final Thoughts
Making bioplastic suncatchers is a wonderful way to combine crafting with sustainability, and trust me, once you get the hang of it, there's no stopping your creativity! I've had countless relaxing afternoons creating these with my family, watching their eyes light up as each one transforms into a colorful masterpiece.
As you embark on this crafting journey, remember to enjoy every moment, learn from your experiences, and don’t hesitate to make the process your own. I can't wait to see what colorful, unique creations you come up with!
Happy crafting, and let the sunlight shine through your beautiful suncatchers!