Crafting Allure: A Comprehensive Guide to Making Glitter Gel Air Fresheners
Hello, fellow crafters! Today, I’m ecstatic to share with you one of my absolute favorite DIY projects: Glitter Gel Air Fresheners. Not only do these delightful creations fill your space with beautiful fragrances, but they also add a touch of sparkle to any room. Whether you’re looking to freshen up your home, create thoughtful gifts, or simply delve into a creative outlet, these air fresheners are perfect for any occasion.
Why Glitter Gel Air Fresheners?
In an era where everyone is looking for more natural alternatives to commercial air fresheners, glitter gel air fresheners stand out. They offer a unique blend of functionality and artistry. The gel base allows the scents to be released gradually, ensuring that your space remains pleasantly aromatic without being overpowering. Plus, who doesn’t love a bit of shimmer? They’re popular for parties, holiday decorations, or just to sweeten the everyday atmosphere in your home.
Now, let’s get started on creating these marvelous air fresheners! Whether you're crafting them for yourself or gifting them to others, I'm here to guide you through every step!
What You’ll Need
Before we dive in, let’s gather our materials. Many of these can be found right in your kitchen or at your local craft store, and the rest should be easy to acquire.
Materials:
- Gelatin (1 packet, unsweetened)
- Water (1 cup)
- Essential oils (your favorite scents, about 10-15 drops)
- Glitter (finely ground, colored or clear depending on your preference)
- Salt (1-2 tablespoons to help preserve)
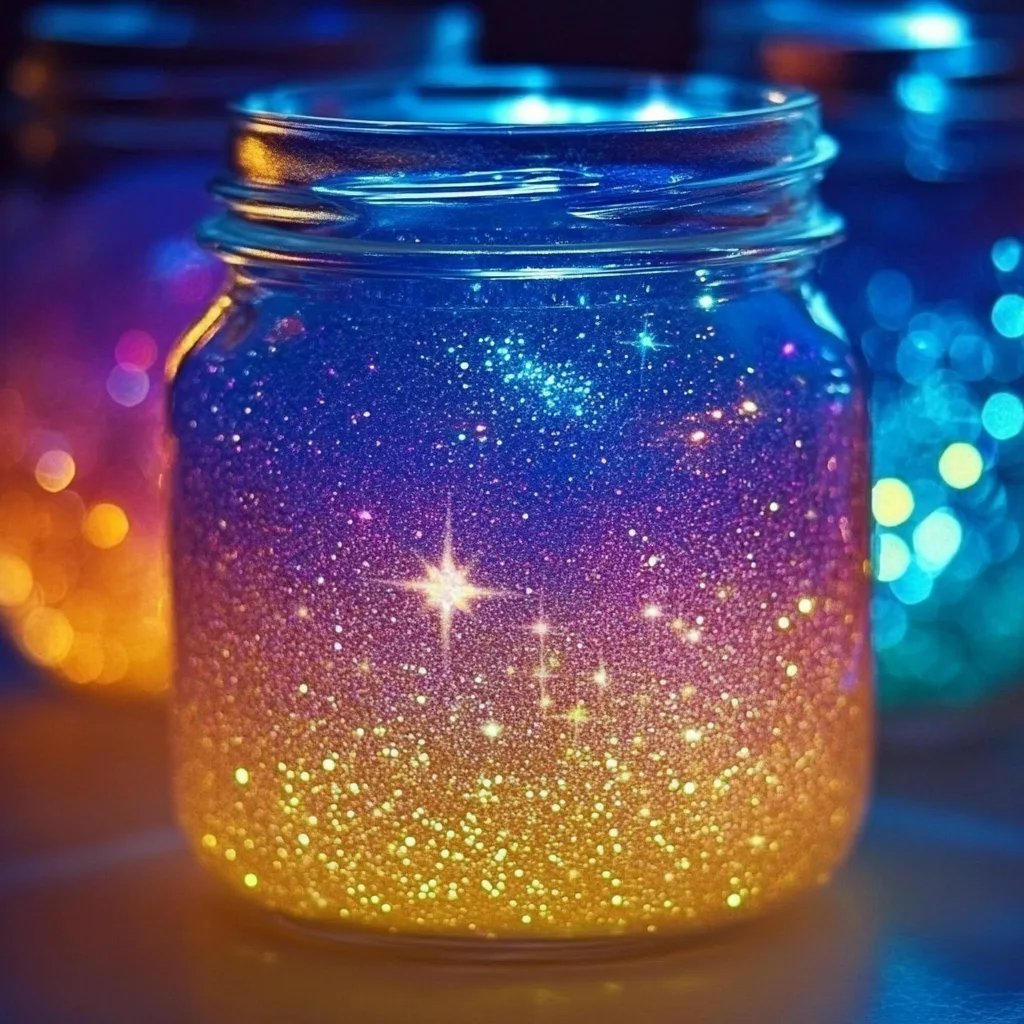
- A container (like small jars or molds, clear is best to show off that glitter!)
- Mixing bowl
- Whisk
- Spoon for pouring
- Heat source (like a stove or microwave)
Step-by-Step Tutorial
Step 1: Prepare Your Workspace
Before starting any craft, I always make sure my workspace is tidy and organized. This ensures I have everything I need on hand and minimizes any potential mess. Remember, crafting should be fun, not stressful!
Pro Tip: Lay down some newspaper or a plastic sheet to contain any spills, especially when working with glitter.
Step 2: Mixing the Gelatin
In a mixing bowl, combine 1 cup of water (room temperature is best!) with the packet of gelatin. Using a whisk, stir until the gelatin is evenly mixed and begins to dissolve. This step is essential as it forms the base of your gel air freshener.
Common Mistake: If you don’t mix well, the gelatin can end up clumping together. If this happens, simply heat your mixture over low heat until it completely dissolves, then remove from heat and let it cool slightly.
Step 3: Adding Fragrance & Salt
Once the gelatin is dissolved, it’s time to add your essential oils. I usually start with about 10 to 15 drops, but feel free to adjust based on how strong you’d like the scent to be. Additionally, mix in 1-2 tablespoons of salt. Salt helps preserve your gel air fresheners and extends their lifespan.
Safety Note: If you have pets or allergies, check that your chosen essential oils are safe for them, as some scents can be toxic to animals.
Step 4: Incorporating Glitter
Now comes the fun part—adding glitter! The amount can vary based on how sparkly you want your air fresheners to be. I love the look of about 1 tablespoon of glitter to give it an eye-catching shimmer. Stir well to ensure even distribution throughout the mixture.
Step 5: Pouring into Containers
Carefully pour the mixture into your chosen containers. A funnel or a spoon can help control the pouring process and avoid spills. Fill each container to your desired level, but remember to leave some space at the top!
Step 6: Setting Your Gel
Allow your gel air fresheners to sit at room temperature for 4-6 hours to fully set. If you're in a hurry, placing them in the refrigerator can speed up the process. Just remember not to freeze them, as that could ruin the texture.
What to Watch For: If your mixture doesn’t set properly, it might be due to not using enough gelatin or adding too much water. To fix this, you can start a new batch and increase the gelatin ratio, as it’s better to be on the safe side!
Step 7: Displaying or Gifting
Once set, pop a lid on your containers if you plan to gift them, or simply display them around your home. I love dotting them around my living room, kitchen, and even in bathrooms for a nice touch of decoration and scent.
Personal Insights and Creative Variations
Creating these glitter gel air fresheners has been a labor of love for me, and I find joy in experimenting with different scents and colors. Here are some of my favorite variations:
- Seasonal Scents: Try peppermint and cinnamon for winter, or citrus and mint for summer. The possibilities are endless!
- Color Coordination: Match the glitter to the season—a warm gold for fall or a cool blue for spring.
A helpful tip I’ve learned over time is to keep a journal of your scent combinations. This way, you can replicate your favorites or keep track of experiments that didn’t quite work out!
Safety Warnings and Alternatives
While this DIY is generally safe, there are a few things to keep in mind:
- Ensure that your essential oils are safe for your space (especially around pets).
- If you find that the glitter is clumping, add a bit more water and mix it in.
As for alternatives to traditional glitter, if you’re looking for a more eco-friendly option, consider using biodegradable glitter or dried flower petals for an organic look!
Conclusion: Crafting with Purpose
Crafting Glitter Gel Air Fresheners is a straightforward and delightful project that combines creativity with practicality. With just a few readily available materials, you can create charming, fragrant additions to your home while indulging your crafty side. I hope you find as much joy in making these delightful creations as I do!
Remember, crafting should be about exploration and personal expression, so don’t hesitate to adjust ingredients, colors, and scents to suit your style. Happy crafting, and may your spaces smell divine!