Crafting Adorable Pom-Pom Love Bugs: A Step-by-Step Guide
Hello, fellow crafters! I’m so excited to share with you one of my all-time favorite projects: Pom-Pom Love Bugs. These whimsical little creatures are not only super easy to make, but they also serve as charming decorations for Valentine’s Day, birthdays, or any day when you want to spread a bit of love. Whether you're making them for your kids’ classrooms, as a gift, or simply to brighten up your space, Pom-Pom Love Bugs are sure to bring smiles all around!
What Are Pom-Pom Love Bugs?
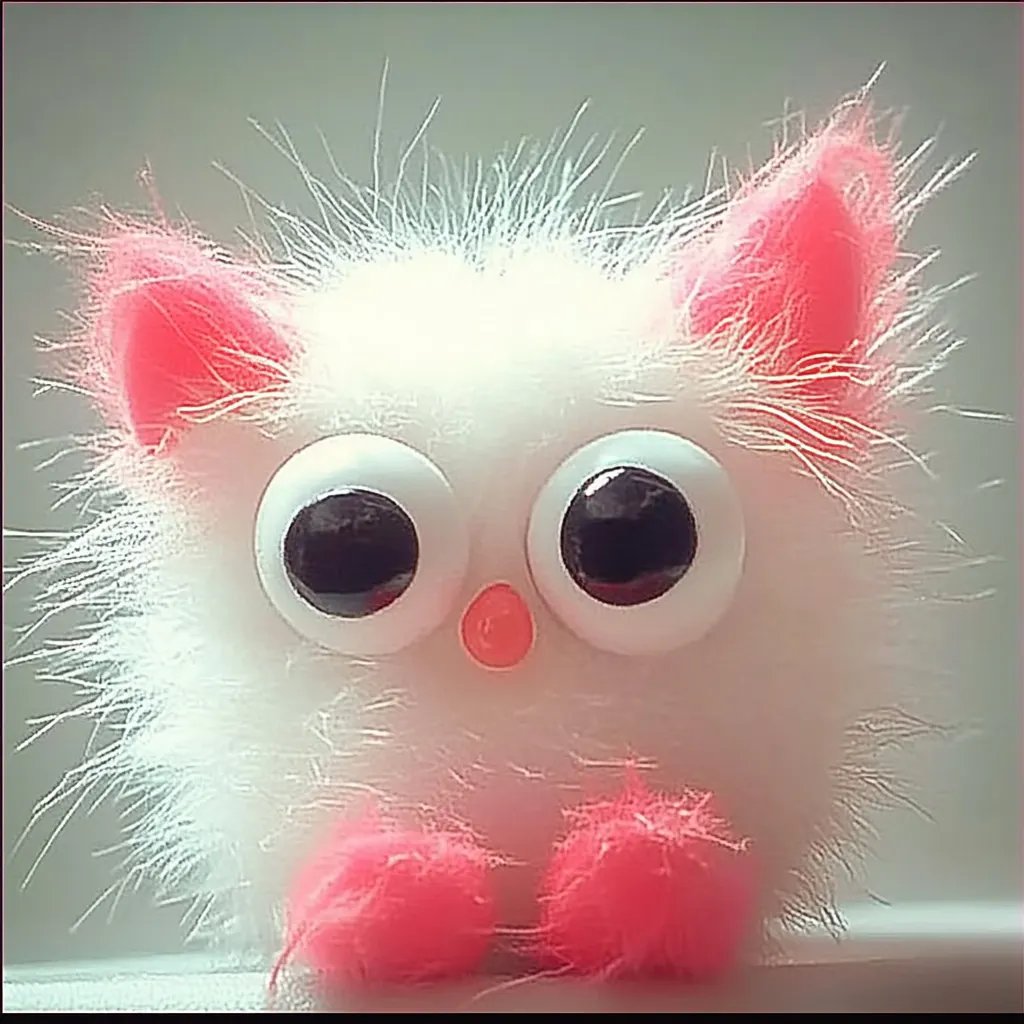
Pom-Pom Love Bugs are adorable little creatures created entirely from colorful yarn pom-poms, pipe cleaners, and a few embellishments. They come in various colors and sizes, making them perfect for any occasion. Plus, they can be personalized to fit any theme! These love bugs have become popular in crafting circles for their simplicity and the joy they can bring, and I can’t wait to guide you through the process of making your very own.
When to Create Your Love Bugs
While Pom-Pom Love Bugs are particularly popular around Valentine's Day, they also make cute decorations for birthday parties, baby showers, and even cozy home decor. You can place them on tables, gift them to friends, or use them in crafting activities with kids.
What You’ll Need
Before diving into the crafting process, let’s gather our materials. Rest assured, you won’t need anything too extravagant:
- Yarn: Choose your favorite colors! I often opt for bright pinks, reds, and purples for love-themed bugs, but feel free to get creative.
- Pom-Pom Maker: If you have one, great! If not, you can also make pom-poms using your fingers or cardboard; I’ll cover that alternative later.
- Scissors: Sharp scissors work best to snip through yarn.
- Pipe Cleaners: These will serve as antennae and legs. I recommend using colorful ones for extra flair.
- Googly Eyes: The bigger, the better! They add that extra charm to your love bugs.
- Glue: A hot glue gun works wonders, but craft glue will also do the job.
- Craft Felt (Optional): Use to create wings or additional decorations for your bugs.
- Markers: For adding any extra facial features.
Step-by-Step Tutorial: Making Pom-Pom Love Bugs
Now that we have our materials ready, let’s get started!
Step 1: Making the Pom-Pom
Why this step matters: The pom-pom is the body of the love bug, so making it the right size and shape is essential.
- Using a Pom-Pom Maker:
- Open your pom-pom maker and wrap the yarn around one of the arms until it’s nice and full. Make sure to leave enough space at the edges; this will ensure a full pom-pom when cut.
- Close the arms and cut the yarn along the edge with your scissors. Be careful – this part requires a bit of finesse!
- Tie a piece of yarn tightly around the center, securing everything. This is what holds your pom-pom together.
- Alternative Method (Using Fingers):
- Wrap yarn around your fingers about 30–50 times. The more yarn, the fuller your pom-pom will be!
- Carefully slide the wrapped yarn off your fingers and tie a piece of yarn around the middle, securing it tightly.
Potential Problems: If your pom-pom looks too sparse, add more yarn next time and wrap it more tightly. If it looks too ugly when cut, it might not have been tied securely in the middle—this can lead to a sad, messy pom-pom!
Step 2: Shaping the Pom-Pom
Why this step matters: A well-shaped pom-pom gives your love bug character!
- Take your scissors and trim your pom-pom to make it round and fluffy. Don’t be afraid to snip away, but avoid cutting too much from the center tie.
Personal Anecdote: I once cut too deep into the center and ended up with a “flat bug.” It became a lesson in gentle trimming—don’t worry; you can always add more yarn later if needed!
Step 3: Attaching the Eyes
Why this step matters: The eyes give your love bug personality!
- Using your glue gun or craft glue, securely attach two googly eyes to the front of your pom-pom.
Creative Variation: You can draw your eyes with markers, or cut out small circles from craft felt for a different texture.
Step 4: Adding Antennae and Legs
Why this step matters: The antennae and legs complete the love bug look.
- Take your pipe cleaner and cut two pieces for antennae, bending them into a spring-like shape or making a curl at the top.
- Attach these to the top of the pom-pom using glue.
- For legs, cut two longer pieces and bend them in half. Glue them onto the bottom.
Safety Warning: Be careful when using hot glue; it’s easy to burn your fingers! If you’re crafting with kids, opt for a non-toxic craft glue instead.
Step 5: Creating Wings (Optional)
Why this step matters: Wings add an extra layer of cuteness to your love bug.
- Cut out wing shapes from craft felt in any color you like.
- Glue these onto the back of your pom-pom.
Adding Extra Flair: Creative Variations
I love giving my love bugs little personality traits. Here are a few ideas to spark your creativity:
- Experiment with Colors: Combine different colored yarns to create a gradient effect on your pom-pom.
- Accessorize: Create tiny hats or scarves using leftover yarn or felt.
- Different Shapes: Make heart-shaped pom-poms for a unique twist!
Common Mistakes and How to Fix Them
- Pom-Pom Too Loose: If it comes apart after cutting, just gather the yarn together and re-tie it firmly.
- Wings Don’t Stay: Use heavier glue or even sew them onto the pom-pom base for added security.
- Misshapen Pom-Pom: With patience, continue trimming until you’re satisfied with the shape.
—
Conclusion
Crafting Pom-Pom Love Bugs is truly a delightful experience that fills your space with warmth, whimsy, and lots of love. I hope this guide has inspired you to gather your materials and create your own lovable creations. Remember, crafting is all about enjoying the process and expressing your creativity. Don’t hesitate to put your spin on things! Happy crafting!