Crafting a Timeless Treasure: DIY Preserved Flower Necklace
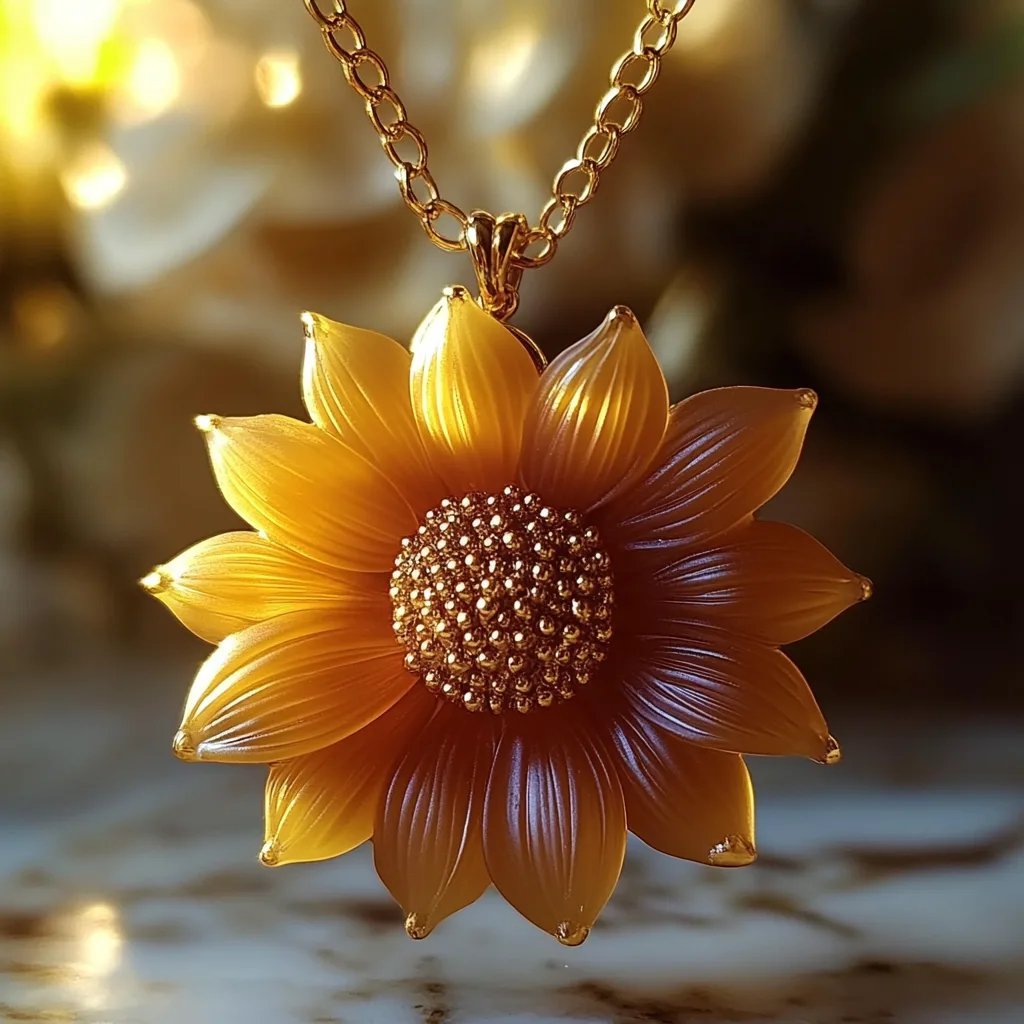
Hello, fellow DIY enthusiasts! I’m so excited to share with you one of my favorite crafting projects— creating a stunning DIY preserved flower necklace. This handmade beauty captures nature's charm and serves as a personal keepsake, making it a popular choice for both gift-giving and personal adornment.
What Makes Preserved Flower Necklaces So Special?
Preserved flower necklaces have surged in popularity for a multitude of reasons. They are not only beautiful but also deeply meaningful. Each piece can hold memories—be it flowers from your wedding day, a treasured friend's birthday bouquet, or just nature's bounty gathered on a sunny day. These necklaces can be worn for special occasions or as daily reminders of joyful moments, adding a touch of nature to any outfit.
Materials You'll Need
Before we dive into the crafting process, let’s gather the materials. The great news is that you don’t need to break the bank to create something truly wonderful! Here’s what you’ll need:
- Dried flowers: Opt for small blooms like forget-me-nots, daisies, or even tiny rose buds.
- Resin: Choose a clear epoxy resin designed for jewelry.
- Necklace chain: Select one that complements your style—silver, gold, or a simple hemp cord for a rustic look.
- Silicone mold: Pick a mold in your desired shape—teardrops, circles, or even hearts.
- Mixing cups and sticks: For mixing the resin.
- Gloves: Protect your hands from sticky resin.
- Rubbing alcohol and paper towels: For cleaning excess resin.
- Small tools: Tweezers and toothpicks help with placing flowers and popping air bubbles.
Step-by-Step Tutorial
Step 1: Preparing Your Flowers
The first thing you need to do is prepare your flowers. I recommend using dried flowers, as fresh ones will not hold their shape in resin.
- Gathering: Collect small flowers, ideally ones that lay flat. If you’re using fresh flowers, you can dry them by pressing them between the pages of a heavy book for a few days.
- Selection: Choose flowers that have vibrant colors and meaningful memories. It's all about personalizing your necklace.
*Tip*: Use a mix of colors for a more dynamic look, and remember that delicate flowers like baby’s breath can fill spaces nicely.
Step 2: Mixing the Resin
Now, let’s get to the fun part—mixing your resin!
- Read the instructions carefully: Different brands have different mixing ratios, so be sure to follow them closely.
- In a well-ventilated area, combine equal parts of resin and hardener in a mixing cup. Stir slowly for about 3-5 minutes until you achieve a clear, lump-free mixture.
*Warning*: Be careful of fumes; always wear gloves and work in a well-ventilated area.
Step 3: Pouring the Resin into the Mold
This is a crucial step, as it serves as the foundation for your flowers.
- Pour a thin layer of resin into the bottom of your silicone mold. This helps to cushion the flowers so they don't sink when you add more resin.
- Let it sit for a few minutes until you see bubbles forming. Gently blow on the surface or use a straw to pop any bubbles that appear.
Step 4: Arranging Your Flowers
After the initial layer has set (it should be tacky but not fully cured):
- Using tweezers, carefully arrange your dried flowers within the mold. Feel free to layer them or position them in creative ways.
- Open up your creativity! You can even add glitter, tiny beads, or other embellishments for a personalized touch.
*Tip*: Take your time to ensure everything is placed just as you want it. There’s no rush!
Step 5: Pouring the Final Layer of Resin
Once you’re satisfied with the flower arrangement, it's time for the final layer of resin.
- Carefully pour more of the mixed resin over the flowers, ensuring they are fully submerged. Leave a small amount of space at the top of the mold as the resin can expand.
- Use a toothpick to gently nudge flowers that might be floating to the surface, ensuring they settle back into the resin.
Step 6: Curing Time
Let the resin cure completely, which usually takes 24 hours.
*Tip*: While you wait, make sure to cover your project to avoid dust and debris.
Step 7: Demolding and Finishing Touches
Once the resin is fully cured, gently peel the silicone mold away from the necklace. This can be tricky, so take your time to avoid breaking the resin.
- Examine your piece for any rough edges. If you see any, lightly sand them down with fine-grit sandpaper.
- Attach your necklace chain through the loop (if using a mold that has one) or use a jump ring to connect the pendant to the chain.
Troubleshooting Common Issues
- Bubbles: If you have bubbles in your resin, you may have stirred too quickly. Use a heat gun or lighter held at a distance to pop them.
- Inconsistent Curing: If your resin doesn’t cure properly, ensure you mixed it well, maintained the right temperature, and the ratios were correct.
- Color Bleeding: If your flowers start to bleed color, this usually occurs if they aren’t dried thoroughly. Always dry flowers properly before use.
Alternatives and Creative Variations
- Alternative Dyes: Consider using natural dyes made from turmeric or beet juice for added color.
- Different Shapes: Experiment with various mold shapes, or even opt for a bangle or earrings.
- Layered Designs: Make several layers with different flowers for a more complex look.
A Personal Anecdote
I remember the first time I crafted a preserved flower necklace. It was a rainy afternoon, and I felt a bit uninspired. But I had a small jar of dried violets from my grandmother's garden. As I carefully placed each flower in the mold, memories of picking those blossoms with her flooded back. That day, I realized that these necklaces are not just beautiful accessories; they’re stories, memories, and pieces of our lives captured forever.
Final Thoughts
Creating a DIY preserved flower necklace is an incredibly rewarding crafting experience. It's perfect for gifting or cherishing your personal memories. With a little patience and creativity, anyone can create their own floral masterpiece. So gather your materials, roll up those sleeves, and let your crafting journey begin!
Happy crafting!