Bubble Painting Adventure: A Step-by-Step Guide to Creating Whimsical Art
Welcome to the colorful world of bubble painting! I'm thrilled to share with you a craft that I adore: bubble painting. This eye-catching art form uses bubbles to create mesmerizing designs, perfect for all ages. Whether you’re a parent looking for a fun indoor activity for your kids, a teacher seeking an engaging project for the classroom, or simply an art enthusiast eager to explore new techniques, this guide is for you.
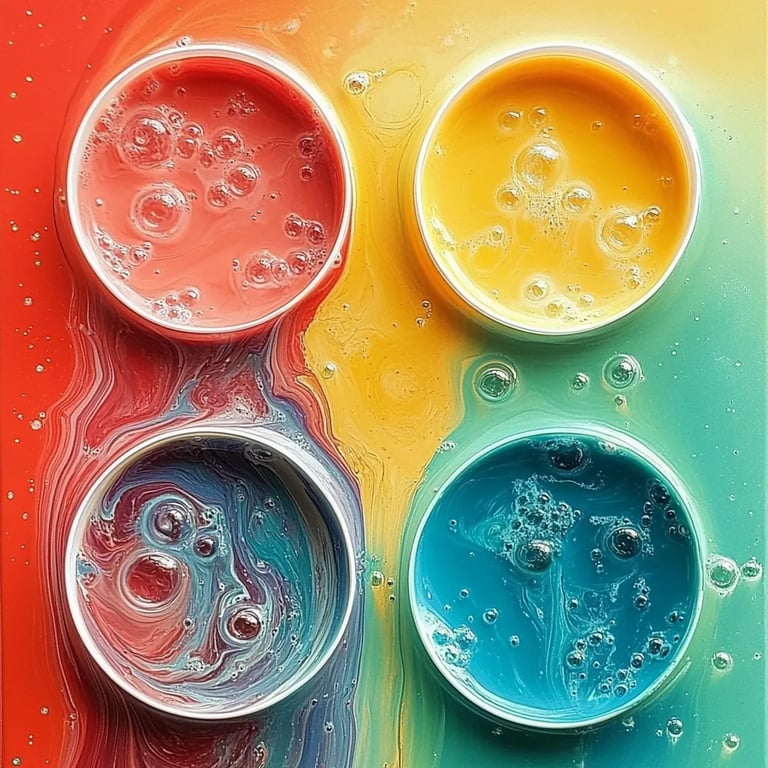
Bubble painting has grown in popularity for good reason. It combines the playful joy of bubbles with the creativity of painting, resulting in a unique art experience. You can use it for everything from greeting cards to spectacular wall art. Plus, it’s a brilliant way to spark imagination and develop motor skills, especially for younger crafters.
Let’s dive into the adventure of bubble painting!
What You'll Need
Before we begin, gather these accessible materials:
Materials:
- Dish soap: This will create the magical bubbles—any brand will do, but I prefer a concentrated form for more bubbly fun.
- Water: Plain old tap water works perfectly.
- Food coloring: Choose vibrant colors that excite you! Gel food coloring is more concentrated and gives vivid results.
- Bowls or cups: For mixing your bubble solution.
- Straws: These will be your bubble-blowing tools—nothing fancy is required.
- Paper: Thick watercolor paper or any sturdy paper that can withstand some moisture works best.
- Tape: Optional, but helpful for securing your paper.
- Old clothes or aprons: Things can get a bit messy, so protect your clothes.
Step-by-Step Tutorial
Step 1: Prepare the Bubble Solution
Start by mixing your bubble solution. In a bowl, combine ¼ cup of dish soap with 1 cup of water. Stir gently to avoid creating too many bubbles, which can be counterproductive to your goal.
Why this step matters: The right soap-to-water ratio is crucial for creating strong, long-lasting bubbles that will hold the color better.
Common pitfalls: If you create too many bubbles in this stage, you might end up with a soapy mess rather than a painting medium. To avoid this, use a spoon to mix instead of whisking.
Step 2: Add Color
Now it's time to make things colorful! Add a few drops of food coloring to your bubble solution—choose one color or mix several for a rainbow effect. Stir very gently to incorporate the color without creating bubbles.
Why this step matters: The colors you use will dictate the overall look of your artwork. Bold, vibrant hues look stunning when printed.
What could go wrong: If you add too much food coloring, it may overwhelm the soap solution. Start with a few drops and gradually add more until you achieve your desired color intensity.
Step 3: Set Up Your Workspace
Lay down some newspapers or a plastic sheet to protect your work area from splatters. If you’d like to secure your paper, use tape to hold it in place. This also helps prevent the paper from moving during the bubbling process.
Tip: Choose a well-ventilated area, especially when working with kids, as the soap can create a strong smell.
Step 4: Blow Some Bubbles
Take your straw, dip it into your bubble solution, and then gently blow into one end while holding the other end above the paper. You want to create a mountain of bubbles on top of the surface.
Why this step matters: This is the enchanting moment when you see the art beginning to take shape. The bubbles will pop and leave behind beautiful dots of color on your paper.
What could go wrong: If you're blowing too hard, the bubbles might scatter instead of forming a nice mound. Gentle, consistent breaths are key.
Step 5: Create Your Artwork
Once you have a good bubble base, gently lift the paper and tilt it to let the bubbles move across the surface. As they pop, they will leave vibrant color marks behind. You can also repeat the bubbling process to layer more colors.
Tip: Consider doing this step outside on a sunny day to let the natural light enhance the colors.
Step 6: Let It Dry
Once you’re satisfied with your artwork, carefully lay it flat in a cool, dry area to allow it to dry completely. This might take a couple of hours, depending on your paper type and humidity.
Why this step matters: Proper drying ensures that the colors set correctly, leading to vibrant artwork that holds its integrity over time.
Safety Warnings
While bubble painting is largely safe, I advise you to keep materials out of reach of small children to avoid ingestion. If you're working with young children, always supervise and consider using non-toxic, child-friendly ingredients.
Creative Variations
Once you're comfortable with the basic bubble painting, how about trying some variations?
- Nature Prints: Use leaves or flowers as stencils on your paper to give your bubbles a unique shape as they pop.
- Gelatin Bubbles: Swap out the dish soap for gelatin in a 1:3 ratio of gelatin to water mixed with food coloring. This mixture creates thicker bubbles that pop with a different texture.
- Scented Bubbles: Add a few drops of essential oil to your bubble solution for an aromatic twist.
- Bubble Stamps: After the painting is dry, use bubble-wrap as a stamp to add texture.
Personal Anecdote
One of my fondest memories of bubble painting is from a weekend spent with my niece and nephew. With homemade lemonade in hand and laughter echoing in the garden, we created bright, colorful masterpieces that still hang on their refrigerator today. It was more than just crafting; it was about the smiles, the mess, and the creativity that filled the air.
In Conclusion, bubble painting is not just a fun activity; it’s a wonderful way to express creativity and engage with family or friends. I hope this step-by-step guide inspires you to embrace your artistic side and embark on your own bubble painting adventure. So gather your materials and unleash your creativity—happy crafting!