Bottle Cap Pumpkins: An Incredible Ultimate Project for Fall
Bottle cap pumpkins are an amazing way to celebrate the autumn season. This delightful craft can turn ordinary bottle caps into charming decorations that capture the essence of fall. These tiny yet stunning ornaments can add a pop of color to your home while providing a fun activity for friends and family. Engaging in this project is an excellent opportunity to unleash your creativity and make something truly unique.
Transforming bottle caps into pumpkins is not just about aesthetics; it's about the experience. You’ll find joy in recycling materials and creating beautiful art that embodies the spirit of the season. This guide will walk you through the reasons to love this project, how to prepare your materials, and step-by-step instructions for crafting your very own bottle cap pumpkins. Whether you're a crafting novice or a seasoned artist, the fun and satisfaction of completing this project will surely bring a smile to your face.
With its vibrant colors and whimsical shapes, bottle cap pumpkins are ideal for decorating your home or giving as heartfelt gifts. They can be displayed on tables, porches, or even in school classrooms to celebrate the spirit of fall. So grab those bottle caps and let’s dive into this incredible crafting adventure that combines creativity with sustainability.
Why You'll Love This Project
Working on bottle cap pumpkins offers a range of benefits that extend beyond mere decoration. Here are some reasons why this project is fantastic:
- Sustainable Crafting: It’s an eco-friendly project that repurposes items you might normally discard.
- Cost-Effective: You likely have many of the necessary materials at home, making it easy on your wallet.
- Family-Friendly: This craft is perfect for all ages and can be a wonderful family bonding experience.
- Creative Expression: You can personalize each pumpkin with different paint colors, designs, and embellishments.
- Simple and Quick: Unlike many complicated crafts, creating bottle cap pumpkins is straightforward and can be completed in a short amount of time.
- Decorative Appeal: These charming pumpkins will brighten up your home with their vibrant colors and whimsical designs.
These factors make bottle cap pumpkins an appealing choice for anyone looking to dive into a fun, creative project this fall.
Preparation and Cooking Time
Creating your bottle cap pumpkins is a quick process that can fit easily into your schedule. Here's a breakdown of the expected time commitment:
- Preparation Time: 15 minutes (collecting materials and setting up your workspace)
- Crafting Time: Approximately 30-60 minutes, depending on how detailed you want your pumpkins to be
These times may vary based on your crafting speed and familiarity with the materials, but this estimate should provide a solid guideline to follow.
Ingredients
- Bottle caps (various colors preferred)
- Orange craft paint
- Green craft paint
- Paintbrushes
- Hot glue gun and glue sticks
- Twine or ribbon (for decoration)
- Scissors
- Black marker or paint (for eyes and mouth)
Step-by-Step Instructions
Creating your bottle cap pumpkins is an enjoyable crafting experience. Follow these steps to bring your whimsical designs to life:
- Gather Materials: Collect all the necessary materials listed above. Ensure you have a clean and well-lit workspace.
- Paint the Caps: Use orange craft paint to coat the surface of the bottle caps. Allow the paint to dry fully before proceeding.
- Create Faces: Once the orange paint is dry, use a black marker or paint to draw faces on each cap. You can make them goofy, spooky, or silly—let your creativity shine!
- Prepare the Leaves: While the paint dries, cut small leaf shapes out of green paper or use green paint to add details directly to the caps.
- Attach Leaves: Once the pumpkins are painted and the faces are dry, use the hot glue gun to affix the green leaves to the top of each pumpkin.
- Add Twine or Ribbon: Use twine or ribbon to create a loop at the top of each pumpkin, which can serve as a hanging decoration or added flair.
- Decorate Further: If desired, sprinkle some glitter or sequins on the pumpkins for an extra touch of sparkle.
- Display Your Pumpkins: Once everything is dry and set, arrange your bottle cap pumpkins around your home to celebrate the autumn season.
By following these straightforward steps, you'll find the crafting process both enjoyable and rewarding.
How to Serve
When it comes to displaying your bottle cap pumpkins, consider the following tips to maximize their charm and appeal:
- Centerpiece Display: Place the pumpkins in a bowl or on a tray as a seasonal centerpiece for your dining or coffee table.
- Porch Decor: Scatter the pumpkins across your porch or steps to greet guests with a warm fall welcome.
- Gift Giving: Use these pumpkins as charming gifts for friends or neighbors, adding a bit of festive flair to their homes.
- Classroom Activities: Bring these bottles to school and engage children in creating their own versions, fostering creativity among classmates.
- Seasonal Wreaths: Incorporate these pumpkins into a fall wreath for a festive touch on your front door.
By considering these options, you can ensure that your wonderful bottle cap pumpkins bring joy and vibrancy to any setting this fall.
Additional Tips
- Experiment with Colors: While orange is traditional for pumpkins, don’t hesitate to use other colors like yellow or green for a unique twist.
- Use Different Sizes: Collect bottle caps of various sizes to create a diverse pumpkin patch effect. Some small caps can make adorable mini pumpkins!
- Personalize as Gifts: Consider personalizing each pumpkin by adding names or special messages on the cap with a permanent marker for gifts.
- Display with Nature: Enhance your display by placing your bottle cap pumpkins alongside natural elements like pine cones or acorns for a more autumnal feel.
- Host a Craft Night: Gather friends for a crafting session. It can be a fun way to socialize while making these fall-themed decorations together.
Recipe Variation
Bottle cap pumpkins allow for numerous creative variations. Consider trying the following ideas:
- Theme-Specific Colors: Create pumpkins in colors that match a particular theme or holiday, such as black and purple for Halloween.
- Texture Mix: Use fabric scraps instead of just paint to add texture. Fabric leaves or a felt base can offer different design elements.
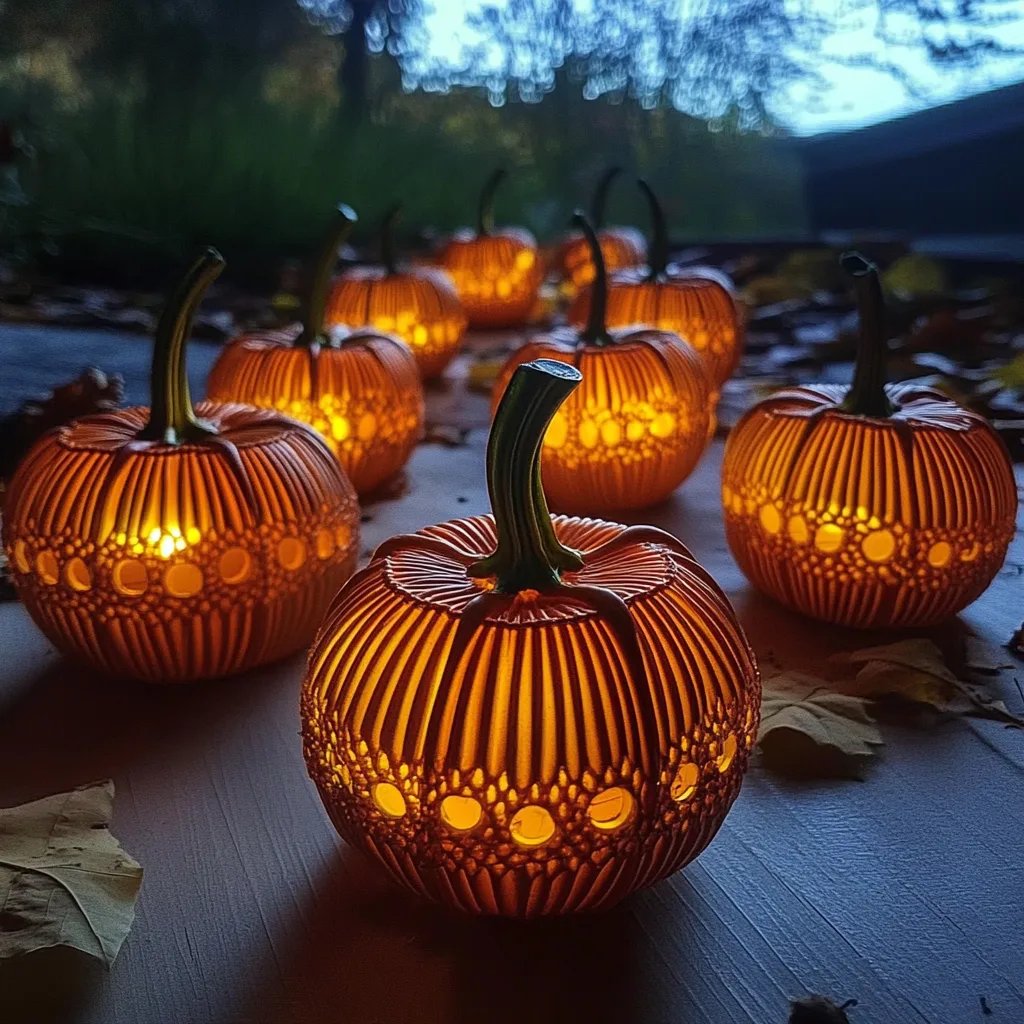
- Light-Up Pumpkins: Incorporate battery-operated tea lights under larger bottle caps to create glowing pumpkins for nighttime displays.
- Seasonal Greetings: Add festive messages or quotes using stickers or painted text on your pumpkins for a personalized touch.
- Unique Shapes: Instead of traditional round shapes, experiment with different designs like tall, thin pumpkins or varying sizes for a playful display.
Freezing and Storage
- Storage: Keep your bottle cap pumpkins in a cool, dry place. They can last for the entire season if kept out of direct sunlight and not exposed to moisture.
- Display Tips: If you want to preserve their appearance, avoid placing them in high-humidity areas. A simple storage box can protect them when not in use.
- Long-Term Storage: If you want to save them for next year, store the pumpkins in a labeled, airtight container to prevent dust accumulation and damage.
Special Equipment
To ensure your crafting experience goes smoothly, having a few additional tools can be helpful:
- Organizing Tray: Use a tray to keep all bottle caps and small materials organized while you work.
- Easier Application Tools: Tweezers can assist in placing small decorations or leaves onto your pumpkins accurately.
- Crafting Tools: A craft knife can help create precise cuts for any intricate designs or leaf shapes you might want to add.
- Protective Wear: Aprons and gloves can keep hands clean and your work area protected from paint and glue.
Frequently Asked Questions
What type of bottle caps work best for this project?
While any bottle caps can work, those from soda or water bottles are typically more colorful and easier to work with due to their larger size.
Can I use other glues instead of hot glue?
Yes, you can use craft glue, but keep in mind that hot glue dries faster and may create a more secure bond, especially for small pieces.
How can I clean the bottle caps before crafting?
Soak the caps in warm, soapy water for a few minutes, then scrub them gently with a brush to remove any residue. Rinse and dry them fully before painting.
Can younger children participate in this project?
Absolutely! Just ensure that they are supervised, especially during the painting and gluing stages, as hot glue can be a hazard.
Are these pumpkins weather-resistant?
While bottle cap pumpkins aren't designed for outdoor use, a clear sealant spray can protect them from light moisture if you wish to display them outside.
Conclusion
Creating bottle cap pumpkins not only provides an enjoyable crafting experience but also brings the beauty of autumn into your home. With easy-to-follow steps and endless creative possibilities, this project is perfect for everyone, from kids to adults. As the weather cools and the leaves turn, these charming decorations will brighten your space and serve as a reminder of the joys of the fall season. So gather your materials and start transforming those bottle caps into delightful pumpkin decorations that celebrate the magic of autumn!