#A Colorful Adventure: How to Make Fizzing Sidewalk Chalk
As a seasoned crafter and a passionate individual who loves to share creative experiences, I can't help but smile when thinking about fizzing sidewalk chalk. This vibrant art medium is not just a tool for creativity; it’s an invitation to play, explore, and create joyful memories. Imagine transforming your driveway or sidewalk into a vivid canvas, only to watch your creation fizz and bubble with delightful reactions when you spray it with vinegar. It’s a mesmerizing experience for both kids and adults alike, making it perfect for summer days, birthday parties, or even creative outdoor art sessions on weekends.
In this article, I will guide you through the delightful process of making your own fizzing sidewalk chalk, sharing tips, potential pitfalls, and even some personal anecdotes along the way. Let’s dive into this colorful craft that will surely spark joy and creativity in your life!
The Essentials: What You’ll Need
Before we get started, let’s gather the materials to ensure a smooth crafting experience. Here’s what you will need:
Ingredients:
- Baking Soda: This is the main ingredient that gives our chalk its fizzing action.
- Cornstarch: This helps to bind the mixture and gives it a chalky texture.
- Water: A key ingredient for mixing everything together.
- Vinegar: This is for the fizzing reaction once you've created your chalk drawings (and it’s part of the fun!).
- Food Coloring: Choose your favorite colors to make vibrant chalks.
- Molds or Ice Cube Trays: These shape your chalk into fun forms. Silicone molds work best for easy removal.
Tools:
- Mixing bowls
- Measuring cups and spoons
- A whisk or spoon for stirring
- A spray bottle (for vinegar)
Step-by-Step Tutorial
Step 1: Prepare Your Workspace
Start by setting up a clean, flat workspace. I always cover my crafting table with newspaper or an old tablecloth—this keeps everything tidy and makes for easier cleanup later. It’s vital to have everything within reach as we create our colourful concoction.
Step 2: Mix the Dry Ingredients
In a mixing bowl, combine 1 cup of baking soda with 1 cup of cornstarch. This combination is the backbone of your fizzing sidewalk chalk. The baking soda will react with vinegar to create that playful fizz.
Tip: To avoid clumps, whisk the dry ingredients together thoroughly until they are well combined. If you skip this step, you may end up with uneven texture and fizzing.
Step 3: Add Water
Next, gradually add about 1 cup of water to the dry mixture. Make sure to pour slowly while mixing to achieve a smooth consistency. You want it to be thick, similar to pancake batter, but pourable.
What Could Go Wrong? If the mixture is too runny, it won’t hold its shape. If this happens, simply add a little more cornstarch until you reach the desired consistency.
Step 4: Add Color
Now comes the fun part! Divide the batter into smaller bowls depending on how many colors you want to make. Add a few drops of food coloring to each bowl and mix until you achieve the desired brightness.
Pro Tip: For a more vibrant color, remember that the shade will appear slightly lighter once the chalk dries. Don’t be afraid to get creative and blend colors for unique hues!
Step 5: Mold the Chalk
Pour the colored mixtures into your molds. I love using silicone molds shaped like stars, hearts, and letters, as they add an extra element of fun when the chalk is complete. Tap the molds gently to release any trapped air bubbles and ensure an even fill.
Caution: Be careful not to overfill the molds, as the mixture may expand slightly while drying.
Step 6: Drying Time
This part takes a bit of patience! Let your chalk sit undisturbed in a cool, dry place for about 24 hours to harden completely. Depending on the humidity, drying time may vary, but do not place them in direct sunlight or heat, as this could cause them to crack.
What If It Doesn’t Dry? If after 24 hours your chalk is still soft, leave it out for another day or two, checking periodically.
Step 7: Enjoy the Fizz!
Once your chalk is completely dry, remove it from the molds. You’ll see that they hold their shape beautifully. Now for the most exciting part—grab your spray bottle filled with vinegar and head outside!
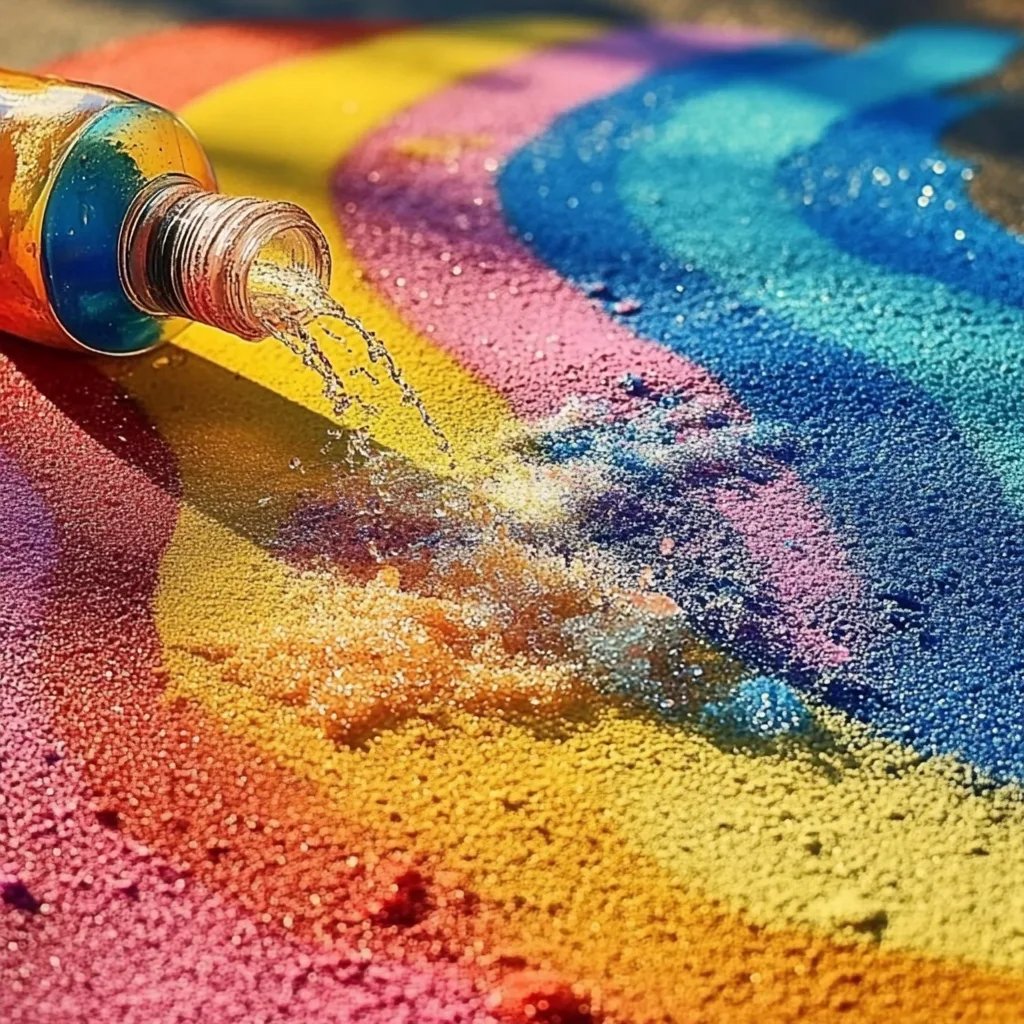
Draw whatever your heart desires on the pavement and watch the chalk fizz and bubble as you spray it with vinegar. This reaction between the vinegar (acetic acid) and baking soda showcases the coolest chemical reaction, providing endless joy and giggles.
Creative Variations and Tips
- Sparkly Chalk: Add a sprinkle of glitter to your mixture for added sparkle!
- Scented Chalk: Incorporate a few drops of your favorite essential oil into the mixture for a lovely aroma while crafting.
- Make it Glow: Add glow-in-the-dark powder to your mixture for a cool night-time surprise!
Personal Anecdote
I remember hosting a summer playdate for my kids and their friends last year. We made the fizzing sidewalk chalk as part of the activity, and the looks on their faces when they sprayed vinegar on their colorful creations were priceless! It was a day filled with laughter, creativity, and—most importantly—no screens. They ended up making a giant chalk mural of a rainbow, complete with fizzing clouds! Moments like these remind me why I love sharing crafts with others.
Safety Warnings
While making fizzing sidewalk chalk is generally safe, here are a few reminders:
- Always supervise younger children during the crafting and playing process.
- If any spills occur, clean them up immediately to avoid slipping hazards.
Final Thoughts
Fizzing sidewalk chalk is not just a fun activity; it’s a magical way to engage with art and science simultaneously. By making your own chalk, you’ll not only save money, but you also get to customize colors and shapes that suit your tastes.
With these steps and insights, you’re ready to embark on a colorful crafting journey that’ll spark joy and creativity in your home. Remember, the ultimate goal is to enjoy the process as much as the final product. So grab those supplies, get ready to create, and watch the smiles bloom as your sidewalk transforms into a vibrant masterpiece! Happy crafting!